Showing posts with label Thank You. Show all posts

Sunday, April 03, 2016

Nautical Thank You

Hello everyone,

It's Donna here to share another nautical card with some of the new releases from March.  Here is my card.


How I made this card....

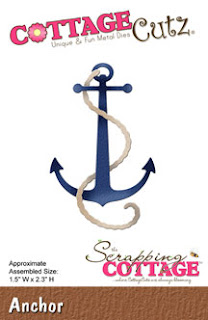
My card is an A2 size which is 4 1/4 x 5 1/2.  My first layer is the same size as the A2.  I cut two circles using the Circle Set dies.  The red piece is cut at 4 1/4 x 2.  I centered the first circle and adhered it to my card, I adhered the 2" layer and then added the smaller circle.  I die cut the Life Preserver and glued all the pieces and used foam tape and popped it up.  I die cut the sea gull and popped it up on top of the life persever.  I cut the anchor out of glitter paper and tied a piece of twine in a bow.  I finished the card with the Thank You sentiment.  I die cut the words ywith black cardstock and then cut it again with black foam and glued the cardstock to the foam.  Very simple card.  I hope you will give this card a try.

List of dies I used:


I hope I have inspired you enough to try and make this card!

Friday, March 18, 2016

Vintage card with Wreath, Butterfly and Bow

Hi! Vladka here. Today I have vintage card with wreath for you. You know how I like to combine old and new dies and I will show you how you can create this one.  Let's start!


Basics:
Card base: 4 1/4 x 6 inches (cut 4 1/4 x 12 inches, fold in half)
Additional piece of kraft cardstock: 3 3/4 x 5 1/2 inches
Some white and red cardstock scraps to cut out the die cuts 

Other Supplies:
CottageCutz dies: listed below
Cardstock: kraft cardstock
Distress Ink: Brushed Corduroy, Gathered Twigs, Aged Mahogany, Peeled Paint

Other:  text stamp (optionally), scissors, paper trimmer, Sizzix machine, scor-buddy, brush, white watercolor tube paint or you can use acrylic paint instead, piece of sponge, pencil or any other tool with round handle.


Let's prepare everything first:

1. With the Floral Spray die and Laurel Wreath cut greenery out with some white (I actually used light gray one) cardstock. Color greenery with green ink.
2. With the Expressions Thank youLisbeth Butterfly and Build a Bow die cut out the Butterfly, Thank you expression and pieces to create the bigger Bow. Distress all the edges with Aged Mahogany distress ink.
3. With Build a Grapevine wreath die cut out two wreaths and color them with brown ink.
4. Stamp text on additional piece of kraft cardstock - this step is optional.
5. Use a sponge to gently color the edges of all die cut pieces and edges of additional piece of kraft cardstock with white watercolor paint straight from the bottle. You can also use white acrylic paint. Let them to dry.
6. Before glue bow together, curve bow edges with pencil or any other tool with round handle as shown on the photo.


7. After bow is finished, put pencil also through the both loops which will give them beautiful round look (as shown on the photo).


Preparations are now finished. Let's make the card!

Apply adhesive on the back side of additional piece of cardstock and add it on the card base. On the front of the card, glue both wreaths, all the greenery, butterfly, bow and the sentiment as shown on the photo. Card is finished.


Have fun creating!

Monday, November 03, 2014

Thank you card


  Today I am sharing with you my new Thank you card I created with beautiful CottageCutz Collection of dies.

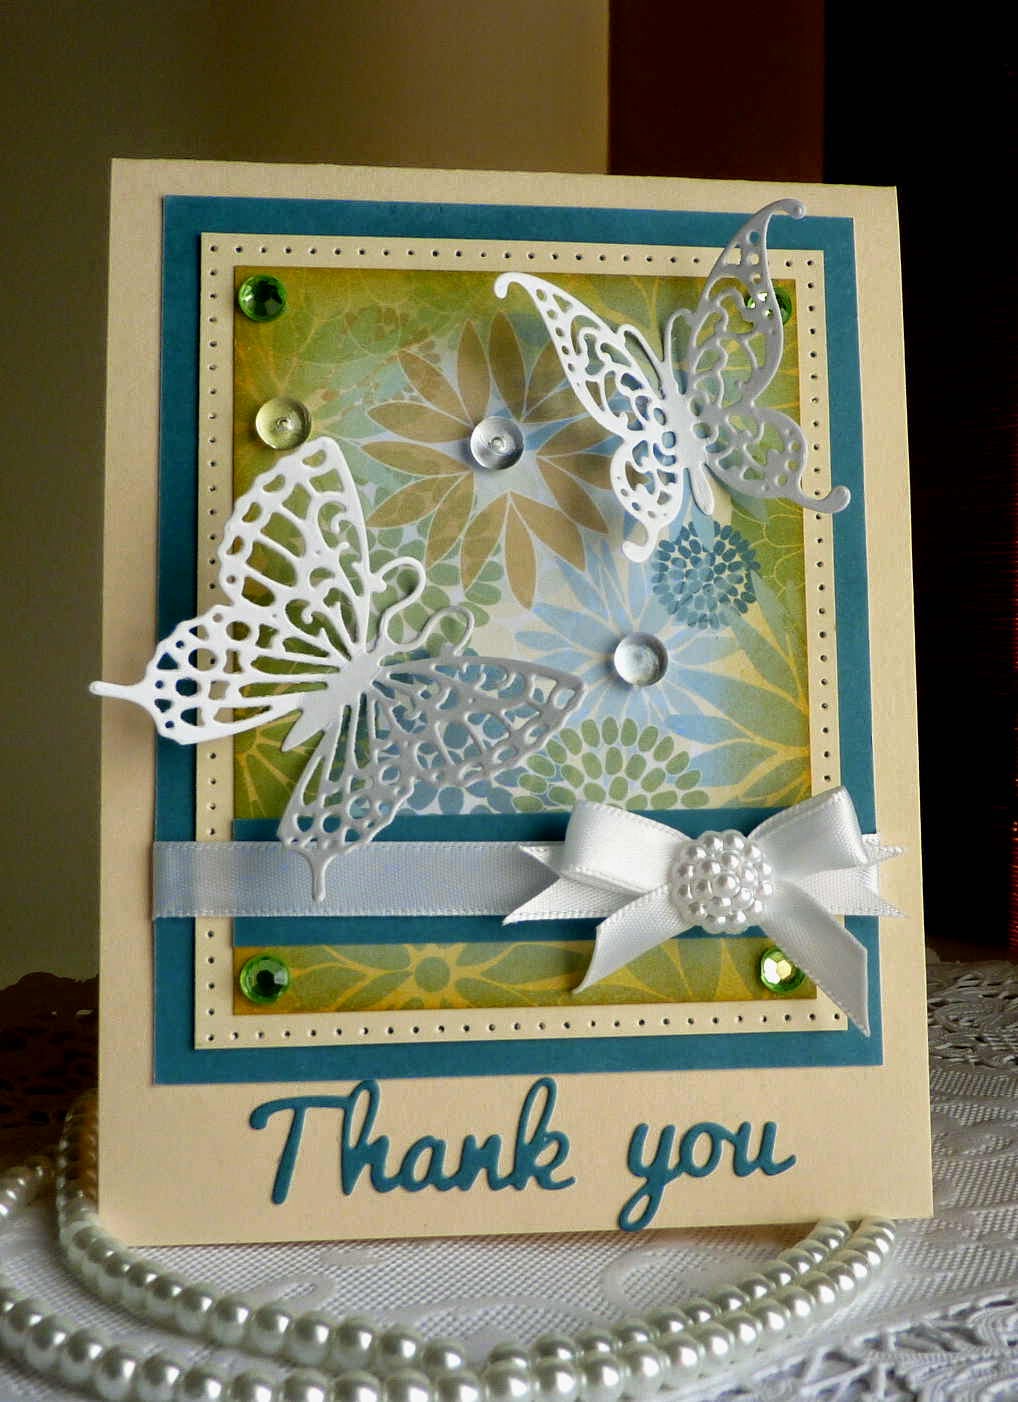
For this card I used embossing folder for background and two die cuts - "Butterfly" and "Thank you" sentiment. Added sentiment in the oval and decorated with two butterflies around the card.


I, also, decorated card with half pearls and dew Drops.


For this project I used:


Wednesday, September 03, 2014

Thank you card


Today I am sharing a cute Ladybug Thank you card I created with Beautiful 
For my project I used "Ladybug" and "Thank you sentiment" dies. 
I cut all pieces of Ladybug two times. Then, mark with white pen the edges and glued all parts together in a cute image. Next, I created background using designer papers.


 Then, I cut sentiment out and glued on background of card. Decorated card with red rhinestones.

 For this project I used:


Thursday, July 03, 2014

Thank you card


Today I am sharing with you my new Thank you card I created with beautiful CottageCutz Collections of dies.

 
For this card I used different dies (Garden Delight Butterflies and Expressions Thank you).

Just cut butterflies and sentiment out using white and blue cardstock. 
For background I used designer paper. 
All cut out pieces I put on card and decorate with Dew Drops, ribbon and rhinestones. Very simple card today.

For this project I used:


Tuesday, April 08, 2014

Basket full of Apples

Hi, all! Vladka here!
  Today I have basket full of apples for you. Such basket can be perfect gift for birthday or the way to say "Thank you" to someone.
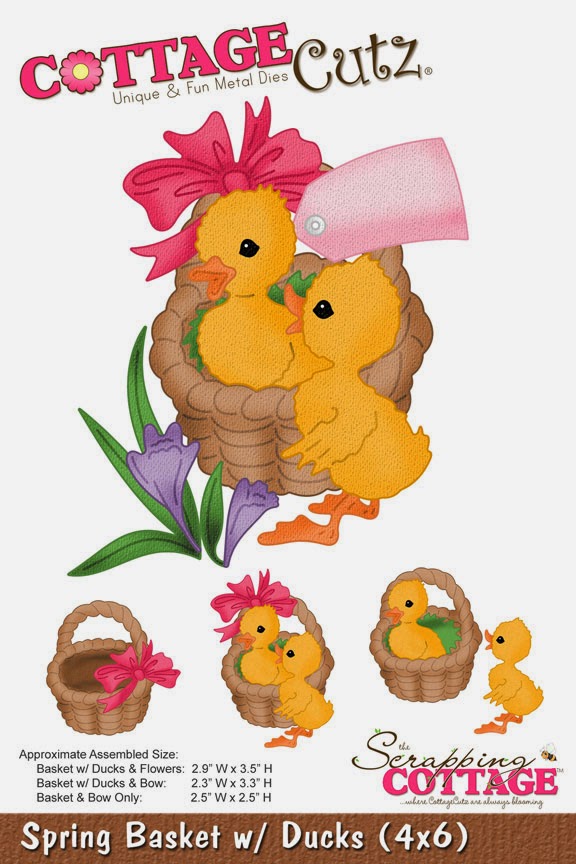
I combined different dies together. Basket was cut out from Spring Basket and Ducks die and filled with apples, created with Apples Mini die. I thought that some flowers will be cute additional touch, so I cut them out with Springtime Strawberries die. And a little romantic look is reached with "lace", created with Teacup Trio. And then I needed sentiment and this part was easy with new Expressions release.
  I also wanted to add something inside of the card. So I cut out Spring Tulip Vine and colored with red Distress Ink also the parts which normally will be thrown away. Also all other die cuts are colored with different Distress Inks.  
  I wish you all great day.
 

Wednesday, April 02, 2014

Floral Thank You

Happy Wednesday!

Kathy here with you and today I have a decorated gift bag with a matching mini notecard and envelope to show you using lots of beautiful CottageCutz Dies!  Here's the complete set!


I found these little White Paper Sacks (1 lb. - 3.5"x 2" x 6.75") at Michaels that I thought would be cute decorated for a gift!  All I did was add the Springtime Floral Die cut in white and colored with chalk inks, a piece of Fancy Floral Lace Border cut in white and a bow with a pearl.  Here's a close up of the die cut on the bag.


I made a little notecard with white card stock that measures 2 3/8" square so it would fit in the Elegant Envelope.  I decorated the notecard with the Spring Label Die cut with white card stock and colored the same way as the bag.  I then added the Thank You Die cut with white card stock to the label.  Here's a close up of the notecard.


For the envelope, I cut the Elegant Envelope Die with white card stock and decorated it with the Flower w/Cutouts (flower) and Plumeria & Leaves (leaves) all colored with chalk inks.  I added some pearls and a little Diamond Stickles around the pearl in the flower center.  On the back flap of the envelope, I add a small piece cut from the Springtime Floral Die that I colored to match the other pieces.  Here's a little close up for you!


I LOVE this little envelope!  It's perfect for little notecards to go with gifts!

These are the dies I used on my project.