Hello and happy Sunday!
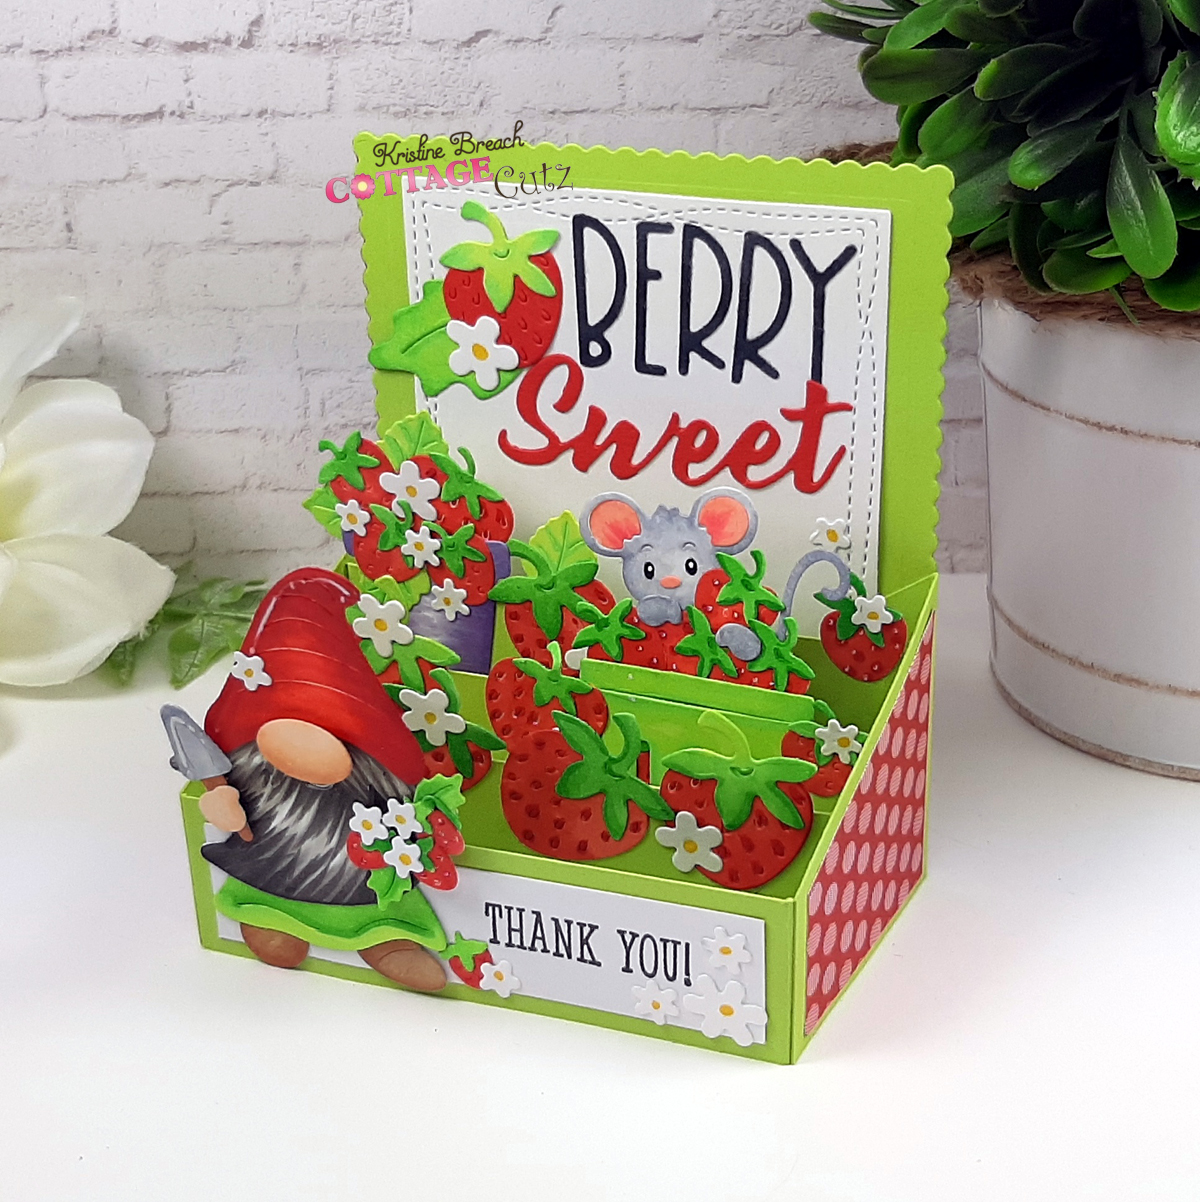
Kris here to share a "Berry Sweet" and easier-than-it-looks box card with you showcasing the
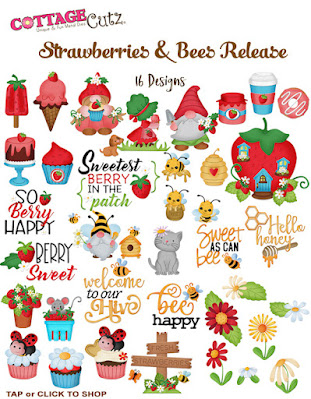
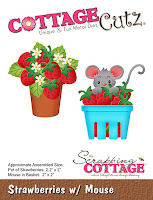
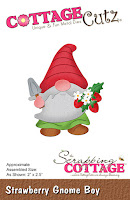
NEW Strawberries & Bees release!
Before I get to my project, I just want to say.... NOW is the perfect time to go shopping as this whole release is 50% off for a limited time.... individual dies in this release are 30% off.... and the store is having a huge 4th of July sale going on with up to 70% off other dies! Run, run -it won't last long ☺
Okay, onto my card...
CUTTING & SCORING
I began with the fun stuff first ... die-cut all my cute images and sentiments from white cardstock, colored with alcohol markers and pieced together. Next, onto making the box!
BACK:
Green cardstock:
White cardstock:
SIDES:
Green Cardstock:
• With paper trimmer, cut (2) 2-3/8" x 2" and score at 3/8" on just one of the 2-3/8" sides. One of the sides will have the score line on the LEFT, and the other one will be on the RIGHT (see photo below). Then, measure down 1" on the opposite side from the score line and place a pencil mark. Cut from the TOP of the score line diagonally down to the mark. Repeat on other piece.
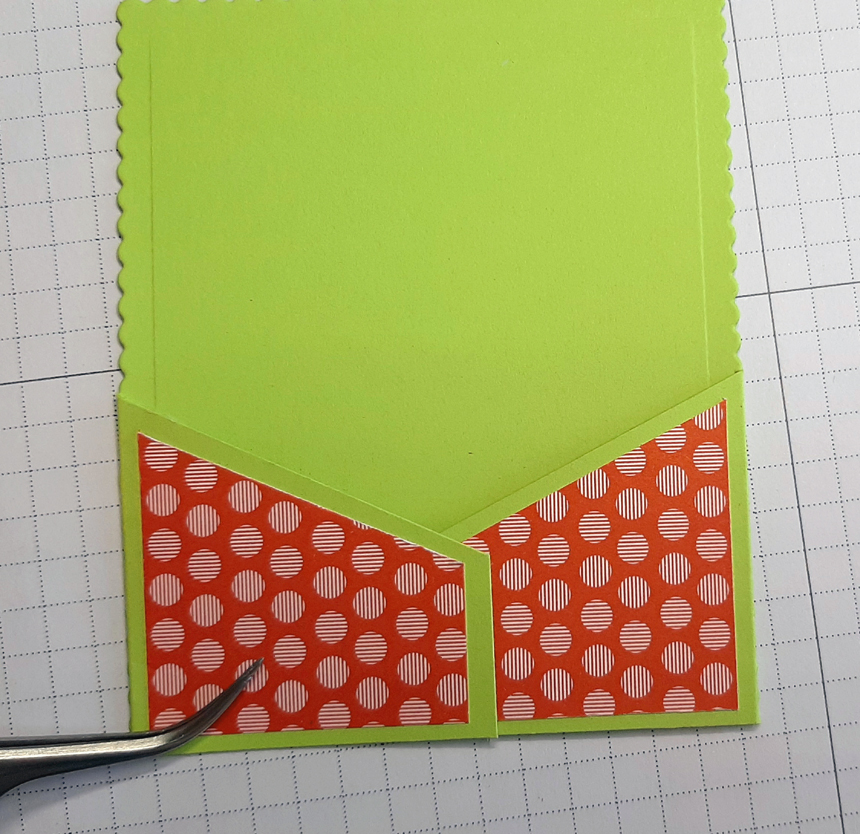
From patterned paper:
• Cut (2) 1-3/4" squares. On one side, measure down 7/8" and place a mark. Cut from top of the opposite corner down to the mark. *On other piece, you'll cut from the other corner. (See photo below)
FRONT:
Green Cardstock:
• Cut (1) 4-1/4" x 1" and score 3/8" from each end
White Cardstock:
• Cut (1) 3-1/4" x 3/4"
MIDDLE SHELVES:
Green Cardstock:
• Cut (3) 4-1/4" x 3/4" - and score at 3/8" from each end. Miter the top only of each of the 2 scored flaps on each shelf. (see photo below)
ASSEMBLY:
1. Glue your patterned papers onto the side pieces. Add glue to the flaps and adhere to the front lower sides of scalloped piece so that they both angle down towards the center of card. The scored line of flap is FLUSH with the scallops, and the bottom edges are aligned.
2. Adhere white
Nested Wacky Stitched Rectangle to the front center, paying attention to the top and side borders for placement - not the bottom as remember we cut off 1/4" ;)
3. Stamp on the front white piece if desired, and adhere to FRONT green piece.
4. Add glue only to the LEFT flap of your FRONT piece and adhere the left side piece so that it bumps up to the score line, not over it.
5. Open that side & front piece to the left while we work on the middle shelves.
6. Add glue to just the left flap of one shelf, then bump it up to the score line (of the side piece), making sure that the top of your shelf is below the edge of the side piece. You can click on the pic to enlarge if needed.
7. Fold that first shelf over to the right and leave it there. Do not attach the other end - we'll do that after all our shelves are in.
8. Add glue to the next shelf, and place it according to the photo below, again, making sure the top of the shelf is lower than the edge of your side piece.
9. Fold that shelf to the right as shown and continue with the 3rd shelf.
10. Fold all shelves and front piece to the right and add glue to the remaining flaps.
11. Fold your right side piece over flaps, aligning that front piece, and rub to adhere.
13. And lastly, add your decorative die-cut elements for a BERRY SWEET box card that folds flat to mail in a regular A2 sized envelope!
I hope I've inspired you to try this or your own creation using our new
~Kristine
Here are the products I used today: