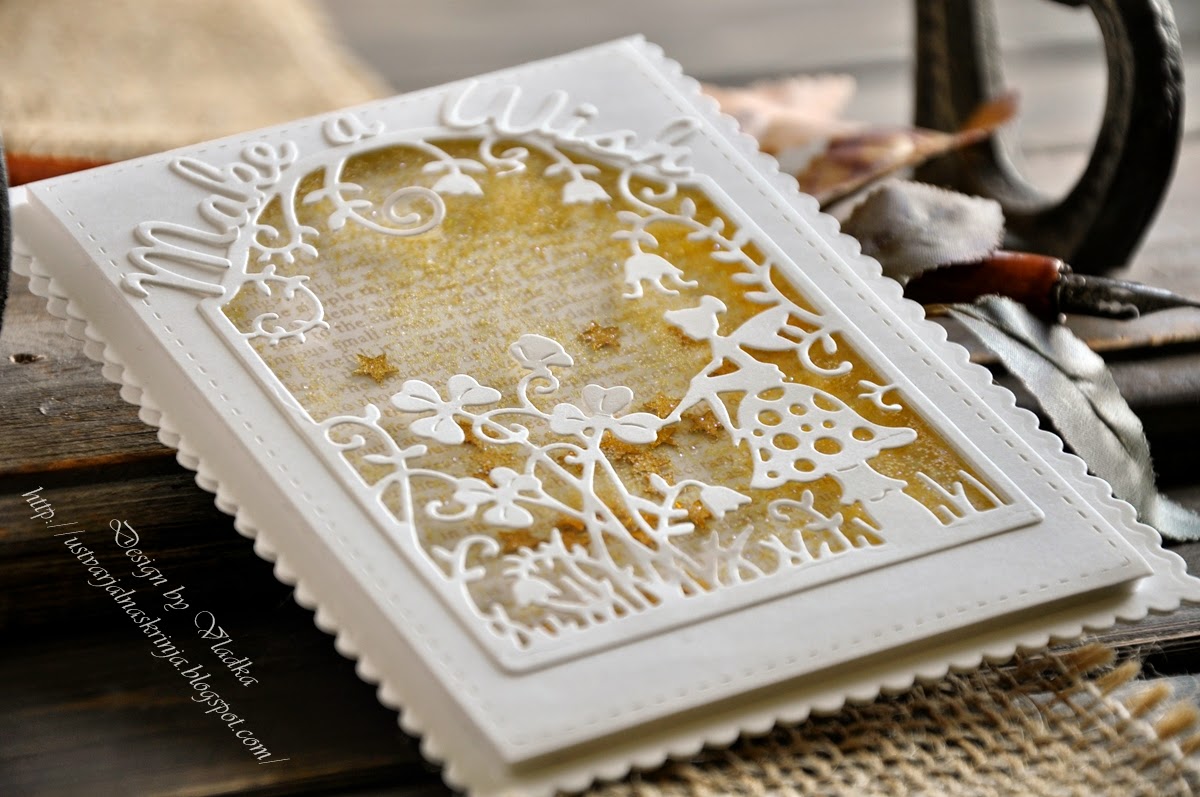
This card is simple to make but really makes an impact. Part of the design was inspired by a box my mother-in-law made for my daughter. She is also a papercrafter and made a monochromatic box highlighted in places with Wink of Stella. So that is what I did here.
I started with an A2 piece of cardstock for my top panel and cut my shaker window using the Spring Fairy Scene die. I measured 1/2 inch from each side and a little over 3/8 inch from the top leaving enough space at the bottom for my sentiment. Washi tape held the die in place so it wouldn't move as I ran it through my die cutter. I removed the fairy and was left with the window hole.
I then cut two sets of the vines and "Imagine" using a self adhesive sheet on the back of the word.
I covered the word and vines in several coats of Wink of Stella to get them to really sparkle.
I used snail adhesive to tape a sheet of acetate slightly smaller than 5 1/2 x 4 1/4 to the back of my panel. Then I placed the fairy in the hole on the front and glued it to the acetate using very tiny dots of glue.
I added the word and two of the vines to the front of the panel.
I cut another A2 sized panel from some paper printed with a watercolor pattern in a slightly darker green and added the two remaining vines. I made sure to place them where they would not be directly behind the fairy.
I then glued that to a top fold A2 card base in the same green color as the front panel.
I used two layers (only one shown here) of double sided foam tape around my shaker window. I also used anti-static powder on the inside of the tape so that the sequins would not stick.
Finally, I placed about 3/4 teaspoon of iridescent sequins in the center and adhered the front panel on top.
This card would be lovely in the recipient's favorite color. It's hard to see the glimmer in the photos, but it does sparkle - just as you imagine a fairy would.
Dies used:
Thanks for stopping by today. I hope you have a fun and creative weekend!


