Hello
Scrapping Cottage friends! Thanks for taking the time to stop and visit with us today. It's
Mary Marsh here bringing you the Saturday edition of the Blog.
We have a brand new release of dies in the online store. Your slimline cardmaking is going to get a lot easier. We have
9 Slimline designs and they are on a
25% off sale. These are wonderful, basic dies that should be a part of every card maker's collection especially if you are liking the new slimline style.
Design Steps:
I started my card by cutting the
Rounded Rectangle Slimline shape using the 5th largest die in this collection. It measures 2 1/2" x 7 1/2".
I used a stencil to put my image in the spotlight. Stencil work is done with wild honey distress ink. After I took the photo I realized the spotlight was up to high so I redid it and moved down a bit.
Next, I stamped my sentiment at the top of the image panel. It's a single line sentiment but a little too long for this panel. So with the help of my MISTI I turned it into a 2 liner. I will stamp my Father's Day sentiment on the card inside.
I cut the Ringmaster image in the packaging colors. I thought they would work well for a Father's Day card and they are good masculine colors. For the face, hands and nose I cut in white and then colored with Copic markers- E00 skin white and E11 barley beige. For his hair, moustache and eyebrows I cut in white cardstock and colored with a cool gray 70% Prismacolor pencil and gamsol.
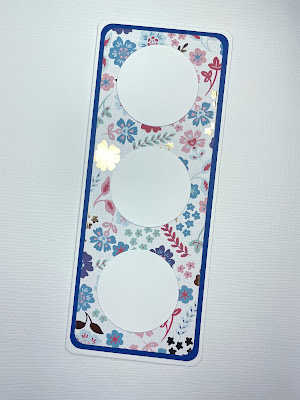
I wanted some background designer paper behind the image panel. I found this paper in my collection and used the 2nd largest
Nested Stitched Rectangle Slimline die to cut. The die measures 8" x 3". I cut my white card base the same 8" x 3" size and secured the designer paper to the panel.
Now that all the elements are prepared I am ready to start card assembly. I used dimensional adhesive and attached the Ringmaster inside the spotlight. Then attached the image panel to the designer paper base.
To complete my card, I cut some stars and scattered them on the card. I hope I have given you an idea for a slimline card using the Circus Ringmaster die. See you next Saturday.
Dies I used to create card:


