Showing posts with label Pierced Wide Rectangle Frame Set. Show all posts

Thursday, March 07, 2019

Buster

Good Morning Scrapping Cottage Friends!

It is Pam sharing with you on the blog today!

The south is just blooming with Daffodils and Azalea!  I know some parts of the country are still experiencing cold weather so I am sending you warm thoughts!  The die I am using today is from the new Spring Release.  I hope you take a moment and check it out.  You will not be disappointed.  Plus the sale is still going for 25% off the new Spring Release dies!


Design Steps
 1.  Cut out the dog and daffodil using the Buster w/ Spring Daffodil die.  I used tan, dark brown, light green, dark green and yellow card stock
 2.  Shade Buster with sponge and inks.  Assemble the dog and flower
 3.  Use the largest Pierced Wide Rectangle Frame and cut out the white frame
 4.  Cut out a piece of cloud DP just slightly smaller then the frame add dimension tape to the back of the frame
 5.  Use the Spring Grass die and cut out grass using green card stock
 6.  Glue the cloud DP to a A2 white card base, add the grass and then pop on the frame.  Glue down Buster and the daffodil.  Last use the Stitched Alphabet die and cut out the word spring in yellow then add to the top of the frame as shown.  Your cute card is complete
CottageCutz Products

Thanks so much for stopping by we are so happy you did!
Blessings
Pam


Thursday, January 03, 2019

Penguin Love!

Good Morning!

It is Pam on the blog with you today!

Happy 2019 to you! I hope your new year is filled with happiness, joy and lots of crafty fun!  And before I get to my project I wanted you to know we are having a fabulous sale in our store.  So make sure you check it out especially if you got some Christmas cash!  On to today's card I am continuing to make my Valentines.  I am using the Christmas release Hugging Penguins!

Designer Steps:
 1.  Cut out the penguin using the Hugging Penguins die.  I used black and white card stock for the penguin body and red for the heart which I cut out with Fancy Heart die
 2.  Color the feet and the beck with your favorite markers
 3.  Shade the white part of the bodies with grey markers.  Assemble the penguin and add a small black rhinestone for the eye
 4.  Use an A2 black card base cut a piece of DP slightly smaller then the card base.  Use the Pierced Rectangle Frame die to cut out the frame then edge with black
5.  Glue the frame to the DP add a ribbon and then glue to the card front.  Use the Mr. & Mrs. with Hearts die and cut out the small red hearts.  Stamp the large heart with I love you.  Pop up the penguins and heart then glue the smaller hearts to the corners of the frame
CottageCutz Products


Blessings
Pam


Thursday, November 15, 2018

Country Candles

Good Morning Friends!

Hi it is Pam creating with you on the blog today!

I just wanted to let you know that we have some of our dies on sale for 70% off!!  Plus the new release Autumn and Halloween dies are on sale for 25% off.  Get your Christmas shopping done early!!  Today I am using the Country Candles die.  I love this die it has so many wonderful uses and details.
Design Steps:
 1.  Using the Country Candles die cut all of the pieces out of white card stock

2.  Use your favorite markers to color the pieces.  I used the copic markers above
 3.  After all of the pieces are colored assemble the lantern, candle and bundles of greenery

4.  Use and A2 white card stock base, cut a slightly smaller piece of red and then cut a piece of DP just slightly smaller then the red.  Use the Pierced Wide Rectangle Frame die the second from the largest and cut out a red frame.  Cut out a piece of white card stock to go behind the frame
 5.  On the small white piece of card stock sponge on a yellow ink to create the candle glow then position and glue the candle to the glow
 6.  Glue the lantern on top of the candle and glow
7.  Glue the red card stock to the front of the card and then add the DP to the red.  Glue down the white piece with the candle on it to the center of the card.  Place dimension tape to the back of the red frame and pop it over the candle.  Add the greenery and the Joy which I cut out of red card stock using the Joy Expressions die and your card is complete
CottageCutz Products


As always we really appreciate you stopping by today!  Don't forget the fantastic sales in your store!

Blessings
Pam

Thursday, October 11, 2018

Boo to You!

Hello Scrapping Cottage Buddies!

It is Pam on the blog today!

I can't believe how fast October is going! To be truthful I don't even know where September went! It is still very warm here in South Carolina so needless to say I am ready for a cool down!  I have been playing with the new Halloween dies and I am just in love with all the great details each of the dies have.  Today, I am working with the Spooky Stacked Pumpkins so cute!

Be sure to check out the store our Autumn Designs, Halloween and Handmade Christmas dies are all on sale now.  It is just in time for these fall and winter holidays!  They make great gifts too!  The sale is for a whooping 25% off! Check them out!

Design Steps:
 1.  Using the Spooky Stacked Pumpkins die cut it out of white card stock
 2.  Use your favorite markers to color the die: YR68 for pumpkins, Y32 for eyes and broom, 100 for cat, bat and hat, C1 for the web, and E44 for the broom handle
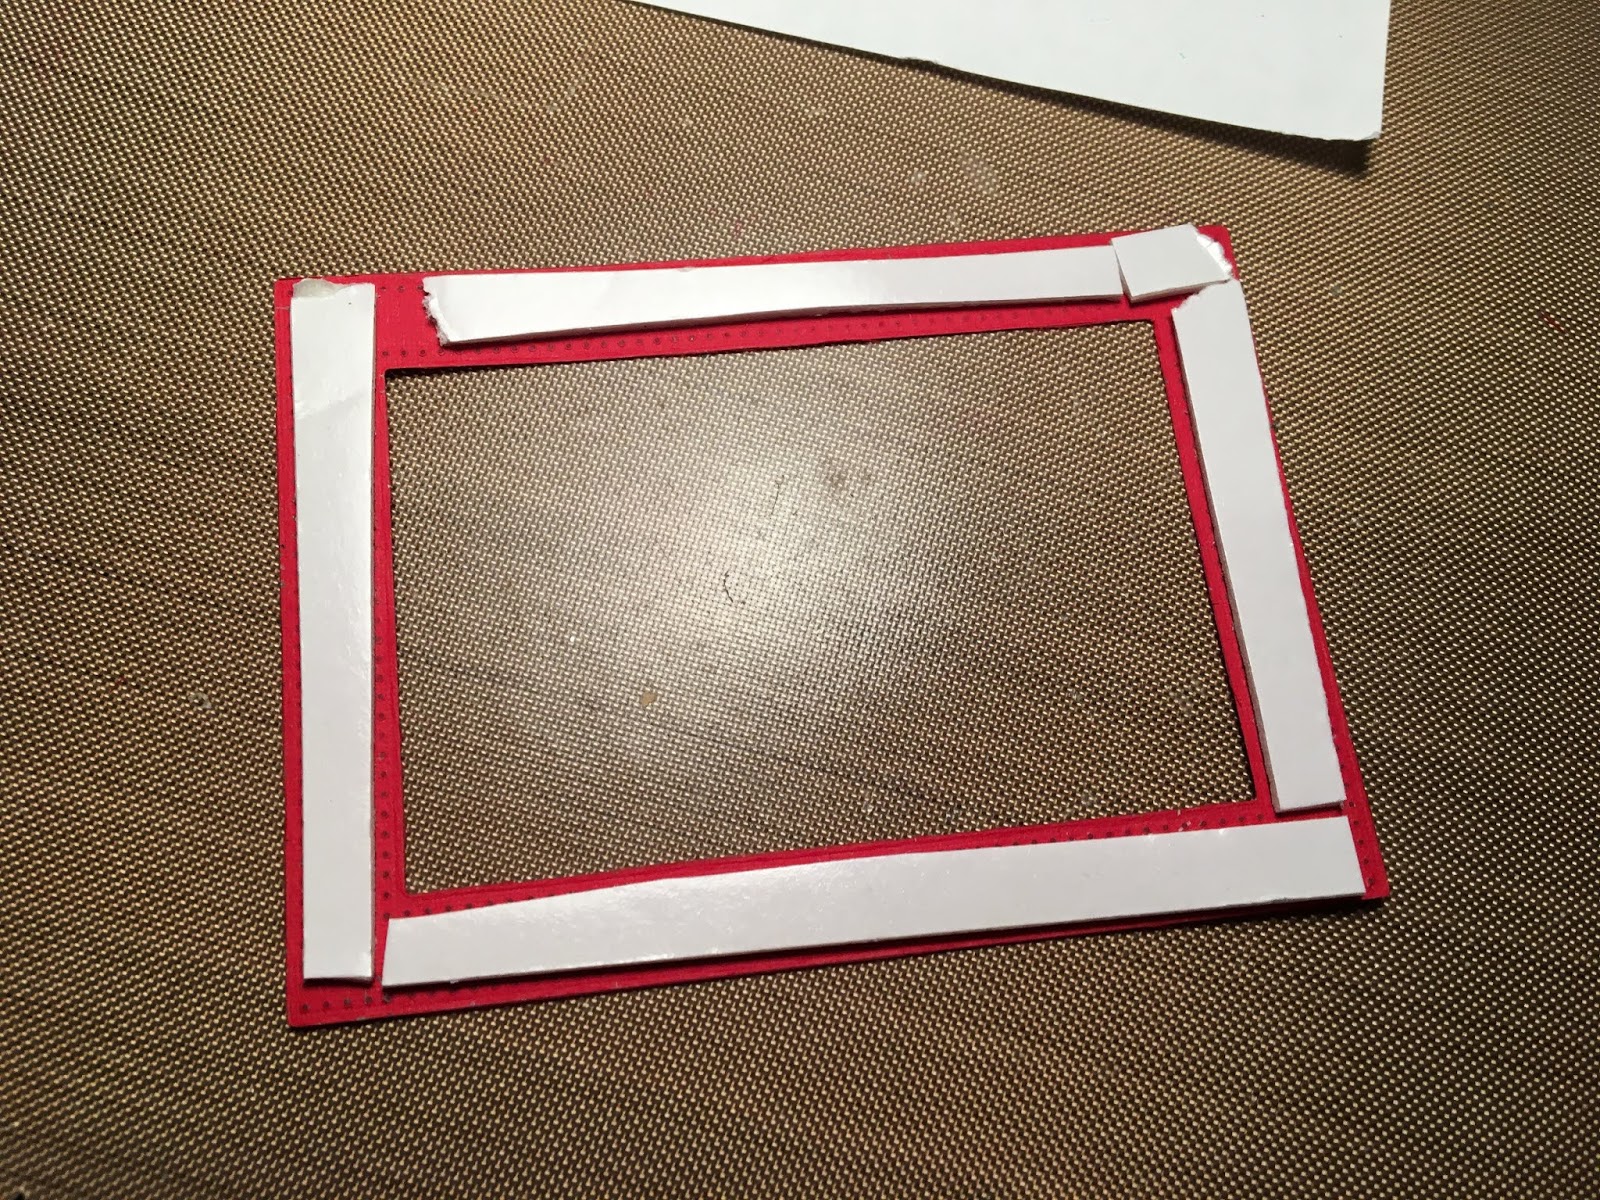
 3.  Use an A2 black card base cut a slighly smaller piece of orange dotted DP.  Use the second largest  Pierced Wide Frame Rectangle die to cut out the green DP frame. And then cut the purple DP to fit behind the green frame
 4.  Glue the orange DP to the black card base, glue the purple DP in the center of the orange DP and then using dimension tape around the frame pop it on top of the purple
5.  Glue the colored die cut onto the front slightly to the left and then add the sentiment


CottageCutz Products


Thanks so much for stopping by today!  We hope you come again soon and be sure to stop in the store for all the wonderful sales!

Blessings
Pam


Thursday, July 19, 2018

Coffee Please!

Hello Scrapping Cottage Friends,

It is Pam creating with you on the blog today! And I have made another throwback card.  Because CottageCutz isn't having a new release this month, the design team members are pulling out older dies and giving them a fresh look.  Today, I am using Mr. Snuggles, Hot Drink and Pierced Wide Rectangle Frame.

Design Steps:
 1.  Cut out all of the pieces of the bear using Mr. Snuggles die and the cup using Hot Drink Cup on white card stock
2.  Color the piece with copic markers: W0, W1 - E21, 23, 27, 29.  After coloring assemble the piece using a fine tip glue
 3.  Use a black A2 size card base, cut a slightly smaller piece of DP.  Use the Pierced Wide Rectangle  die second from the largest and cut out a black frame
 4.  Glue the frame flat to the DP and pop up the bear and the cup and sequins and your sentiment and your card is complete and ready to mail to a friend!

Cottage Cutz Products


It is time to play so pull out all of those dies and put some new twists to them!  It is so much fun to create new things with what we have!
Blessings
Pam