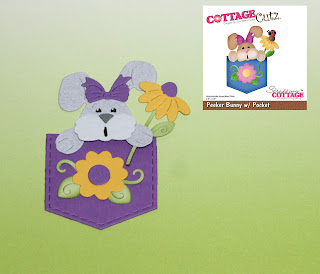
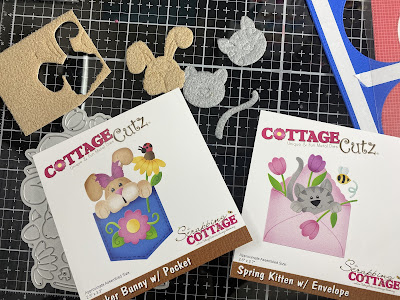
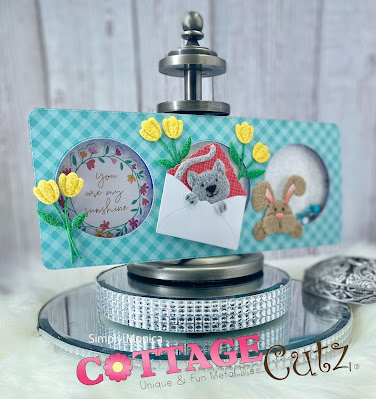
I created this cute Easel card featuring the Bunny in Pocket Die.
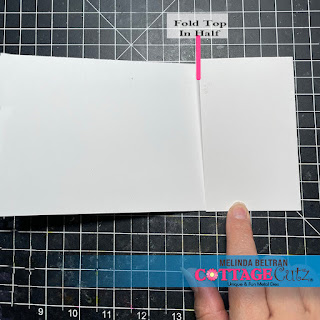
I started with a piece of cardstock measuring 4.25 x 11. That is exactly half of a letter size piece of cardstock. I folded it at the 5.5 mark. That is in half. I then folded the "top" or the right side in half again. I simply folded it to the center fold line.

Here's a picture of the two folds. It is hard to se the center fold on the left, but it is there.
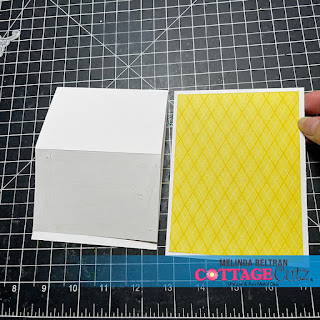
Next I took a piece of white cardstock and cut it to 4.25 x 5.5. I added a pretty patterned paper mat to the top. That mat measures 4 x 5.25. I put adhesive on the bottom half only of the top folding. Next I put the mat onto the top part and lined up the bottom and sides. So only half of the mat is adhered to the base.
Here's a view of the side of the card with the base. This shows you that the mat is only attached to that bottom half. Once that is done, I went ahead and assembled my layers and the main die onto the card.
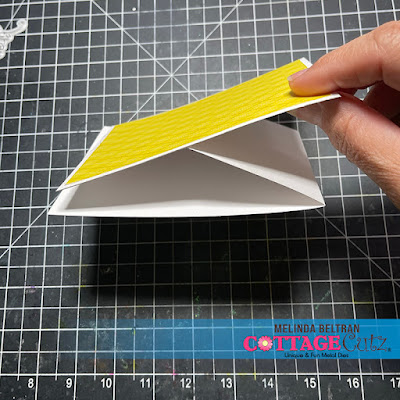
Here is the panel I added to the "bottom inside" of the card. This piece acts as a stopper of sorts for the top piece. It allows for that piece to be on top.
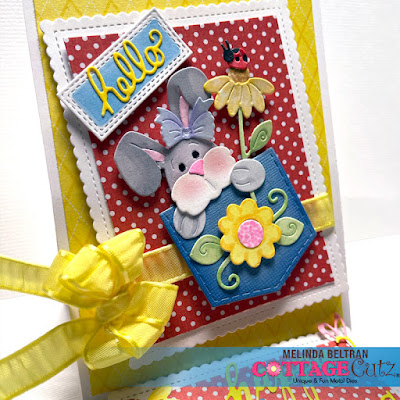
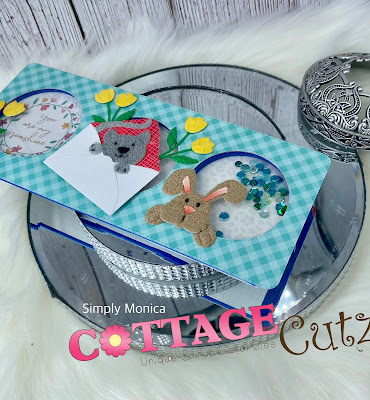
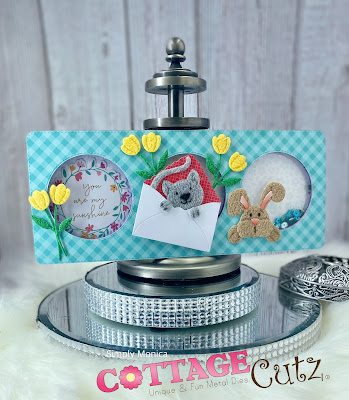
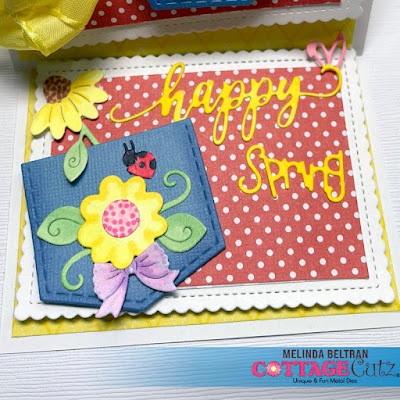
Here you can see all the fun dimension the layers have. I put some foam tape behind the mats to get them a little extra dimension. I added a sweet little bow in a matching yellow ribbon.
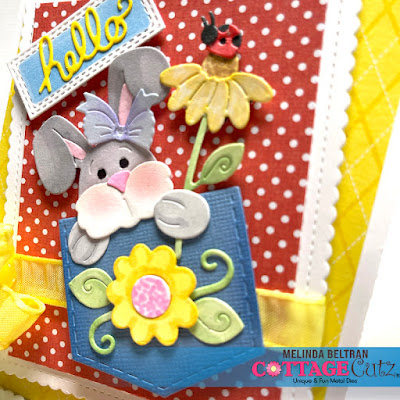
All of these pieces with the exception of the pocket started out as plain white cardstock. I have used this sweet little die in a couple other projects, but this one has a gray bunny. The others I colored that sweet little bunny in more of a brown. If you would like to see those projects head over to that blog post. CLICK HERE.
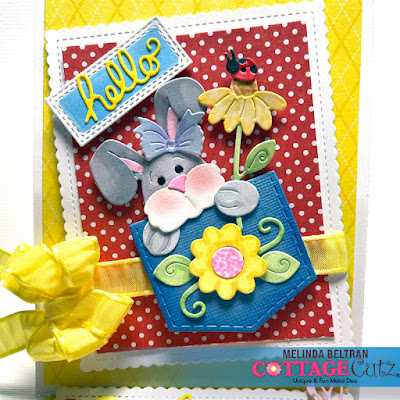
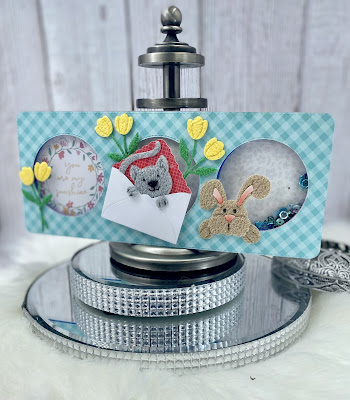
Here's another look at my finished project.
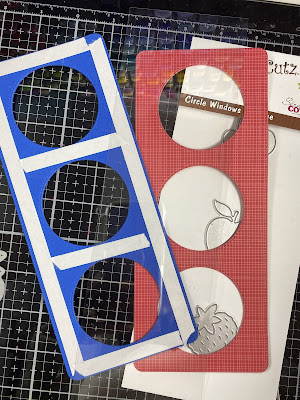
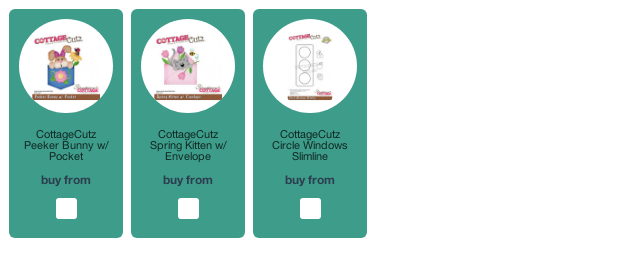
The Dies I used to create this project:


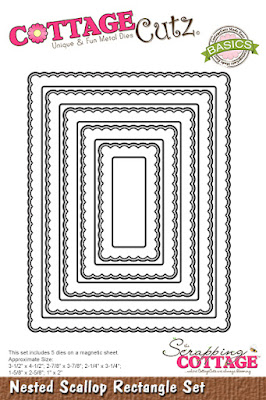
I used the Stitched Scallop version. That one is currently unavailable, but this is an excellent alternative.


In case you didn't hear, The CottageCutz YouTube channel is up and running. Head over and check out the latest video! There is a giveaway for subscribing too!
Well that about covers it for today! Until the next time, have a wonderfully crafty day!
Melinda Beltran