Showing posts with label Pam M. Show all posts

Thursday, August 20, 2020

Slothy Thinking of You

 Hello Scrapping Cottage Friends

It is my turn to post today so happy Thursday morning to you from Pam!

We have an amazing Summer Sale going on right now but the bad news is today is the last day.  Many dies are on sale for 50% off.  DON'T MISS OUT!

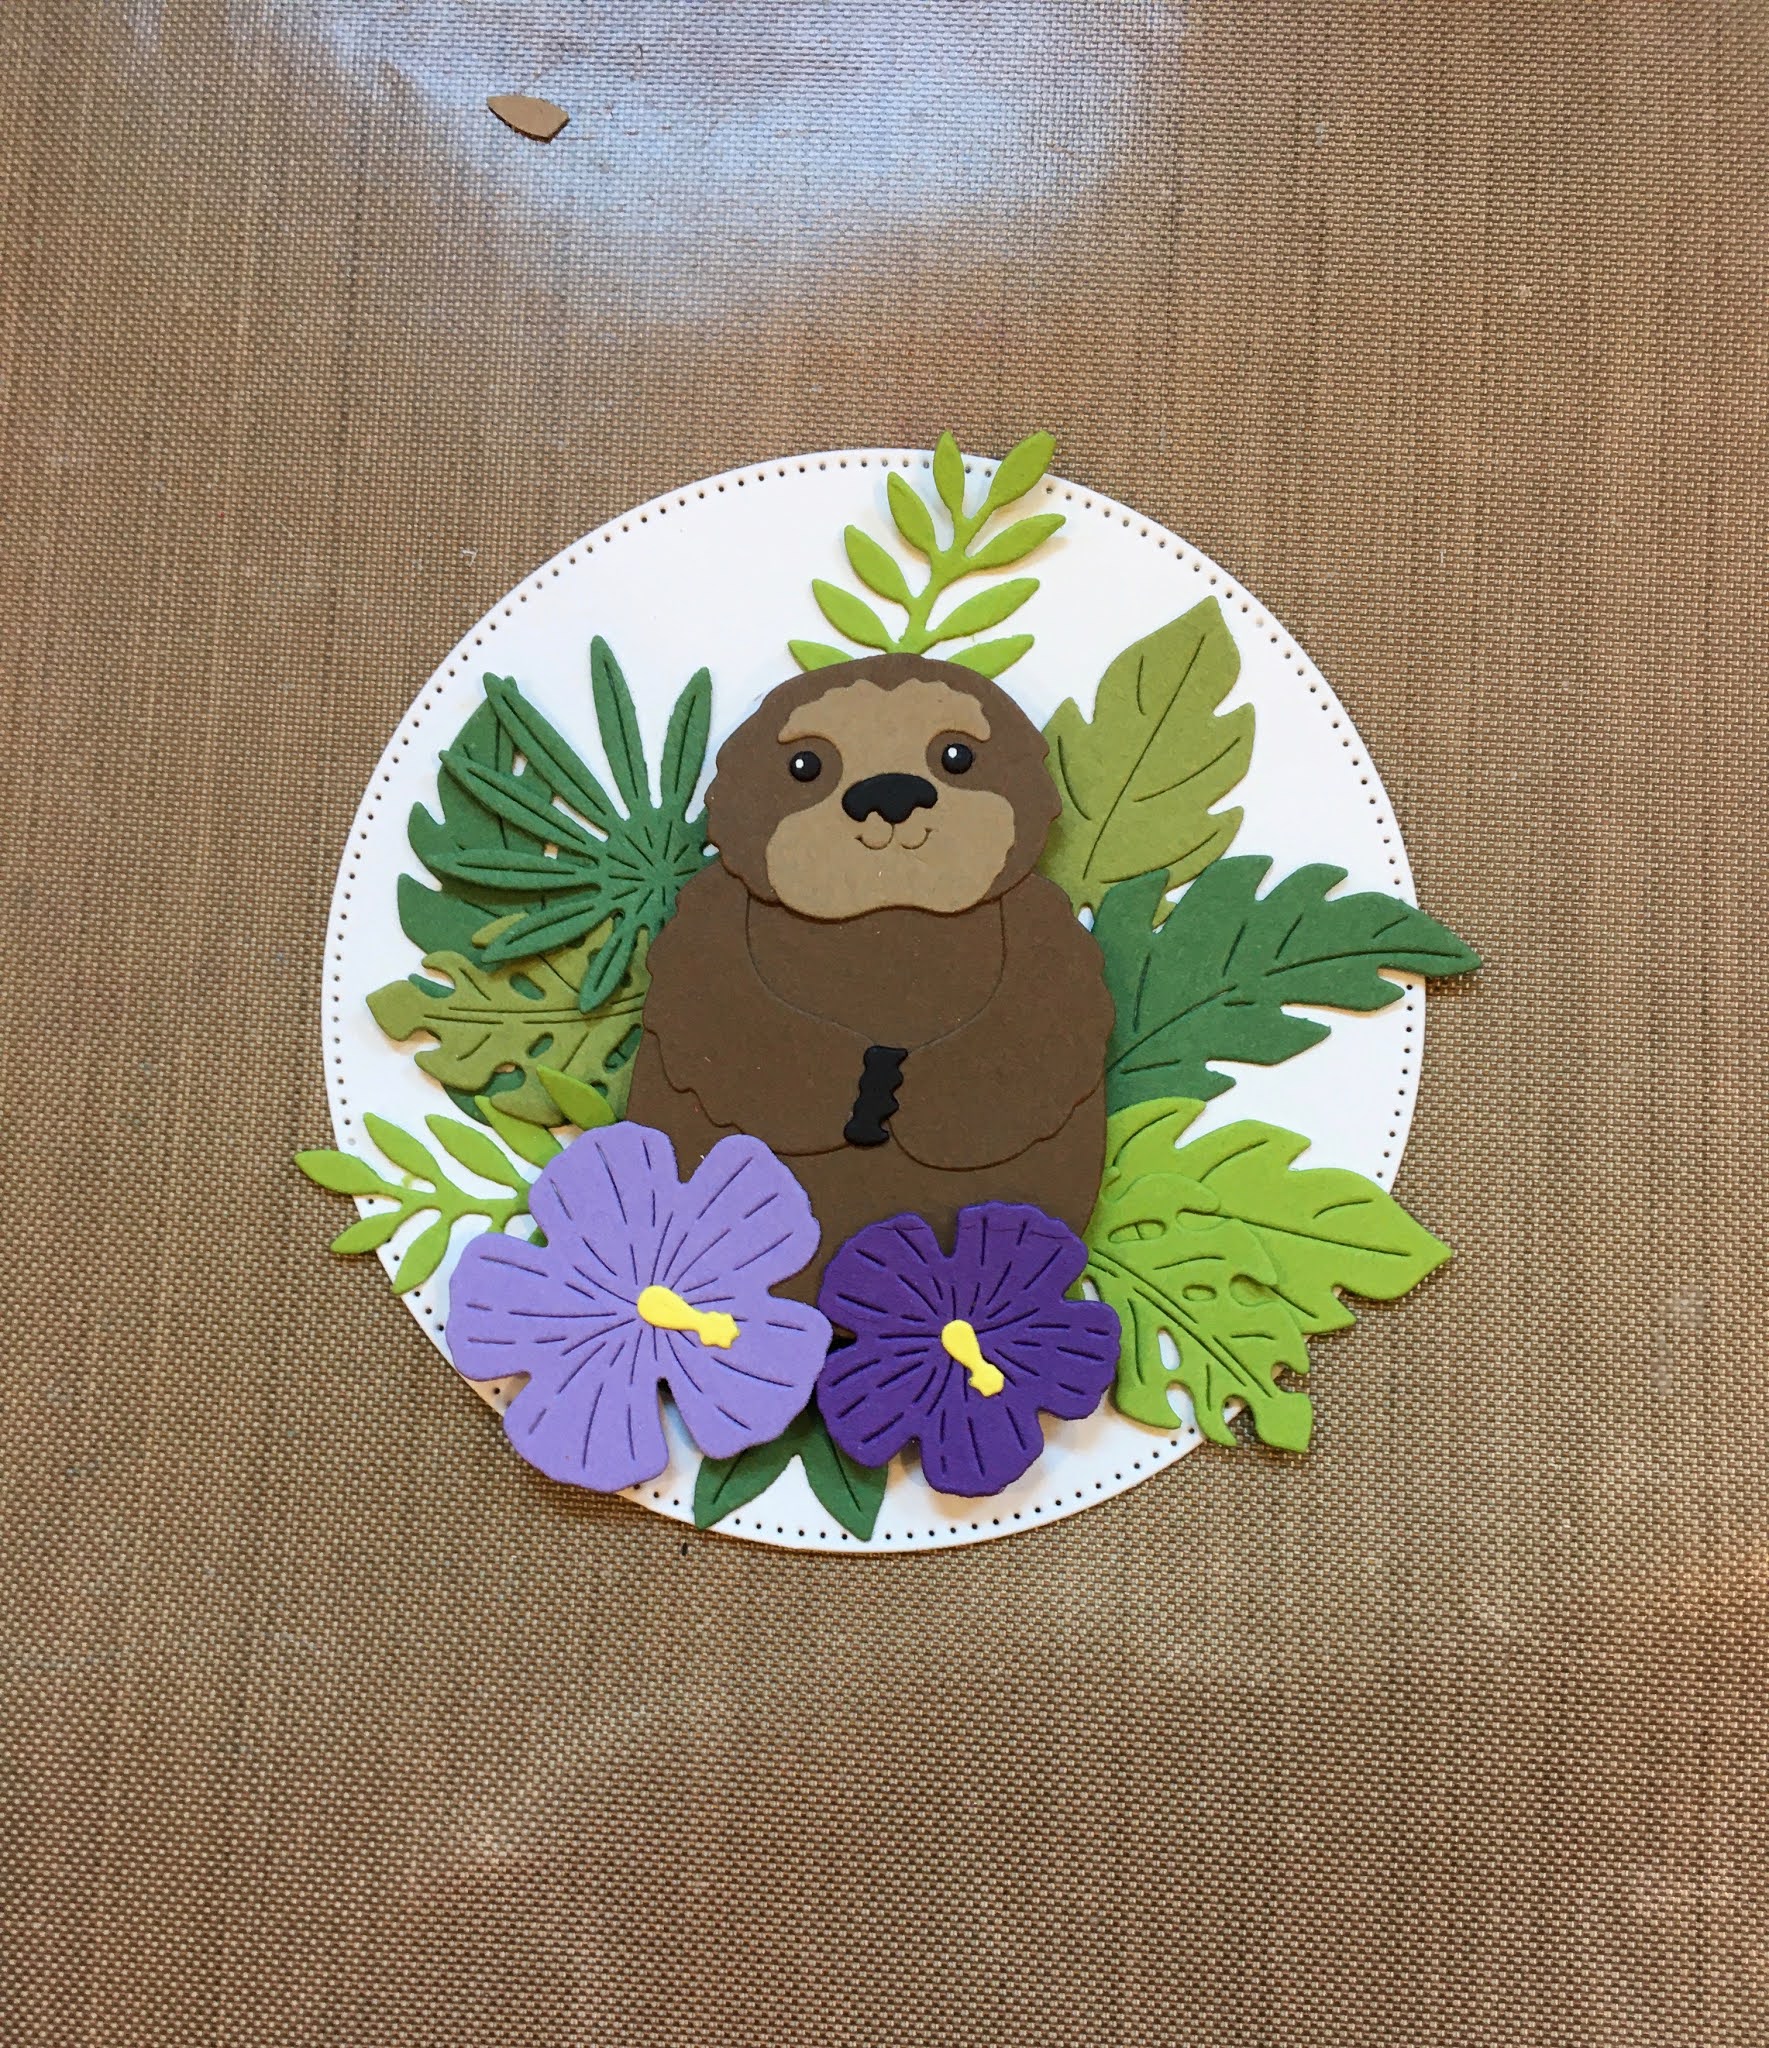
The design team is continuing to showcase our brand new release called Beach & Tropical Dies!  It includes 14 new designs and it is currently on sale for a limited time at 25% off!  Each of these dies can be used in so many different ways.  Today,  I am using the little sloth surrounded by tropical leaves and flowers.  I just love how he is peeking out ready to say Thinking of You!!

Background Photo by Bart Zimny on Unsplash

Design Steps
1.  Using the Sloth die cut out the pieces using 2 different shades greens, 2 different shades of purple, yellow, black and 2 different shades of brown
2.  Using the largest Pierced Circle die cut out a white circle.  Assemble the sloth and flowers using a fine tip glue.  
3.  Place some pop dots on the back of the sloth and then pop him up on the white circle
4.  Arrange the greenery around the sloth and then pop up the purple flowers.  Add small white dots to the sloth's eyes using a white gel pen
5.  For the base of the card use an A2 white piece of card stock.  Cut a piece of purple just slightly smaller then the white base.  Then cut a piece of purple flowered DP slightly smaller then the purple card stock.  Glue the purple card stock to the white card base and then glue the DP the purple card stock.  Using the largest Stitched Scallop Circle die cut out a purple circle. Also cut out of the purple card stock 2 Thinking of You with the Expressions die
6.  Glue the purple scalloped circle to the upper have of the card as shown.  Next add the white circle with the sloth on it.  Last glue the 2 Thinking of You together and then glue to the card as shown and your card is complete
CottageCutz Products


So happy you were able to stop by today!  I aways appreciate your visit!

Blessings
Pam

Thursday, December 28, 2017

Valentine's Day!!

Hello Everyone!

It is Pam creating with you today! I hope you had a wonderful Christmas celebration!  I can't believe I am saying this but I am starting on my Valentine's!!! The little bear I am using is actually from our Get Well release.  But she is very versatile and so is the sentiment. They are perfect for Valentine's Day cards!


Design Steps:

 1.  Cut an A2 white card base then on the front flap cut off a 2 inch strip.  Cover the inside first with a red piece of card stock then a piece of DP.  Next on the left side of the inside cut a 2 x 5 1/8 piece of white card stock and glue inside to the left

2.  Using the Stitched Cupcake die set cut out 4 stitched red hearts and glue 3 of them next to the white panel on the inside of the card.  Then glue the remaining heart to the white panel as shown below
 3.  Next cut a piece of red card stock for the front flap at 2 1/8 x 5 3/8 then layer on a piece of DP at 2 x 5 1/8. Glue to the front
4.  Use the Sweetheart Doilies die and cut out the largest circle in white and then the next largest in red glue together
 5.  Cut the sentiment Sending Hugs in red using the Sending Hugs Bear die
5.  Glue the sentiment to the front flap of the card and also attach the heart doily

6.  Using the Sending Hugs Bear die cut out the bear in brown, the flower and bow in red, the stem in green and the tummy in tan.  Shade all the pieces and assemble them add black rhinestones for the eyes


 7. Place pop dots on the back of the bear and place the bear onto the heart doily


Cottage Cutz Products!


I love how the cute bear made this Valentine extra special!! Hope you give it a try!

Blessings
Pam

Thursday, December 07, 2017

HOPE

Good Morning!

It is Pam creating with you today on the blog!

I am continuing to highlight our wonderful new release Get Well dies.  This one is for the women in our lives who are fighting breast cancer.  This horrible disease seems to touch almost everyone in some way or another.
 Design Steps:

1.  Start with an A2 light blue card stock base. Cut a piece of DP 4 x 5 1/4


 2.  Using the HOPE die cut it out in pink card stock.  Using the Nested Stitched Eyelet Rectangle die cut the second to the largest rectangle out of blue card stock
 3.  Shade the word Hope with Copic markers and then glue to the blue rectangle


 4.  Cut out the Rose bud in Pink and the stem in green using the Rose with Wedding Ring die.  Shade the rose with copics

 5.  Add the ribbon around the DP and attach to the card base then pop dot the HOPE rectangle  to the top half of the card


Cottage Cutz Products


Make sure to check out the fabulous sale going on in our store! Lots of great gift ideas for your crafty friends!!

Blessings
Pam