Showing posts with label Little Princess & Roses. Show all posts

Saturday, June 01, 2019

Floral Corners

Hi, Janja is here with you.
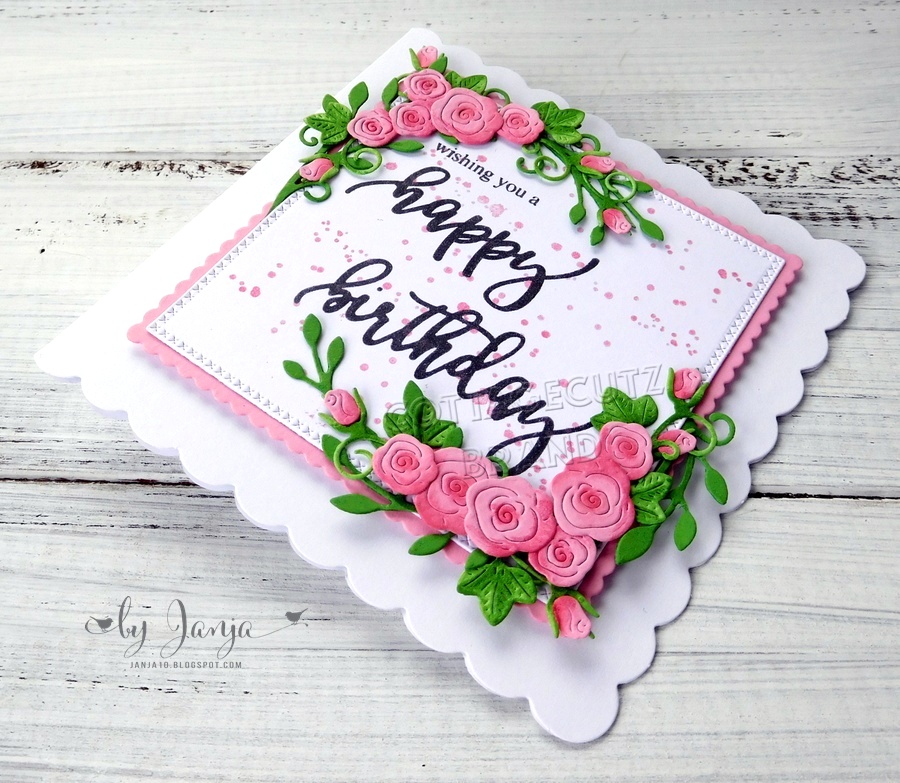
For today's blog post, I prepared a simple birthday card with roses.
I placed roses on the opposite corners of the central layer.


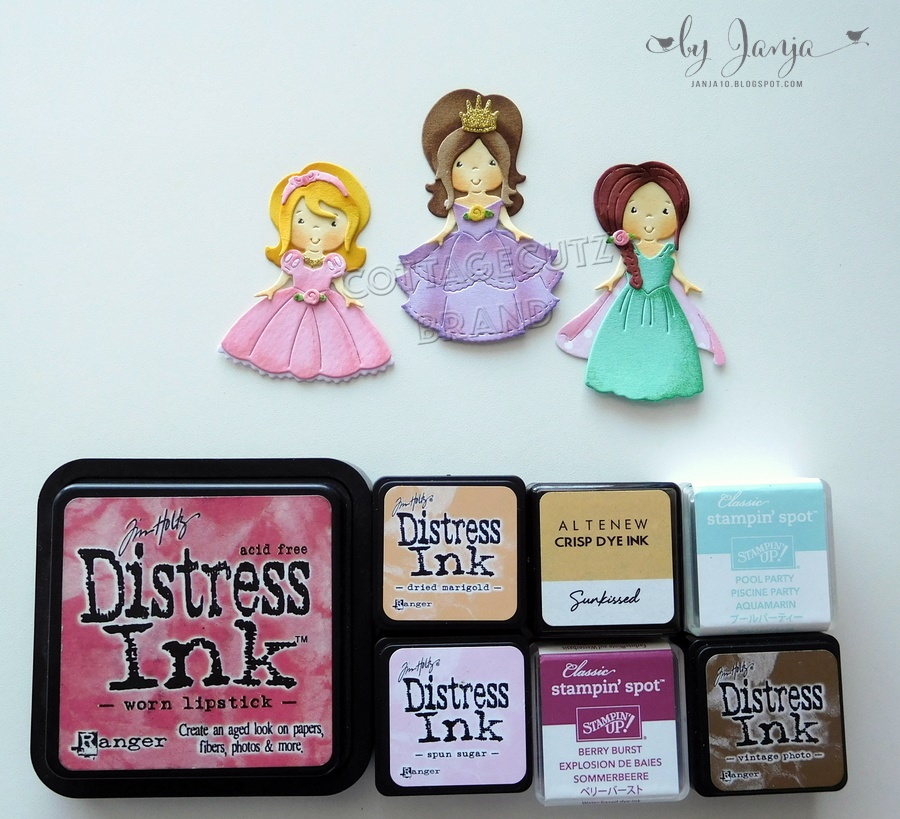
- CottageCutz dies: Little Princess & Roses, Fresh Spring Floral, Cross-Stitched Square Set, Nested Stitched Scallop Square Set
- white card base: 4.6 x 4.6” (11,7 x 11,7 cm), folded
- colored cardstock
- colored ink pads
- white foam
- glue, double-sided adhesive tape

First we cut out the wreath and roses.


Cut a white square with the largest die from the set. Create a background with a spray or use a stamp.
Stamp a sentiment.


Cut the wreath into four parts with scissors. Paste them into the background with glue.


Now place the roses as in the photo.


Prepare a white card base. Cut two squares. Use a foam and a pink cardstock.


Assemble the card.


Have a nice day.
Janja


Saturday, May 25, 2019

Princess Birthday

Hello Scrapping Cottage friends! Thanks for taking the time to stop and visit with us today. It's Mary Marsh here bringing you the Saturday edition of the Blog.

We are still featuring cards using the new Magical Fantasy release.  If you haven't seen the Magical Fantasy release yet, you have to drop by the online store and check it out. These new dies are all so cute and whimsical. There are 27 new designs, and I am in love with everyone of them. They are currently on a Memorial Day sale at 25% off.

Today, I am featuring the new Fairytale Castle + Little Princess & Roses dies to create a birthday card for a little girl. The princess theme is so popular with little girls, and I have plenty of friends with little girls and friends with granddaughters. I used a inlay technique for this card. So let's get started with some details on how I created it. 

Step 1: I selected some patterned paper that had a cloud like background. I used a white card base to keep it neutral since its going to a little girl.
card base: 4 1/4" x 5 1/2"
designer paper layer: 4 1/8" x 5 3/8"

I used the 2nd largest stitched circle die (3 3/8") to cut my circle in the designer paper.
I built my castle on the die cut circle. Used the colors on the packaging because they were perfect for this card. 
Stamped the birthday sentiment in grape ink. I knew I was going to angle the Princess sentiment so the card corner was the best spot.
I decided at this point to start some card assembly. I used a double layer of mounting tape on the back of the image panel. I wanted it to be raised up enough so the castle image would sit flat against the card base. 


I cut the Princess phrase in pink cardstock using the Little Princess & Roses die. I cut 2 phrases to make it stand out more on the designer paper. 
I adhered this to image panel with Ranger multi matte medium. I also used the crown that is part of the Princess die. The Princess wand is from the Once Upon a Time Die. 
Well that's it for me for this Saturday. I hope you enjoy the holiday weekend and that there are some fun plans in your schedule. See you next time!

dies I used to create card:


Tuesday, May 14, 2019

Lovely Princesses

Hi, Janja is here with you.
For today, I prepared a quite simple birthday card. To create my card I used lovely princesses from Magical Fantasy release.


- CottageCutz dies: Princess Dress-Up, Little Princess & Roses, Horse & Carriage
- white card base: 5.3 x 5.3" (13,5 x 13,5 cm), folded
- patterned paper: 5 x 5" (12,7 x 12,7 cm)
- glitter paper
- colored cardstock
- colored ink pads
- glue, double-sided adhesive tape, self-adhesive foam pads

Die-cut the princesses and roses from different colors of cardstock. Die-cut the carriage from white glitter paper.
Add the shading on the edges with ink pads.


Prepare a white card base. Trim a patterned paper and golden glitter paper. Attach them to the card front.


Now attach all the cutouts to the background with self-adhesive pads and glue as shown.


I hope you like it.
Have a nice day.
Janja


Sunday, May 12, 2019

Little Princess


Hi!

It's Anja here. I made another card using new Magical Fantasy Designs. I combined it with a few older dies and made a card for a little princess.


For this card I used:
- Cottage Cutz dies (Little Princess & Roses, Princess Dress-Up, Springtime Window, Ivy, Dogwood Branch),
- Distress Inks (Pumice Stone, Vintage Photo, Mustard Seed, Spun Sugar, Peeled Paint, Worn Lipstick, Mowed Lawn, Tattered Rose, Shabby Shutters),
- white card base (21x10 cm),
- white card stock for die cuts and background,
- grey card stock for background,
- bricks embossing folder,
- white pigment ink,
- gold pigment ink,
- black pen,
- cutting knife,
- paper glue.

First I cut and colored the window.


Next I cut and colored the sentiment.


Then the flowers and the princess.


And last ivy leaves ...

... and two branches with flowers.


Next was the background. I cut and embossed two pieces of grey paper (10x3,5 cm). I used white pigment ink to color the bricks.


Next I cut and embossed white piece of paper (10x14 cm). I cut a square out of it using a cutting knife.


And when I had everything cut  and colored I arranged all the pieces and glued it on the card base. And my card was made.


This is all from me for today.

Have a nice Sunday.

Anja Z.

Cottage Cutz dies I used: