Happy Saturday!
Kathy here with you today with a cute Easter card using CottageCutz's Lil' Spring Chicks and Oval Doily & Frame.

Aren't these little guys too cute? I love the yellow, white and black color combination. So bright and cheery looking!
Here's a little closeup of the chicks.

I cut the dies out with white card stock and colored them with Thatched Straw (VersaMagic), Banana Bliss, Rusty Nail and Orange Slice (PowderPuffs) chalk inks using makeup applicators. I then added them to the center piece of the Oval Doily & Frame using pop dots.
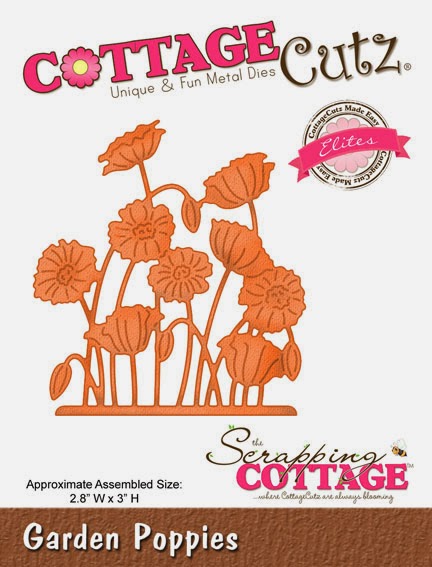
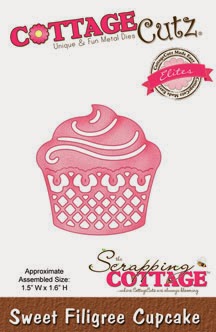
These are the dies I used:


Kathy here with you today with a cute Easter card using CottageCutz's Lil' Spring Chicks and Oval Doily & Frame.
Aren't these little guys too cute? I love the yellow, white and black color combination. So bright and cheery looking!
Here's a little closeup of the chicks.
I cut the dies out with white card stock and colored them with Thatched Straw (VersaMagic), Banana Bliss, Rusty Nail and Orange Slice (PowderPuffs) chalk inks using makeup applicators. I then added them to the center piece of the Oval Doily & Frame using pop dots.
These are the dies I used: