Showing posts with label Holy Nativity. Show all posts

Saturday, October 14, 2023

Holiday Angel

Hello CottageCutz friends! Thanks for taking the time to stop and visit with us today. It's Mary Marsh here bringing you the Saturday edition of the Blog.

It's new release time!!! We have our Christmas 2023 release in the online store that has 40 designs. It's an old-fashioned Christmas theme. You can pick up the individual dies at 30% off for a limited time.

We also have a new Fall 2023 release in the online store with 15 designs. You can also pick up these individual dies at 30% off for a limited time.

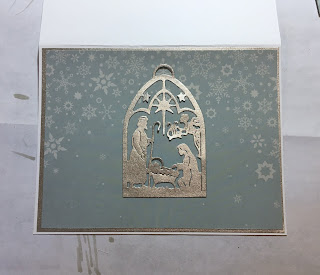
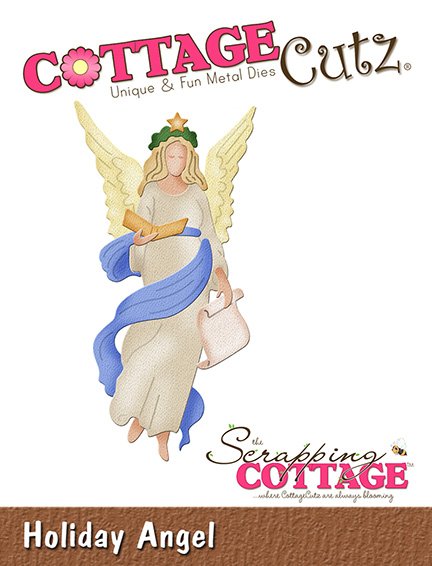
Today for your viewing pleasure, I am featuring the new Holiday Angel die and created a Christmas card that would be easy to recreate for multiples. 

Design Steps:

I used the Splitcoaststampers color challenge #968 for my card colors this week. We were to use lemon-lime twist, daffodil delight and coastal cabana for the color trio. Optional was anything goes. I used designer paper for that option. 

I wanted to do either Christmas or Fall with these colors and Christmas won out. Using the new Holiday Angel die, I thought I could make the colors work for a Christmas card. 
lemon-lime twist, daffodil delight, coastal cabana
We also have the option to use neutral colors and that's a big plus. I used gray for my card base, metallic silver for the layering panel and the gray designer paper. The designer paper reminded me of a starry nighttime sky.

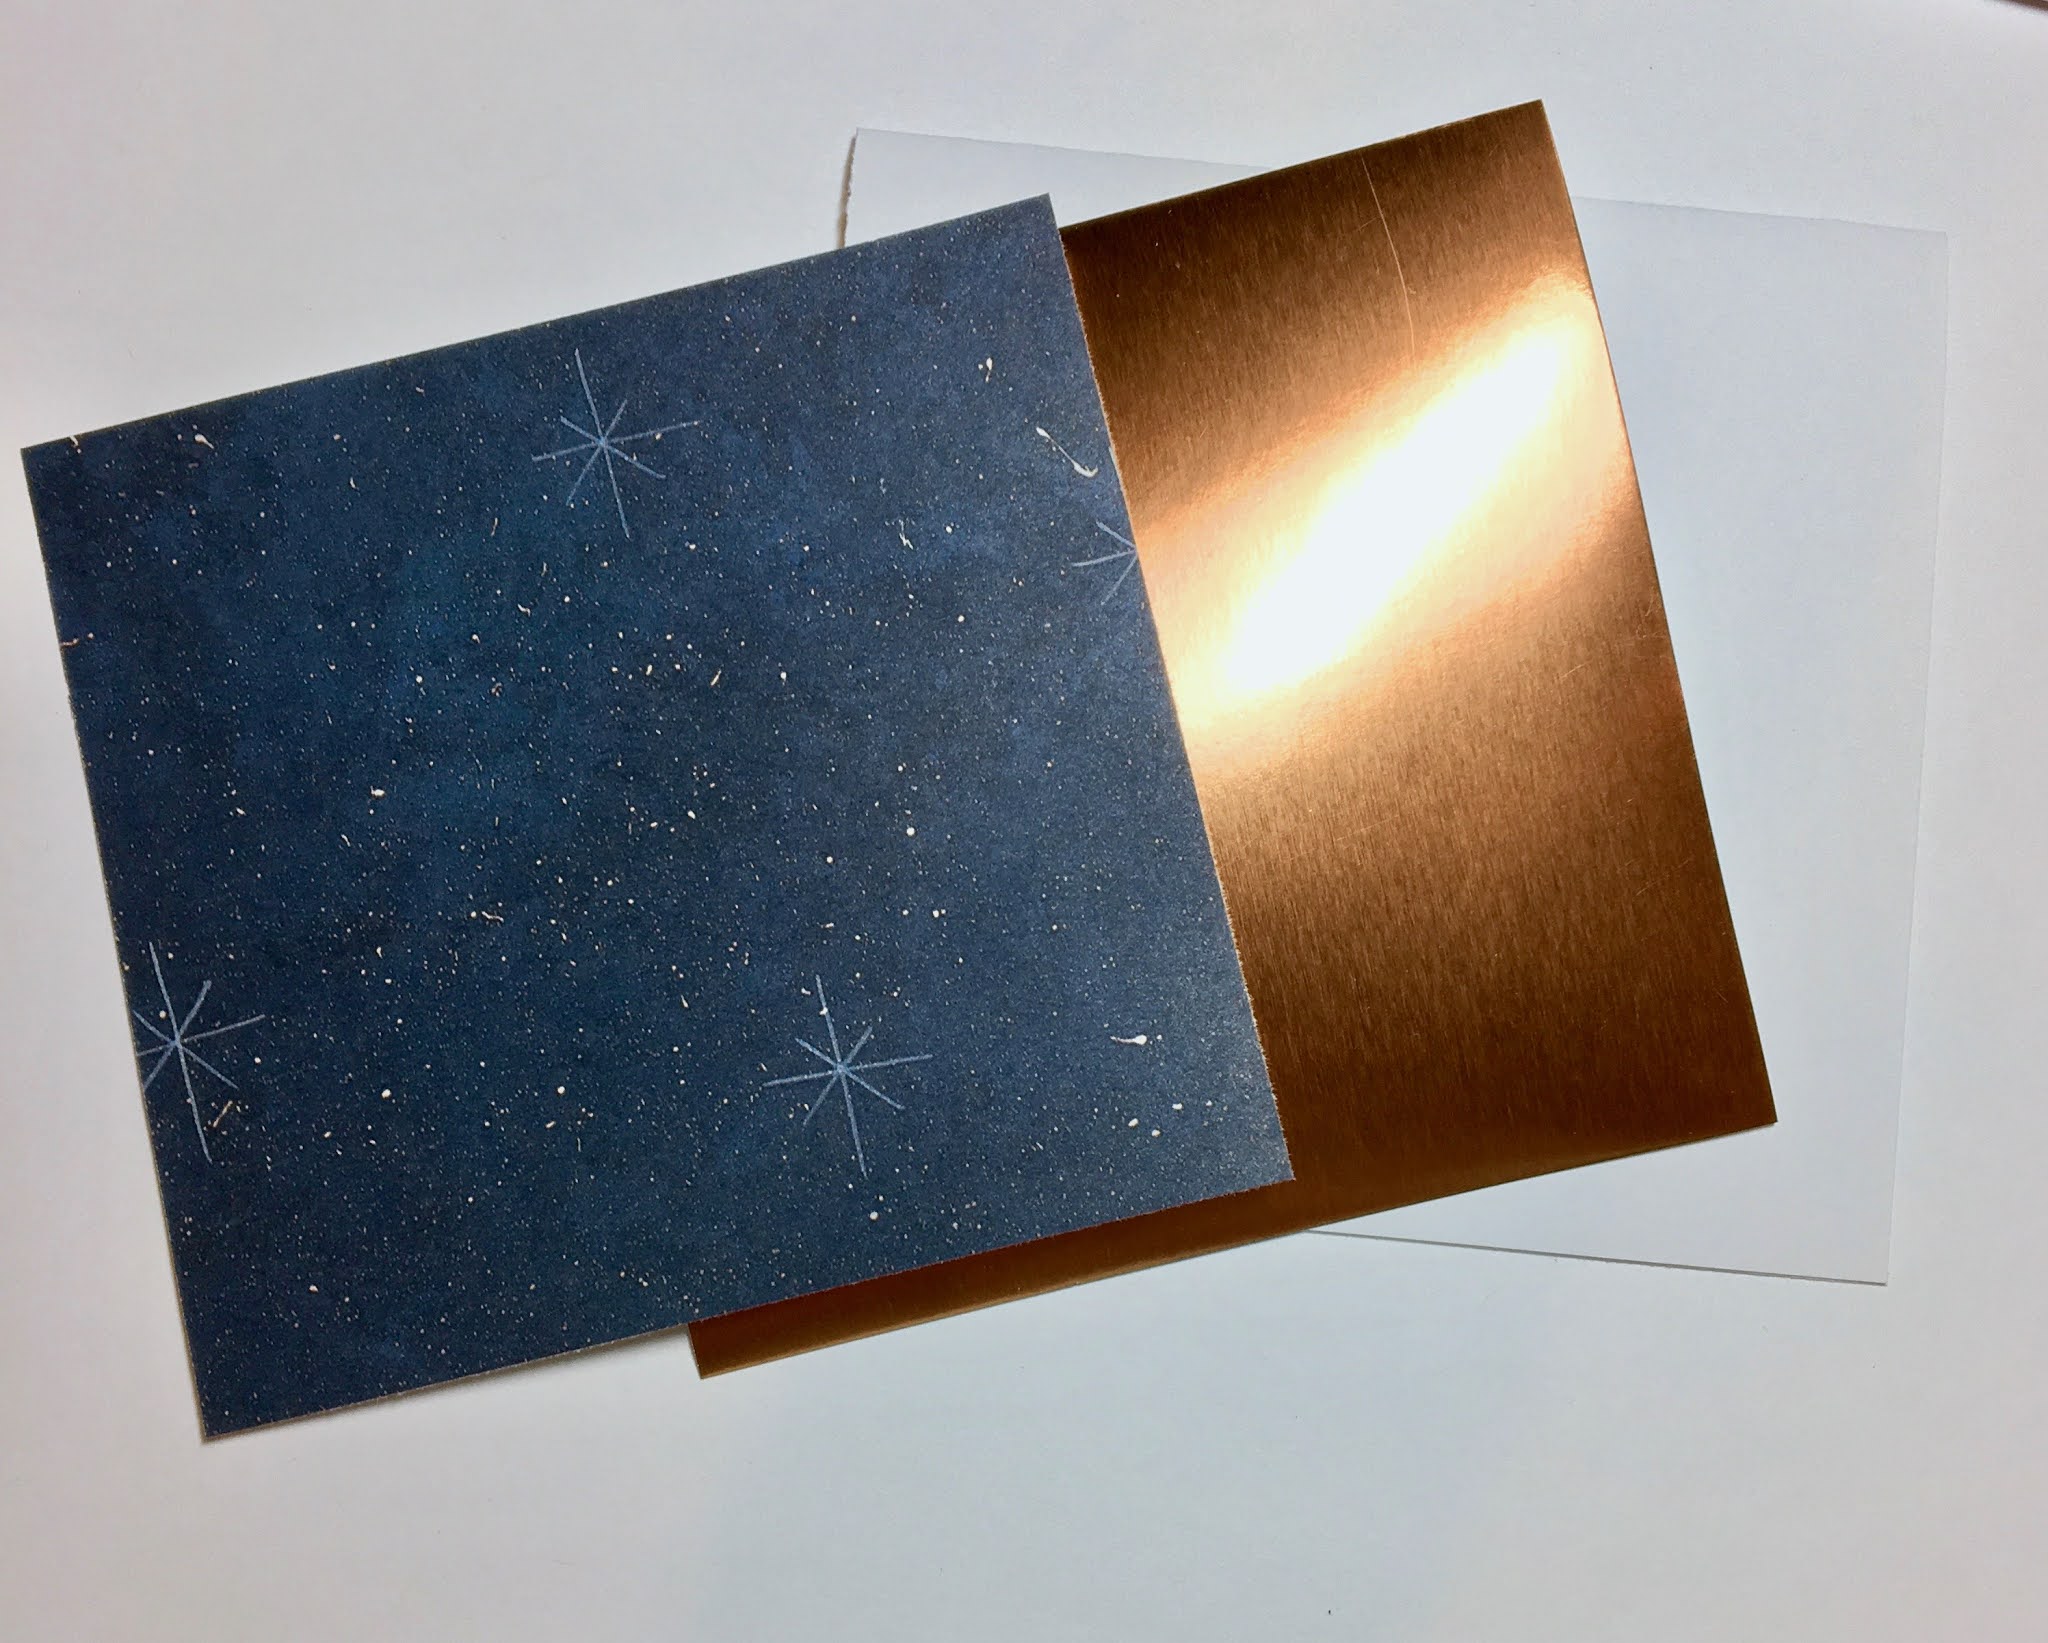
Basic Gray Card Base: 4 1/2"x 5 3/4"
Metallic Layering Panel: 4 3/8"x 5 5/8"
Designer Paper Layer: 4 1/4"x 5 1/2"

 I used the Holy Nativity die (Christmas 2020) and cut just the phrase in black foil.
Cut the angel in a white glitter paper and used the challenge colors for her hair, wreath and sash. I colored her face, feet and hands with Copic markers E00 (skin white) and E21 (soft sun).
I attached the angel with dimensional adhesive to complete my card. That's it for me for this week. See you next Saturday.
Reminder: Marla has a new video and a giveaway on the CottageCutz YouTube channel. Click here.


Thursday, December 23, 2021

Holy Night

Hello Scrapping Cottage Friends

I just want to wish you all a Merry Christmas and a very Blessed New Year!  My last Christmas card for the season is featuring the true meaning of Christmas.  I love cards that bring this message to friends and family.  I am using the Nativity Ornament w/Harp.

Design Steps:

1.  Use an A2 white card base, silver 4 1/8 x 5 3/8, snowy DP 4 x 5 1/4 and using the second from the largest Wide Rectangle Frame die cut out 3 grey DP frames then glue them together
2.  Glue the silver to the white card base then glue the blue snowy DP to the silver
3. Using the Nativity Ornament w/Harp die cut it out of the silver paper.  Using a fine tip glue adhere it to the middle of the card as show above
4.  Place dimensional adhesive strips to the back of the frame and then pop it to the card front over the nativity scene as shown
5.  Using the Holy Nativity die cut out just the sentiment 3 times in a lightly striped DP.  Glue them together and then glue to the frame as shown below.  Add the bow and your card is complete

CottageCutz Products

I hope you have a wonderful Christmas filled with fantastic memories and I will see you next Thursday! And just to remind you we have a wonderful YouTube Channel for more inspiration.  Check it out HERE


Blessing and Take Care

Pam


Thursday, December 17, 2020

Holy Nativity

Good Morning Scrapping Cottage Friends,

Only a few more days until we can celebrate my favorite holiday!  I am all finished making my cards but I thought there is always some surprises last minute. So that is why I thought I would make a few more just in case.   And if I don't use them this year I have a head start for next year!

I am using one of the most beautifully detailed dies today and it is the true meaning of Christmas. The die is The Holy Nativity die.  This is a fancy fold card called Tent Topper.  There is a great tutorial for this card on Splitcoaststamper.  


Design Steps:
1.  White card base 4 1/4 x 8 folded in half.  Copper card stock 4 1/8 x 4, Navy DP 4 x 3 3/4
2.  Glue the Navy DP to the copper card stock then add your white square knotted ribbon.  Glue to the white card base
3.  Use your Holy Nativity die and cut it out using a piece of copper card stock.  Using the same navy DP line the back of the Nativity scene with the DP as shown
4.  Next lay your white card base on you cutting tool our just use a ruler to line up where you are going to place the topper.  Making sure it is just slightly smaller then 5 1/2 so you can use an A2 envelope.  Glue the top in place and your card is complete

I hope you are just about done with your cards!  Now I am on to shopping for family and friends!

Blessings
Pam


Monday, October 12, 2020

Christmas Duo

Hi!

It's Anja here. I made two simple cards for today's post. I usually prefer to create my own scenes on cards, but when a have to make more cards and don't have lots of time, I look for shortcuts. This time I used two dies from the Christmas Part 2 release, Fireplace Scene and Holy Nativity. You get two beautiful scenes real quick and you can easily make a bunch of cards to send to your family and friends for Holidays. 

First I cut the scenes from white card stock and embossed it with two shiny embossing powders. Next I cut the square from the craft card base. I used the biggest square from the set. And last I trimmed a square (10x10 cm) to cover the hole from the back side to hide all the embossing powder leftovers on the back of the cut scene. And then I just glued all the pieces to the card base and my cards were done. 


I wish you all a lovely week. Stay safe and healthy. 

See you again next Sunday.

Anja Z.


Cottage Cutz dies I used for the cards:


Monday, September 21, 2020

O Holy Night

Hi Scrapping Cottage Friend

It Pam sharing with you this fine Monday morning.

I am using a gorgeous die today and it reminds me of the songs O Holy Night and Silent Night.  I have already made at least a dozen Christmas cards so I feel pretty good.  I usually make about 30 cards for special friends and family.  

Background Photo by Jerry Larry on Unsplash

  • This card went together really quickly.  I used a black A2 card base and then cut some music DP 4 x 5 1/4. Glue the music DP to the black card base.  
  • Cut a strip of black card stock 5 1/4 x 1 and glue it to the bottom of the card.  
  • Cut a piece of tan DP for the hills 5 1/4 x 3 and glue it to the music DP just above the black strip.   
  • Cut black card stock using the die Nativity Christmas Scene.  I decided to add just a touch of sparkle so I put some gold DP behind the star and and then glued the manger scene to the card.  
  • For the sentiment I used the Holy Nativity die cut out of black card stock.  As you can see I cut the O Holy Night from the bottom of the die then added gold DP to the back of the sentiment and glued it to the card
  • For the inside of the card I used another die Night in Bethlehem.  I cut it using black card stock and then glued it to the bottom of the inside of the card.  Stamp your sentiment and the card is complete

CottageCutz Products


Thanks so much for stopping by today and please take the time to stop by the online store.   As you can see we have some wonderful dies for this most holy time of year.
Blessings
Pam