Showing posts with label Flowers. Show all posts

Friday, February 03, 2017

FLOWER OF THE MONTH-FEBRUARY


Hello !!!!
This is Anita here!!! First let me apologize for not posting last week as I was on vacation and was out of all internet connections. Now I am back, refereshed and recharged and rearing to go with new projects.
CottageCutz has come up with amazing line of stamps and die combos that are too adorable. I have loved each one of them and you too I am sure will like them. You can check these HERE and HERE and HERE

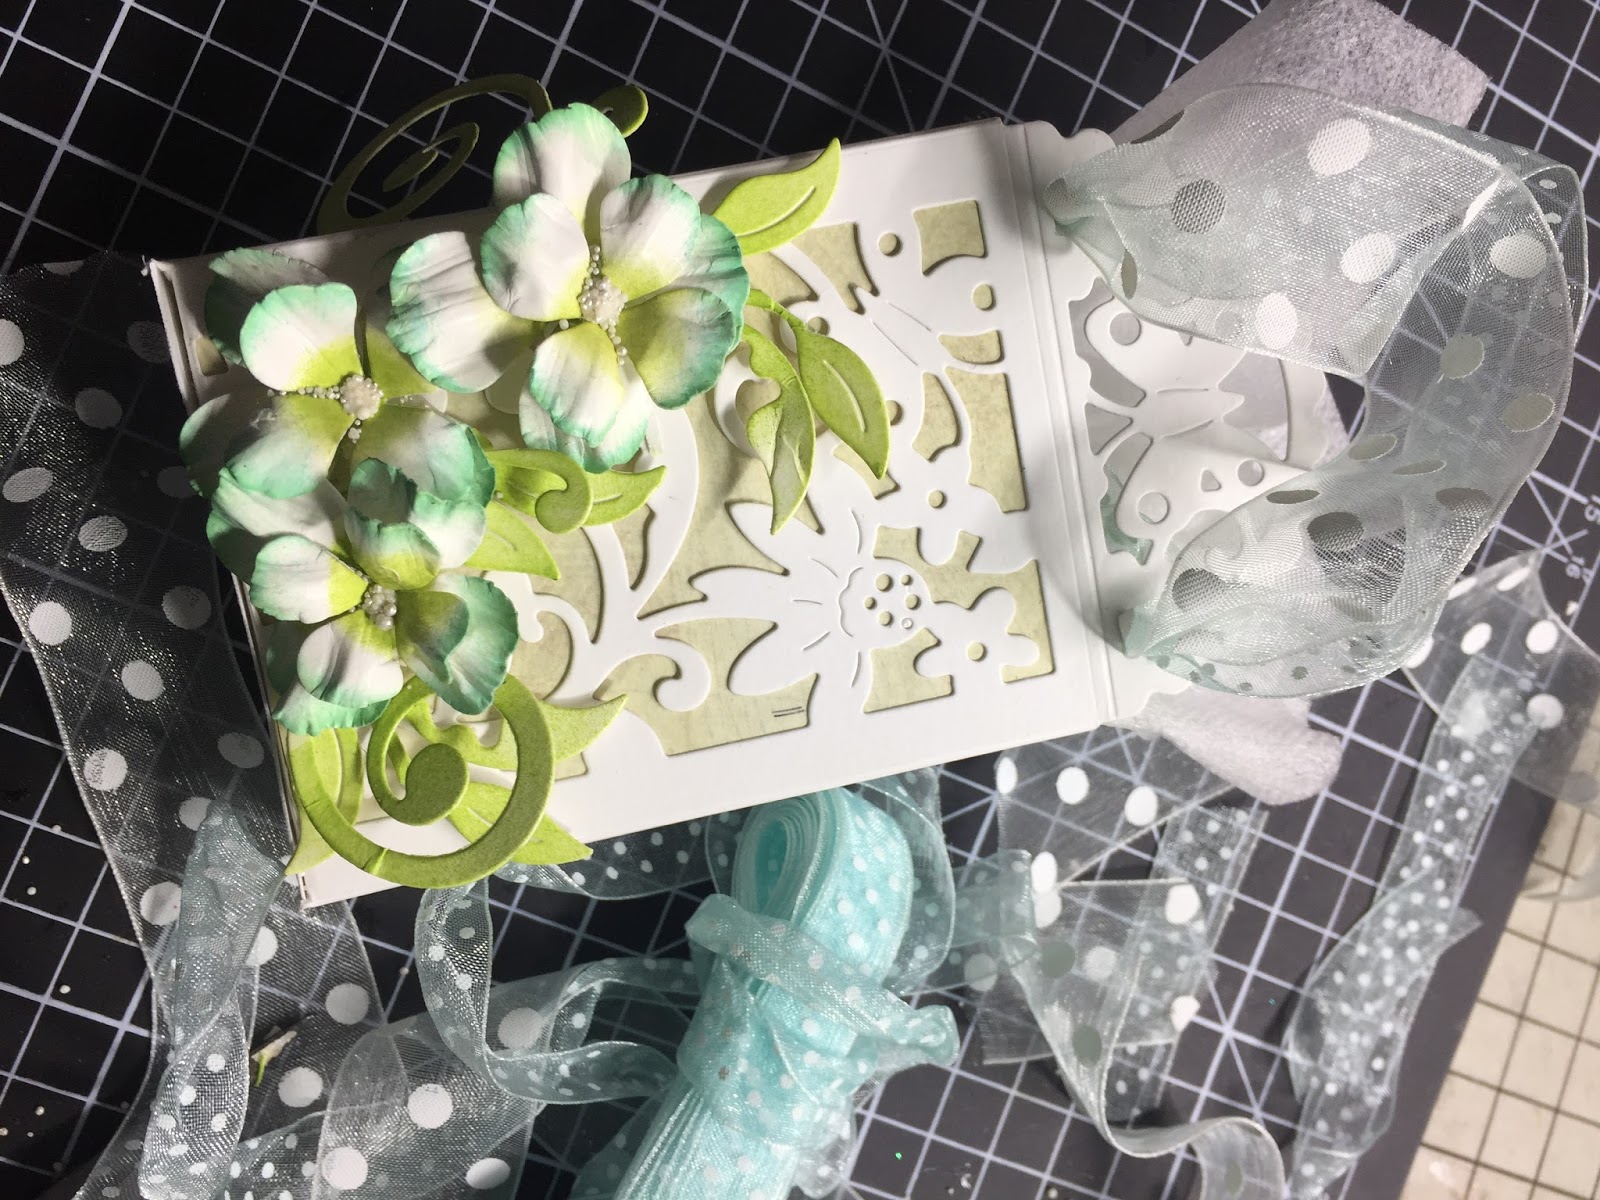
Today I am going to feature one of my favourite floral stamp-Violets-February


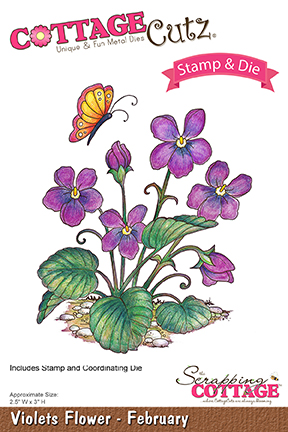
This is a beautiful floral stamp with matching die and colouring this is so much fun. I have made two cards here which inspite of being simple are yet very pretty.
So have a look.


To make this, I gathered my stamp and die set, some water colour paper and Zig real brush pens. I stamped the image on a white card stockcut with Memento Black ink and cut it with coordinating die.


Colour the image as shown.


Adhere the image on Cross stitched Oval die with 3d Foam tape.


Cut oval frames using the Cross stitch Oval set. You will need three broad frames and one narrow frame.


Adhere all together and distress the narrow frame as shown.

For the backing , place the oval die cut on a pattern paper and cut out the oval shape. Adhere to the back.

Score a card front on the score board. Add some quick water colour. Adhere the oval panel.


  The finished card


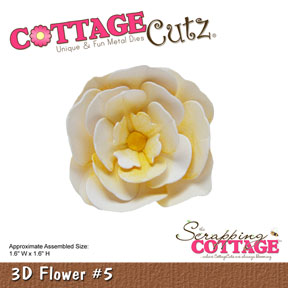
 CottageCutz Products used
CottageCutz Violets - February (Stamp & Die)

I have another card that I wanted to share with you. It is showing the same Violet flower set. I liked the finished result with both the soft water colour and the bold colour. I have stamped and coloured the image on water colour paper using zig brush pens to colour. The colouring has a washed effect which adds to the beauty of these flowers.


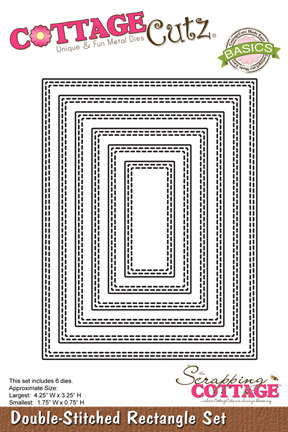
Here I have used CottageCutz Double stitched Rectangle die to create the frames of my card.

I hope you liked my cards. There are many more floral stamp and die sets for each month and all of them are so beautiful. Do try them . 
Hope you had a good time here. 

Friday, December 09, 2016

DAINTY AND DELICATE GIFT BAG


Hello to all!!!!

Its Anita here!!!!
December means Christmas and Gifts . It is always so wonderful to create handmade gift bags and boxes to give gifts to our loved ones.

Here I have created a pretty , dainty and delicate gift bag using CottageCutz dies. It is adorned with tiny flowers and can contain candies, some jewellery or even a small perfume.

Here is my project followed by the intstructional pictures.


Cut out the die cuts from the CottageCutz Filigree Butterfly Pocket die, Leafy Swirls, and 3D flower# 5. Colour the flower and swirl die cut with Blue and green distress inks.


  Score along the lines on the pocket die.


Cut out two pattern papers from measuring 2.5 Inches by 3.5 Inches to add as inserts for both packet dies. Adhere from back.
  

Add tacky tape on the sides of one die cut.


 Secure the tabs to form a box
  

 Add a small flap at the bottom to close the base.
  
Arrange the flowers and leaves along with ribbons for handles


  The finished gift bag


 CottageCutz dies used

Leafy Swirls
3D flower # 5
Filigree Butterfly Pocket Die

Other products

Distress inks, ribbon, tacky tape, pearl prills.


I hope you liked my project. Do share your creations and happy crafting !!!

Saturday, October 22, 2016

CHRISTMAS FLOWERS IN AN ENVELOPE

Hello everyone.
It's Anita here .Christmas preparations are in full swing everywhere. I am busy with making cards as there is long list of friends and relatives who long for my handmade cards.
My card today has a Christmas feel but its not a regular Christmas card.
I have added my favourite flowers in red and put them all in the beautiful envelope die cut as if its gift of flowers.
So do have a look.


Instructions

The finished card measures 7 inches by 5 inches.
Emboss the card front in an embossing folder.
Distress lightly with shabby shutters distress ink and Memento Angel Pink ink. Distress the edges with Abandoned Coral Distress ink.
Cut a die cut from Dual Stitched Rectangle Die and adhere on to the card front.
Cut a die cut from the Envelope die . Fold and stick in the middle of the rectangle die.
Add some hay fillers inside the envelope and add the flowers and leaves.
To make the flowers, Cut them using the 3D flower die and colour with Abandoned Coral Distress ink. Apply Crackle Medium on the flowers and apply glass glitter. Layer them when dry.
The leaves and green flower are cut from the pattern paper from my stash and then spray green mist on them . Use them when dry.
Arrange all the flowers and leaves as shown. Add a double layer of bow after colouring it with Abandoned Coral Distress ink.
Add a Sentiment.

CottageCutz dies used.


You still have time to enter in the Fall theme challenge here

I hope you liked my card. Do leave your feedback.


Tuesday, March 01, 2016

Happy Spring!

Hello Everyone!

It's Donna here and I am so excited to be here. This is my first post as a design team member. This is going to be so much fun to share with you the CottageCutz dies! For my first post, I am sharing with you a Spring card. Spring is right around the corner, and I don't know about you, I am so ready!!! The die I am using on my card is the “Miss Daisy Spring Bunny” 4x4 die.


Here is how I put my card together!

The base of my card is an A2 (5 ½” H x 4 ¼” W ), I used Regal Rose cardstock by Stampin' Up. I have several layers on this card. The first layers are 4 ¼’ H x 4” W and 5 1/8” H x 3 7/8” W. The square layers are 3 x 3 and 2 ¾ X 2 3/4 and the stripe across the middle of the card is 1”H x 4 ¼ W. The design paper is by Authentique – Springtime.

I cut the elements from the “Miss Daisy Spring Bunny” 4x4 die with cardstock; I used a small sponge to ink the edges and shadows. I used the following colors, which is all Stampin Up cardstock: Bunny cut out of Crumb Cake and used Crumb Cake to ink. The leaves Garden Green, inked with Garden Green, and the flowers are cut out of Daffodil Delight and inked with Daffodil Delight. I used a white gel pen to put in the eyes.

The butterfly, I only used the top layer and I colored it with Copics – R81 and 85 and added some clear Wink of Stella so it looks like it is sparkling.

To assemble my card, I used foam tape to pop up the bunny, pieced the flowers on the greenery and adhered it to my card so that it looks like the bunny is sniffing them. I put foam tape on the butterfly and popped it up on the card. I added my sentiment, and to finish the card I added the button with some floss which was from my stash.

I hope you enjoyed my post today and I have inspired you to check out CottageCutz so you can be creative.  Please come back again soon to check out some more projects made with the CottageCutz dies!
 

Sunday, April 01, 2012

CottageCutz Spring Release

Hello everyone, and Happy Sunday to you all! My card for today features the new Spring Release. Im loving these new CottageCutz dies by The Scrapping Cottage, and you will too!!
So for my card today I used these 3 CottageCutz:

For the Zinnia Flowers I cut them out in Cryogen White Card Stock and spritzed them with Glimmer Mist. I then put them together with Liquid glue. Next i cut my vine out with green card stock and thought a little green for this card would be perfect. I wanted to keep it a little simple on this one so you could see the beauty of the flowers and card stock i used. Also wanted you to be able to see the Magnolia Doily how I layered it with a circle. I then stamped my sentiment "on your special day".

I made a double bow, using 2 different ribbons from RRR. Then added my button.

Here are the close ups to see the shimmer and ruched card stocks i used.


thank you for stopping by and hope you will be back tomorrow we will have some exciting news to share with you all!!!

Hugs to all,
Cheryl