Showing posts with label Farm Fence Slimline. Show all posts

Wednesday, February 22, 2023

Double Z-Fold Farm Scene

Welcome CottageCutz friends!

Kris here with some Wednesday inspiration for you!  In honor of our HUGE President's Day Sale going on right now, I've created a fun Double Z-Fold card using lots of dies that you can find on sale - up to 83% OFF! Shop early for best assortment - sale ends this Friday 24th!


This card was so much fun to make!!  We've lived right next door to an upscale ranch for 26 years, and have been lucky that they only keep the baby calves and their mamas in the field that borders our fence.  They're so cute when they frolic and play.  So I just HAD to buy a few cow dies. 

DESIGN STEPS:

1.  I cut a piece of light blue cardstock 4-1/4" x 11" - then scored at 5-1/2" and 2-3/4" (card base).

2.  I cut  a piece of lime green cardstock to 4-1/4 x 11" - then scored at 5-1/2" and 2-3/4" (grass).


3. I cut the lime green panel into (2) pieces of 2-1/4 x 11.  One of the panels I cut off the 2-3/4" end to make it a 2-1/4" x 8-1/4" piece.

4.  I die cut the tops of both green pieces with the Grass Slimline die - 83% OFF!!  ***BE SURE you are cutting the correct edge --- the longer green piece will have the 5-1/2" section on the left and the shorter piece will have the 5-1/2" section on the right!  


5.  I glued the shorter lime green piece to blue card base, clear to the right and aligned with bottom edge.  (You may find it easiest to attach just the part before the score line, then fold your card onto the short scored part so your card will fold flat to fit into an envelope.)  

6.  I glued the longer lime green piece to the front ***ONLY glue 1/2 of the longest scored section... and then the shortest outside edge section as pictured below.

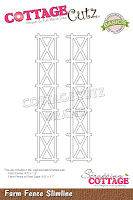
7.  I die cut the Farm Fence Slimline - 83% OFF!!  and scored it at 2-3/4" and 5-1/2" and glued it to the front grass piece as pictured.


8.  Next, I die cut all my design pieces and inked 'em up, and assembled!  

Just LOOK at all these SAVINGS!!  


9.  Glued everything in place and done!  ☺☺☺ How cute is this?


This card folds up to fit into an A2 envelope ☺


PRODUCTS I USED:


I hope you're inspired to see what you can create with your favorite CottageCutz dies!!
~Kristine

Tuesday, April 26, 2022

Emu..sing Birthday

 Hello CottageCutz Friends

It is Pam sharing with you today!

I have created a funny little birthday card today.  I made it using the new release die called the Emu.  There are 14 different dies in this release and all of them are just as cute as they can be!!  If you haven't checked out the Australian Friends Release click HERE. 

Design Steps:

1.   Using the Emu die cut out the pieces in dark brown, light brown and black.  Shade the pieces in black ink and dot his eyes with a black marker.  Assemble with a fine tip glue
2.  For the Mini Slimline card base use a piece of white card stock 6 1/2 x 6 1/4 folded on the 6 1/2 inch side.  Cut a piece of white card stock 6 1/8 x 3 1/8 and blend blue ink onto it using a brush
3.  Using the slimline Grass and Farm Fence die cut out the grass in green and the fence in white.  Also for the background use the Outback Trees die and cut out two palms using brown and dark green
4.  Glue the pieces to the inked blue card stock as shown above
5.  To give the card a little pop of color I used the Koala Bear w/Floral die and cut out 5 yellow flowers and 4 green stems of leaves
6.  Glue the flowers and stems of leaves as shown above and then add some tiny pearls to the center of the flowers
7.  Pop up the Emu and add your sentiment.  Your card is complete

CottageCutz Products


We have more inspiration on our YouTube Channel check it out HERE
Thanks so much for stopping by!  And I will see you next Thursday.

Blessings and Take Care


Tuesday, December 28, 2021

Z Fold Campin Out


Good morning CottageCutz fans, I hope you are enjoying the festive break. If I see another turkey I think I’m going to explode. It’s Wendy bringing you the blog today and it’s a pyjamas and movie kind of day so I’m making most of taking it easy.

Today I’m bringing you a Z-Fold card. I’ve never made one f these before but there area. However, there are ton of tutorials on You Tube so check them out.

To begin with I assembled the Z-Fold card base and used the ‘Grass Slimline’ to cover the base. I then used the Farm Fence Slimline above which i thought look really cool.

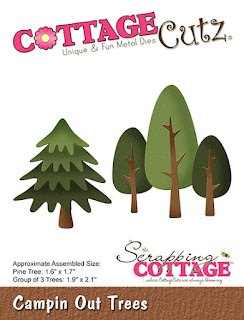
Next I cut out some of the trees from the ‘Campin Out Tress’ die and dotted them around the card. I used some chalk to make them look more realistic.

I then used the ‘Clouds Slimline die for the top of the card 

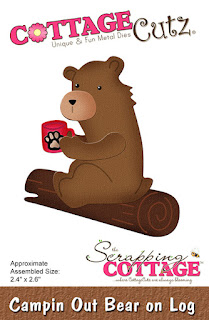
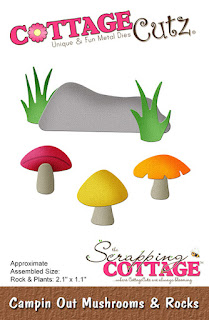
To finish I added the Moose and Reindeer by the fire with their mugs of hot chocolate. Also the mushrooms. I’ll list all the dies below

I really hope you like today card. I had fun making it. 

Enjoy the rest of the week and i will be back with a full tutorial on Friday
Hugs
Wendy


Dies used:


Monday, July 12, 2021

Herd it's your Birthday!

Hello!  This is Sukie and today I'm sharing a slimline card. I'm excited to use one of the dies from the new Slimline die release.  There are 20 new dies in this amazing release! I combined the new die release with the original Slimline dies and the Country Farm dies to create a fun birthday card.

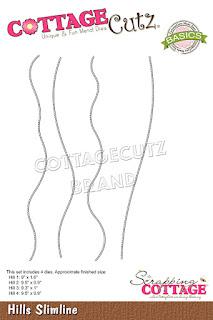
My card base was cut with the Nested Stitched Rectangles Slimline die set and layered with the Hills Slimline die cut. The Farm Fence Slimline was trimmed down a bit to leave enough space for the Farm Truck w/Animals.  The Baby Farm Animals finished off the adorable farm scene along with a fun sentiment sign.
Here are the die set used on my card, available in the store: