Showing posts with label CottageCutz Nested Scallop Circle Set. Show all posts

Friday, August 27, 2021

Hello My Finned Friend

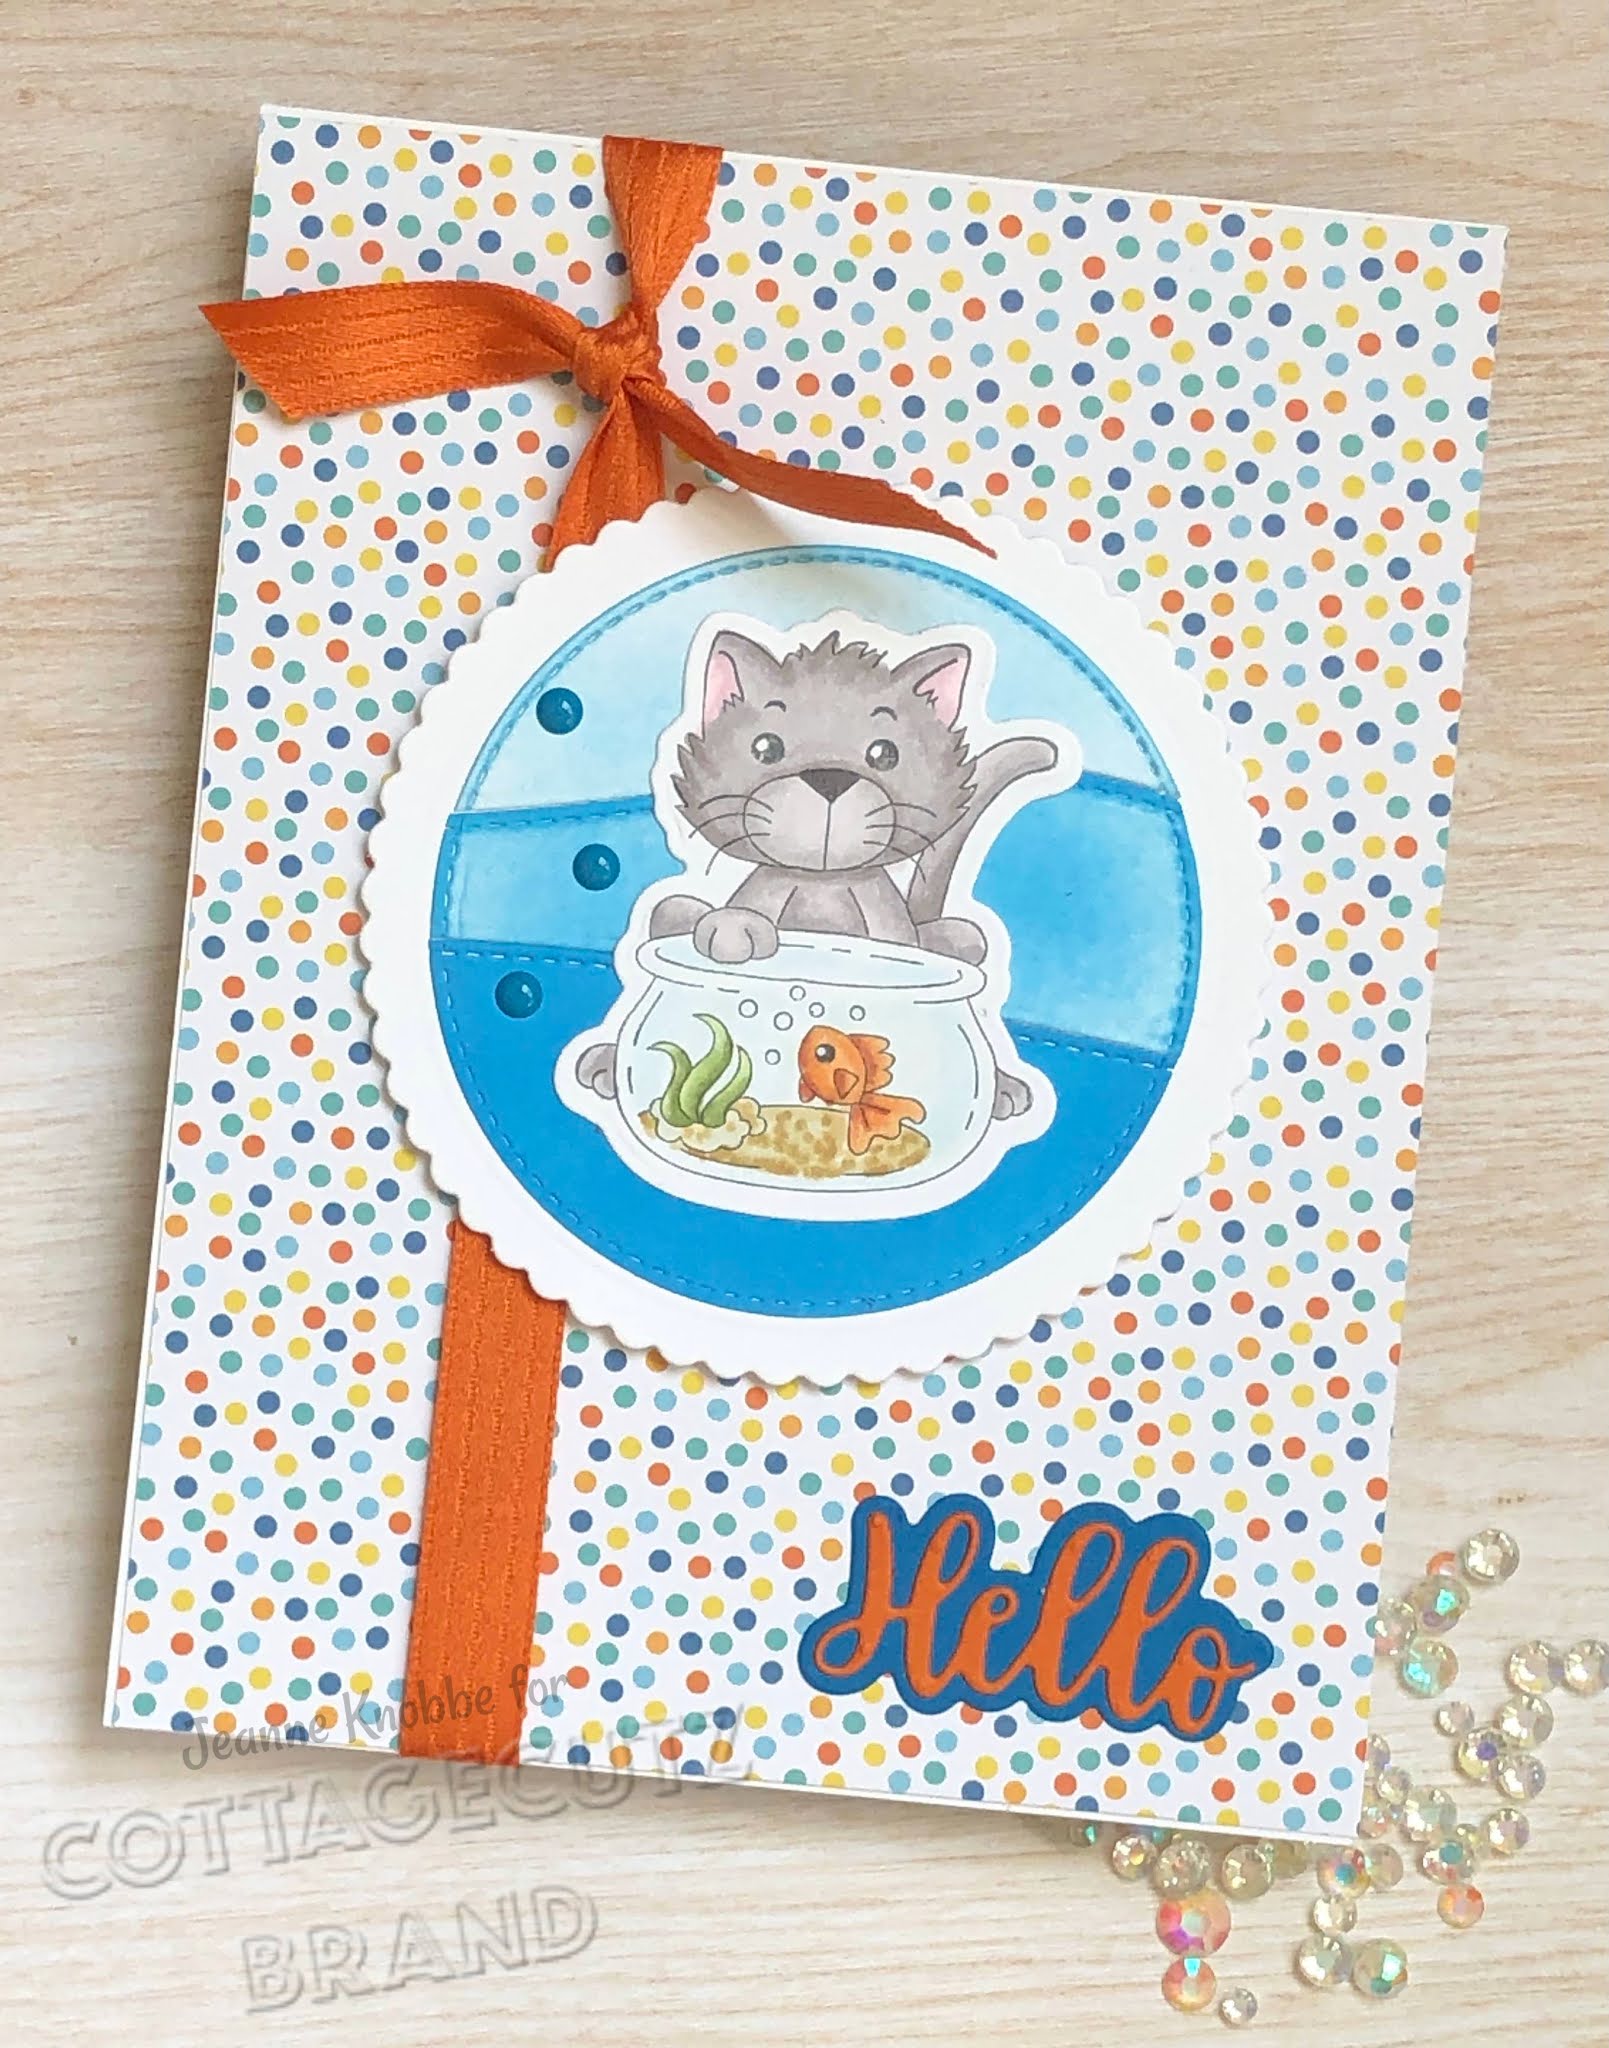
Happy Friday!  It's Jeanne bringing you the Friday edition of the blog.  My card features one of the new stamps from Lil' Bluebird Designs and one of the new sentiment with shadows dies.  Right now both of these releases are on sale for a limited time!

I started by coloring the cat and fishbowl from the Kitty Love stamp set and cutting the Hello using the Hello with Shadow die.

I used mostly Spectrum Noir Tri-Blend markers with a few Copic markers.


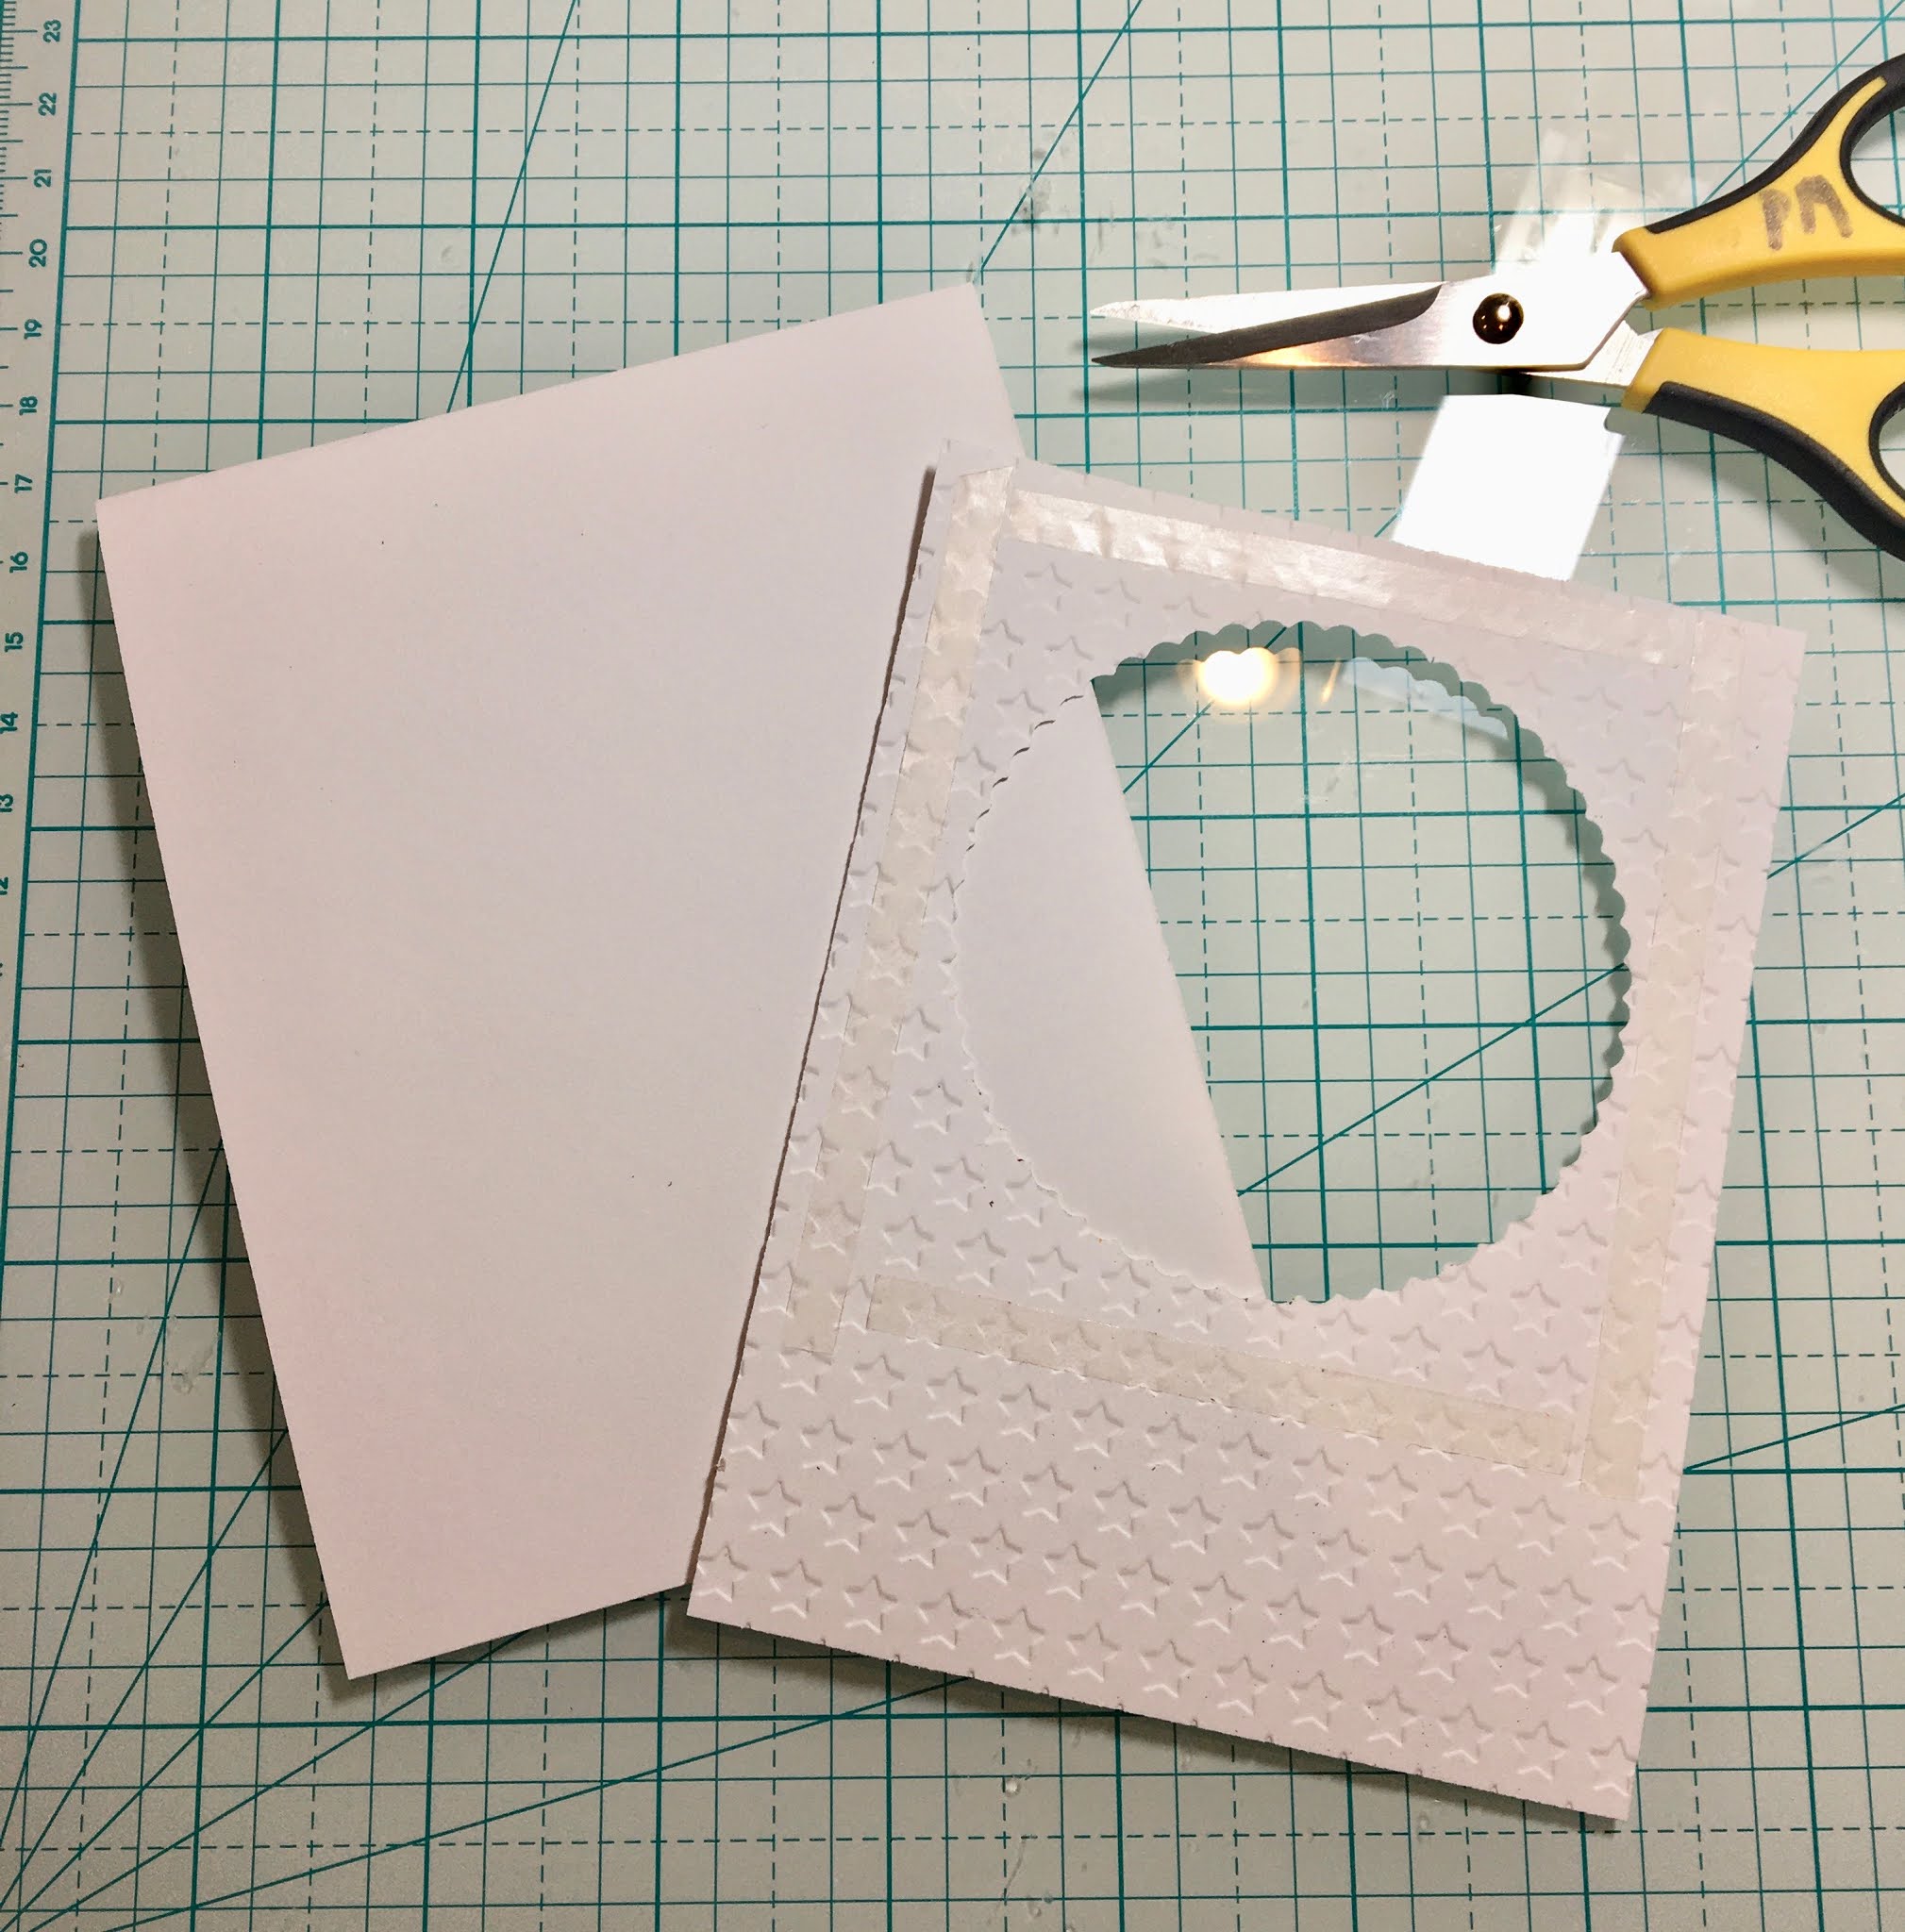
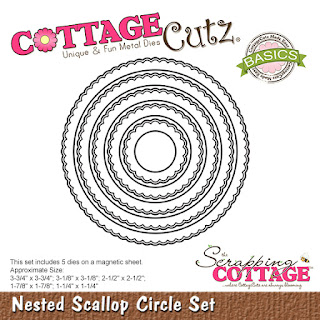
Next I cut an A2 panel from patterned paper and a scalloped circle using the second largest of the dies and a stitched circle also using the second largest of the dies.

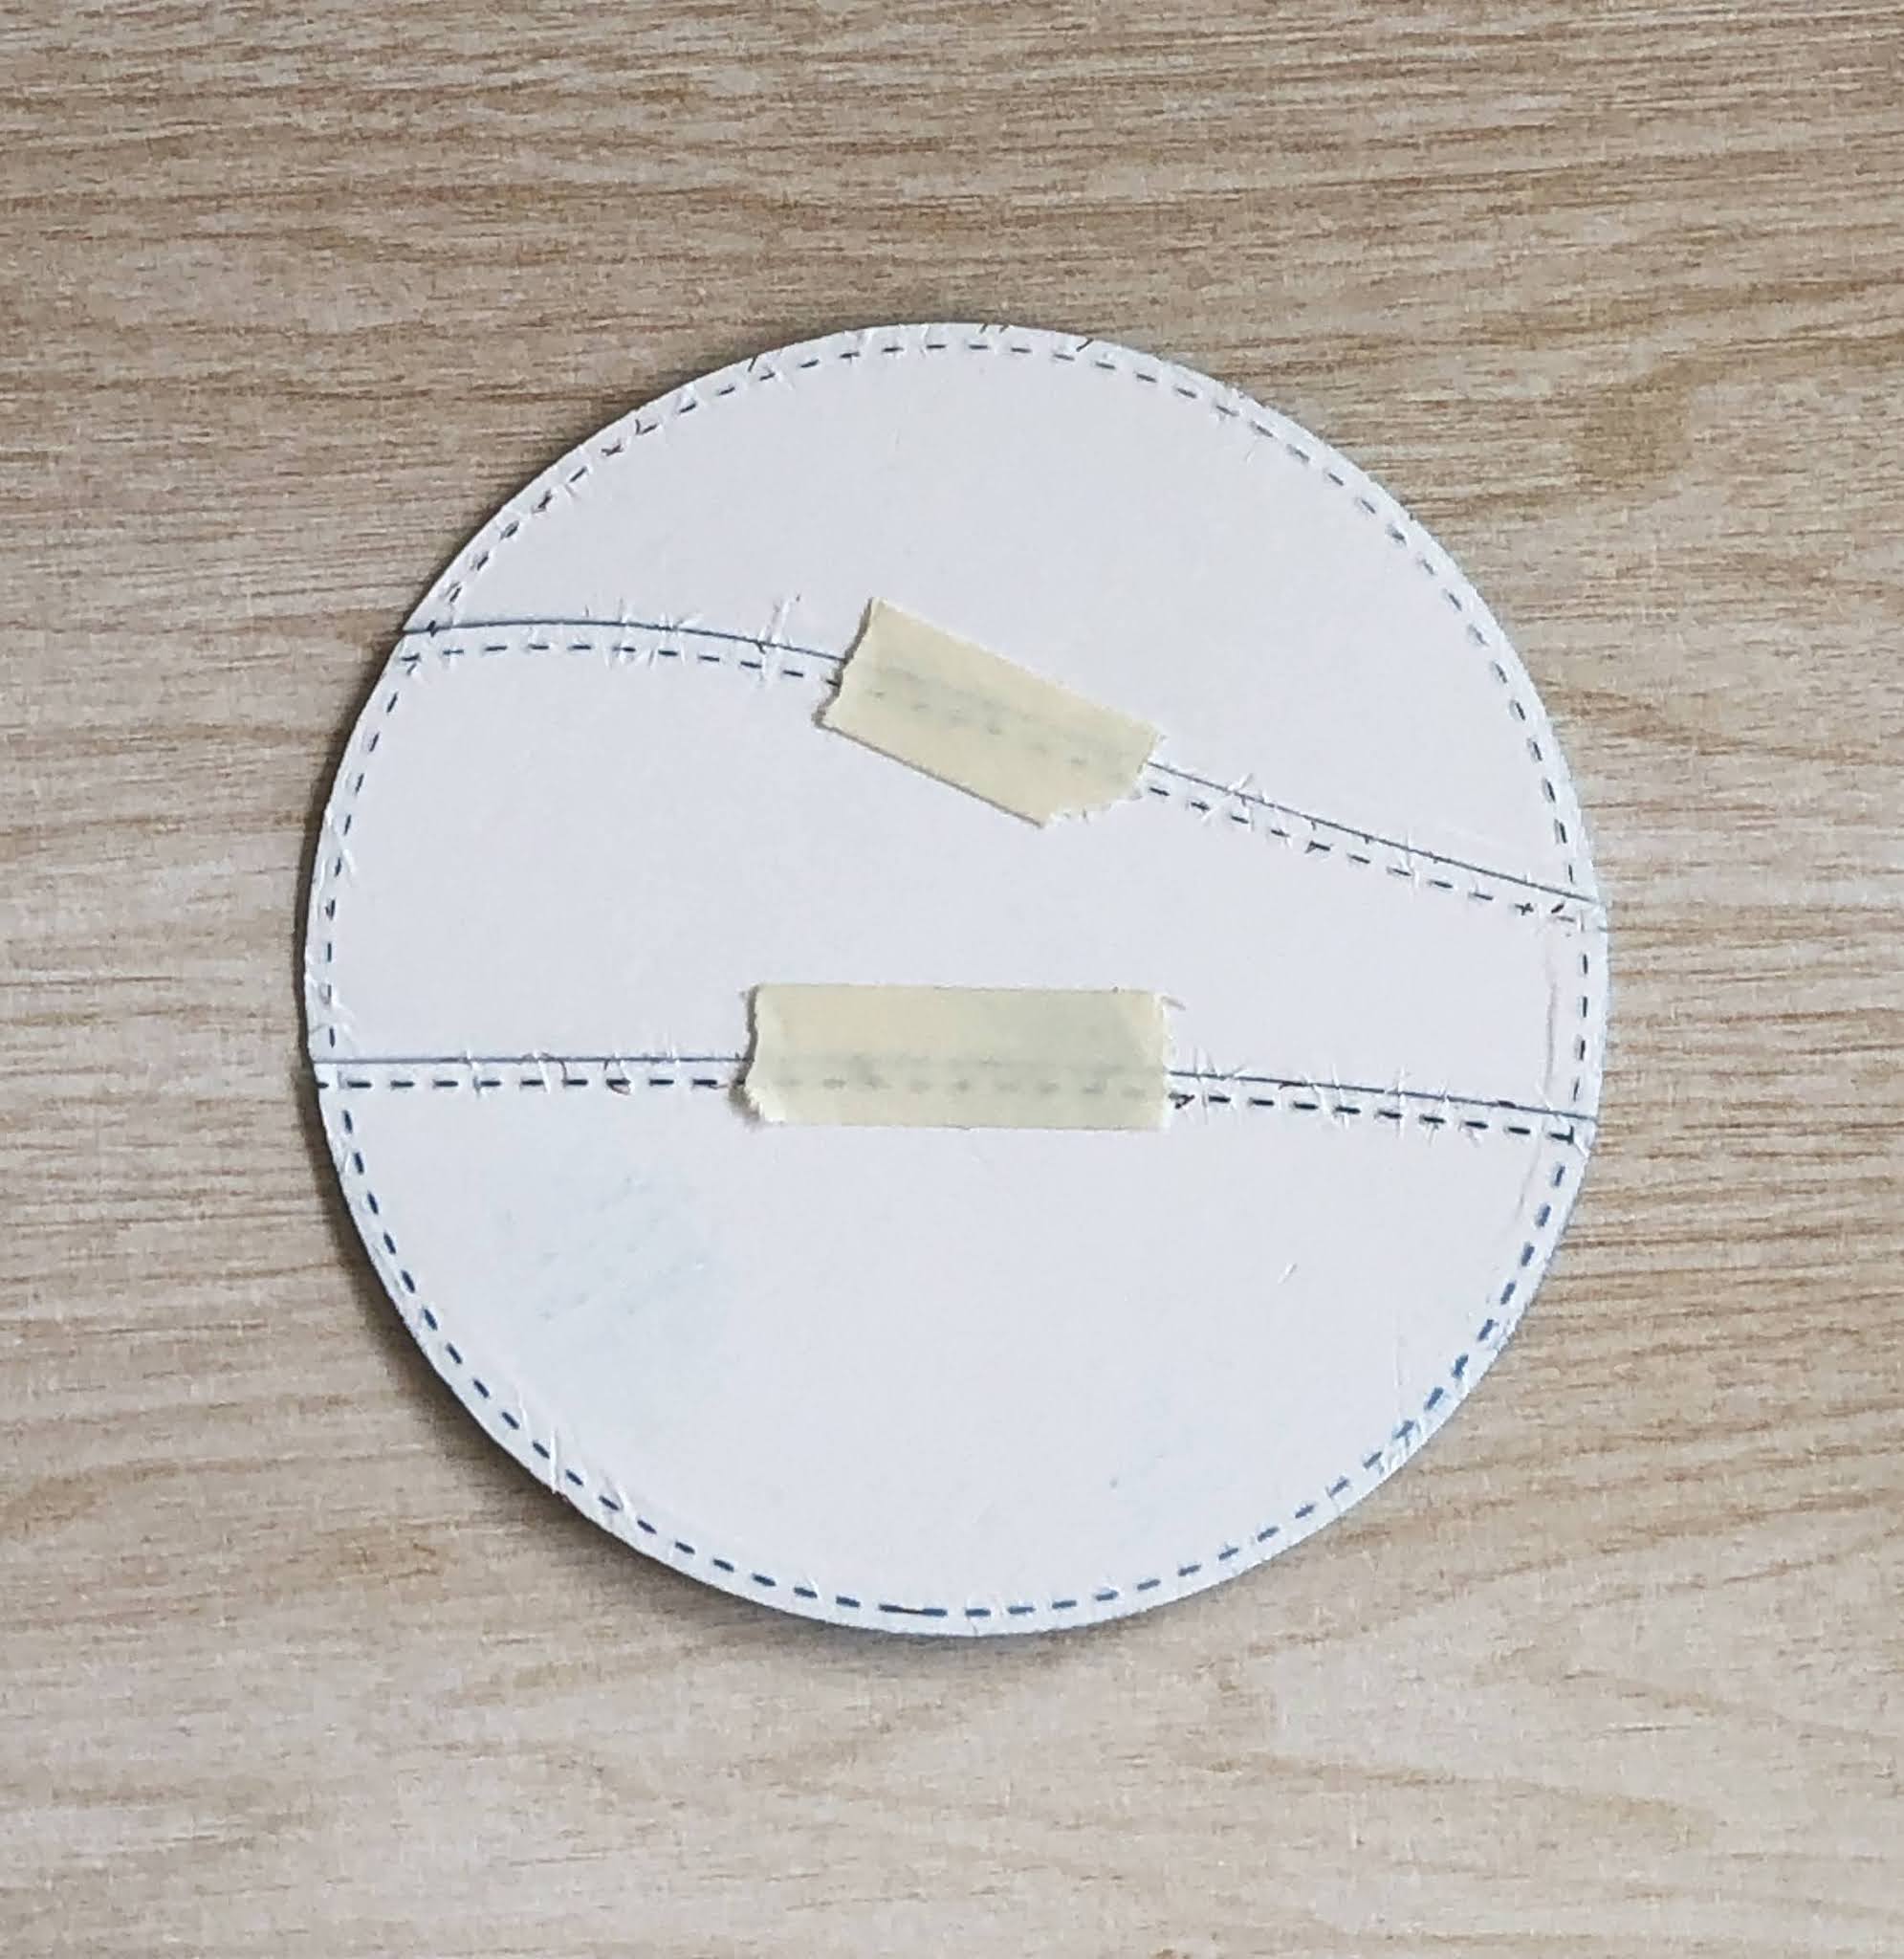
To get my ombre panels I first colored the whole circle using Distress Oxide ink and a blending brush.

I then used the Hills Slimline die to cut a curve about 1/3 of the way from the top.  Setting the top portion aside, I inked the rest of the circle.  Then I cut another curve, set the upper portion aside and inked the bottom portion. This gave me three gradated panels for my circle.


I turned them over and used double sided tape to hold them together.  This allowed me to flip them over  and glue them as one piece to the scalloped circle.


 I used a coordinating ribbon on the left side of the panel.

Using foam tape I popped up the circle over the ribbon.

I added my kitty, the sentiment and a few enamel dots to finish it off!  I hope you've enjoyed my card today.  Be sure to visit the online store to check out these and other stamps and dies from the new releases!

Products used:


Thanks for visiting today!  I hope you have a fun creative weekend!


Thursday, January 21, 2021

Birthday Clown

Hello Friends

Today,  I am continuing to make my 2021 cards.  And I wanted to do a shaker so I decided to use the happy little clown with the handful of balloons to create a fun birthday card.


Design Steps:
1.  Use a white A2 card base cut a piece of white card stock 4 x 5 1/4 and then use the second from the largest Scallop Circle die to cut out the opening for the shaker.  After cutting out the hole run it through a star embossing folder.  Line the hole with double sided tape and then place a 4 x 4 piece of acetate on the tape
2.  Circle the hole with double sided foam tape add the sequins and little stars.  Add additional foam around the bottom of the card also 
3.  Cut another piece of white card stock 4 x 5 /4 and place it directly over the piece with the shaker window and then mount it to the card base
4.  Use the Clown with the Balloons die and cut out the pieces in red, blue, green, yellow, tan, white and orange card stock
5.  Using a fine tip glue and tweezers assemble the little clown with his balloons
5.  Using Happy Birthday Expressions cut out Happy Birthday twice and glue together.  Then adhere the sentiment to the front of the card
6.  Pop up the clown to the card front and the Birthday card is complete

CottageCutz Products


Thanks so much for stopping by today!  I hope you get a chance to pop into our online store and check out this latest release!  It is super fun!!

Blessings
Pam


Friday, January 31, 2020

A Chocolate Moose for Valentine's Day

Happy Friday!  Who doesn't like chocolate mousse?  I know I do, it's one of my favorites!  It's Jeanne today with a chocolate moose - the kind with antlers, but just as sweet as the kind you eat.
I thought I would make a Valentine's Day card for my husband that wasn't so pink, red or "girlie".  I started with the moose from the Arctic Moose & Polar Bear die.
I cut him out of chocolate brown, beige and black cardstocks, then assembled him.  I used some brown ink to shade his hair and antlers and to give him some depth.
Then I chose my papers.  I liked the striped paper with the coordinating small flower paper.  Although I could have used the pink or blue for the base of the card, I went with the beige.
I cut an A2 panel from the beige and used the largest Stitched Rectangle die with the small floral paper, the third largest square from the Stitched Squares die with the striped paper and the middle die from the Nested Circle Scallop dies in white.  I cut chocolate brown panels about 1/8" larger than the rectangle and square so I could frame them.
I added some brown polka dot ribbon to the floral panel and used foam dots to pop up the square with the scalloped circle and moose.  I thought the wooden heart and flower fit the theme without being too feminine.
I stamped my sentiment in chocolate brown ink on a strip 3 1/8 x 5/8 inches.  I mounted this to a strip of the chocolate cardstock 3 1/8 x 3/4 inches.  You can see where I made trim marks on the left side.  I glued the strip directly to the panel and added a matching enamel dot.
I am certain my husband will love his chocolate Valentine's "moose".  (I may have to make him a dessert one as well - LOL!)

Dies:
http://www.scrappingcottage.com/cottagecutzarcticmooseandpolarbear.aspx

http://www.scrappingcottage.com/cottagecutzstitchedrectanglesetbasics.aspx

http://www.scrappingcottage.com/cottagecutzstitchedsquaresetbasics.aspx
http://www.scrappingcottage.com/cottagecutznestedscallopcircleset.aspx

Thanks for stopping by today!  I hope you have a fun and creative weekend!


Friday, November 08, 2019

Foxy Fall

Happy Friday Cottage Cutz fans!  It's Jeanne today with a cute fall card made with one of the new Christmas dies!  I made a small notecard size card using the cute fox from the Holiday Gnomes w/ Fox die set.  This card is also for this week's Clean and Simple challenge at Splitcoaststampers.  The challenge this week is to make a CAS card with an element that begins with "F".  Fall and Fox - I have this one covered.
I first cut all the pieces from fall colored card stock and patterned paper.  I'll admit that the leaves were some that I had left over from a previous card.  If I have left over die cuts, I store them in the envelope with the die so I'll have them handy if needed.
I used a sponge dauber and added some shading to the fox, then assembled him.
Using the third smallest circle from the Stitched Circle set, I cut three Pumpkin Pie and one white circle.  From the plaid paper I cut one circle using the second smallest of the Nested Scallop Circles.
I stacked the plain circles with the white on top and then glued those to the plaid scalloped one.  The fox was glued on top.
I added the medallion, some foliage and the sentiment to a 3.5 x 5 inch note card.
For the finishing touch I added a few matching rhinestones.  I love my bling!  This little fox is so versatile.  Without his hat he is perfect for fall, but add his hat and he's great for Christmas!

Be sure to visit the online store - the new Christmas dies are wonderful!

Dies used:
http://www.scrappingcottage.com/cottagecutzholidaygnomeswfox.aspx
http://www.scrappingcottage.com/cottagecutznestedscallopcircleset.aspx
http://www.scrappingcottage.com/cottagecutzstitchedcirclesetbasics.aspx
http://www.scrappingcottage.com/cottagecutzfallphrases.aspx
http://www.scrappingcottage.com/cottagecutzpumpkinpieandlatte.aspx


Thanks for stopping by.  I hope you have a fun and creative weekend!