Happy Friday, It’s Wendy bringing you the blog today. I hope you’ve all had a wonderful week and have plenty of time planned for crafting this weekend.
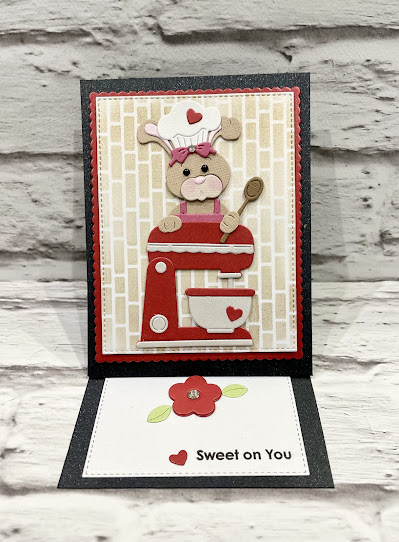
Today, yes I’m bringing you another easel but I really think they have a super impact for the recipient.
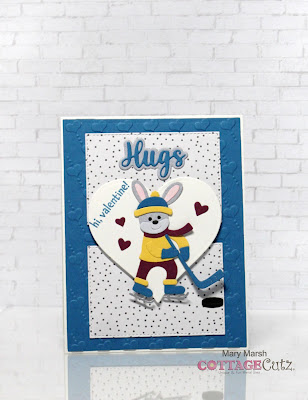
This is a Valentines card and I was really inspired by Pam’s colour on her card yesterday. What an impact red, black and white can have
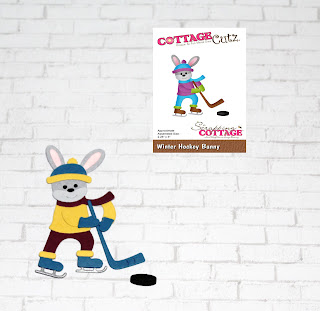
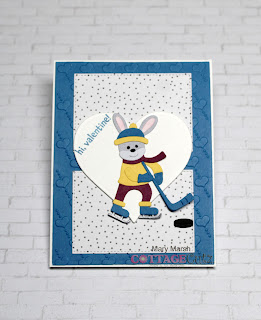
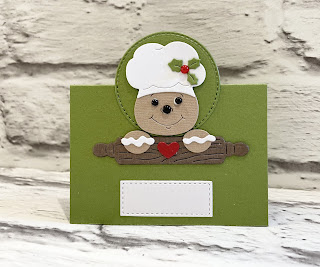
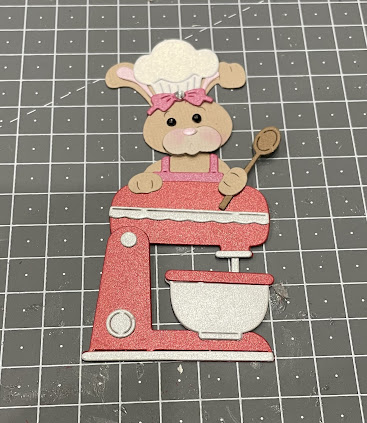
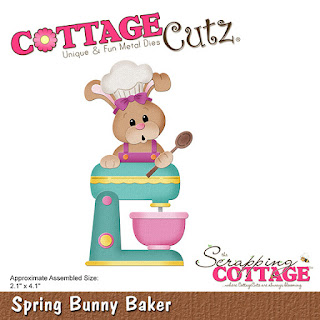
Anyway, right to the card. I’m not going to show you every item I’ve die cut as I think that technique is more important. I die cut all the elements from the ‘Sprint Bunny Baker’ die and assembled. Here she is in her crowning glory. I thought the mixer looked very much like my cake mixer so used the colours from mine. Don’t you just love the little bow. I couldn’t help but pop a gem on the top. I also gave her pink cheeks with some chalk
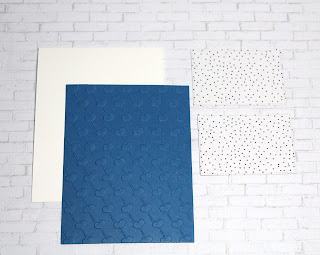
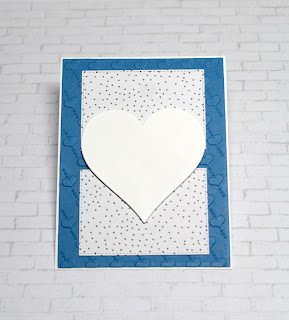
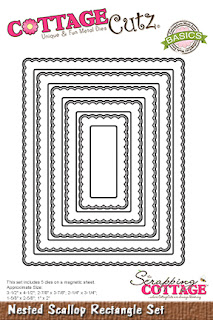
Next I took the largest ‘Stitched Rectangle’ in white card. Once cut I wanted to add some brickwork to the background, to I took a stencil and added some ink with a brush. I have a tool that allows me to pop the stencil on the card with magnets so the card doesn’t move. I wasn’t fussed whether the ink was darker in some places so just take your time and find your happy design
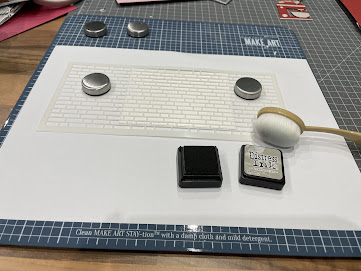
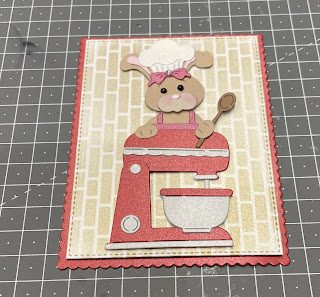
Once inked, here is the finished piece of card

Next I took a piece of black card measuring 10” x 4” and scored in hall. I also cut another piece of black card measuring 5” x 4” for the front of the card. You’ll notice that I scored the front of the main card in half and then attached my other piece if card to the bottom part only to get my easel

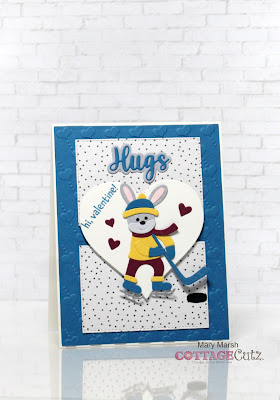
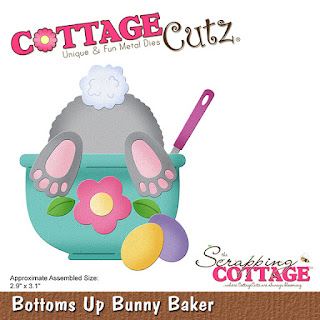
To finish I attached my other piece of completed card with the bunny to the front. To keep my easel standing up I used the flower from the ‘Bottoms up Bunny Baker’. I cut it 3 times and layered it up to keep the card standing up.
I added some extra embellishments like a pice of white card on the bottom card with a stamped sentiment. I also went through my stash of Cottagecutz dies and found a suitable heart and popped this on the bunny’s hat, the mixer and then next to the sentiment and we are all done!

I really enjoyed making this card and I hope that you like it and it’s given you some inspiration to make your Valentine’s cards.
So I wish you a wonderful weekend of crafting happiness and I will see you on Tuesday for another project.
Hugs, Wendy
Dies I used:

Please don’t forget to check out our YouTube page as there are designs being added frequently