Showing posts with label Cottage Cutz Cross-Stitched Circle Set. Show all posts

Thursday, April 20, 2017

Welcome Baby!


Good Morning Dear Scrapping Cottage Friends!

I am happy to show you another one of the new baby dies that was just released.  I have had two great nephews born in the last 6 months and they came down to visit from Ohio.  They were both just so adorable.  So needless to say I am in the baby mood!  Today I am showing you a card using Sweet Baby Lamb.


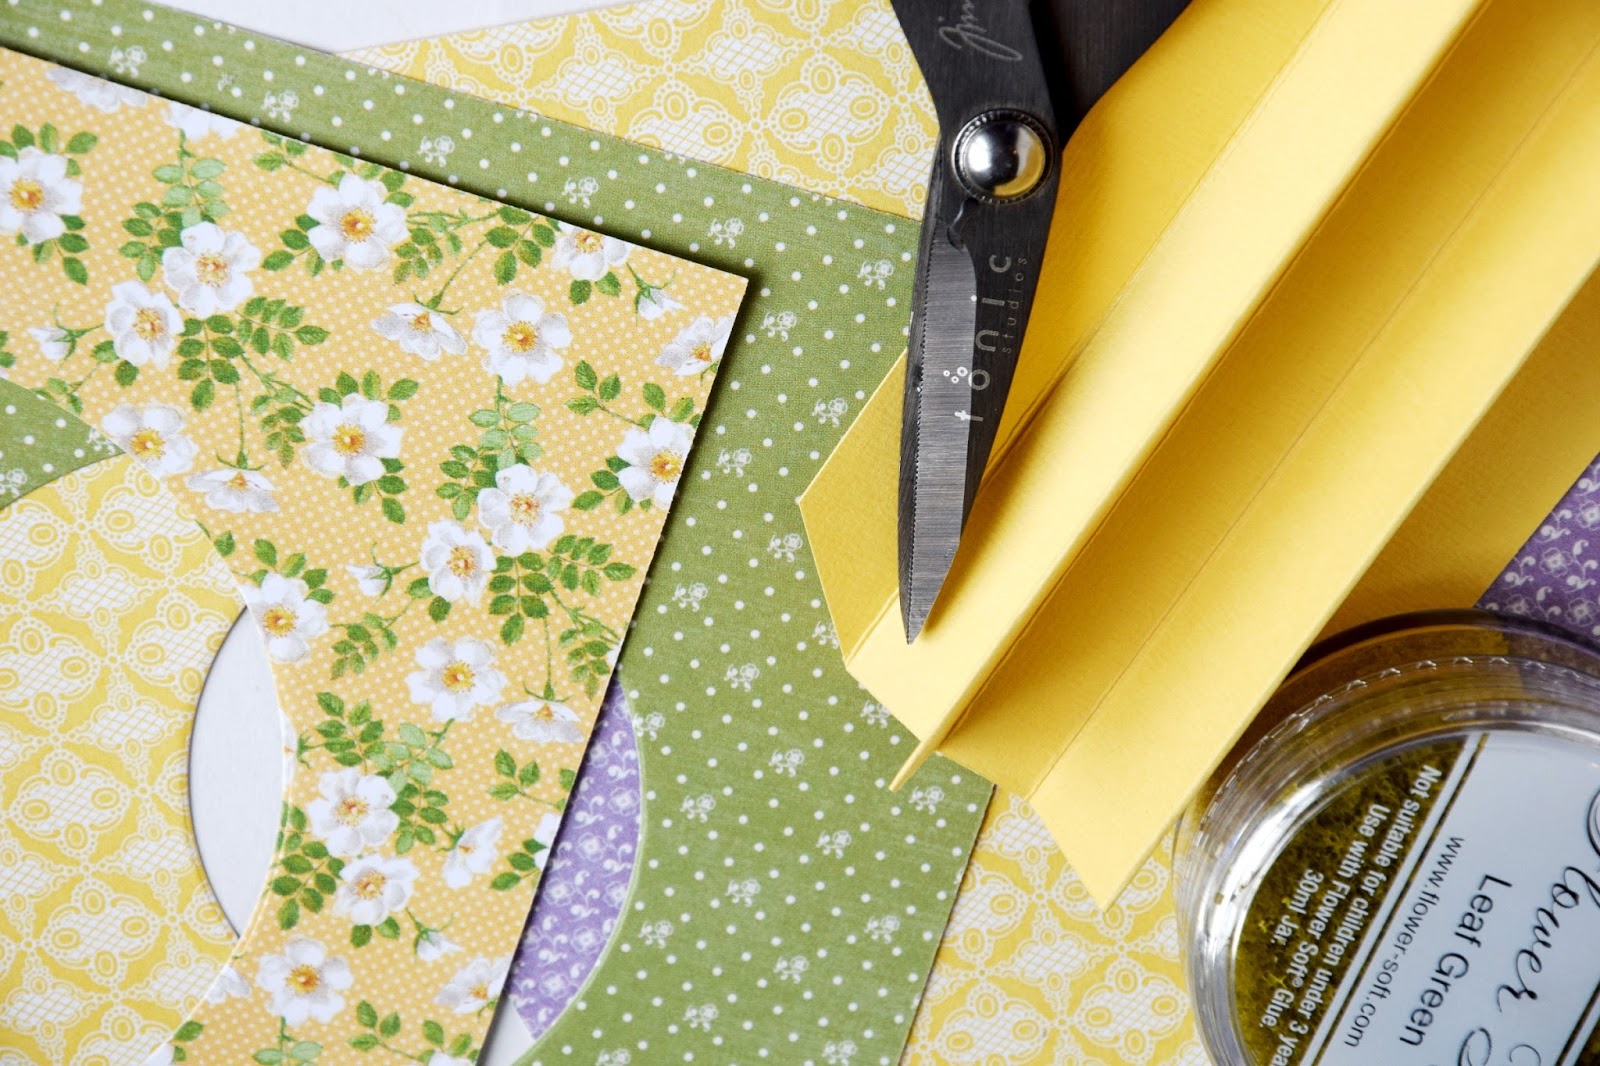
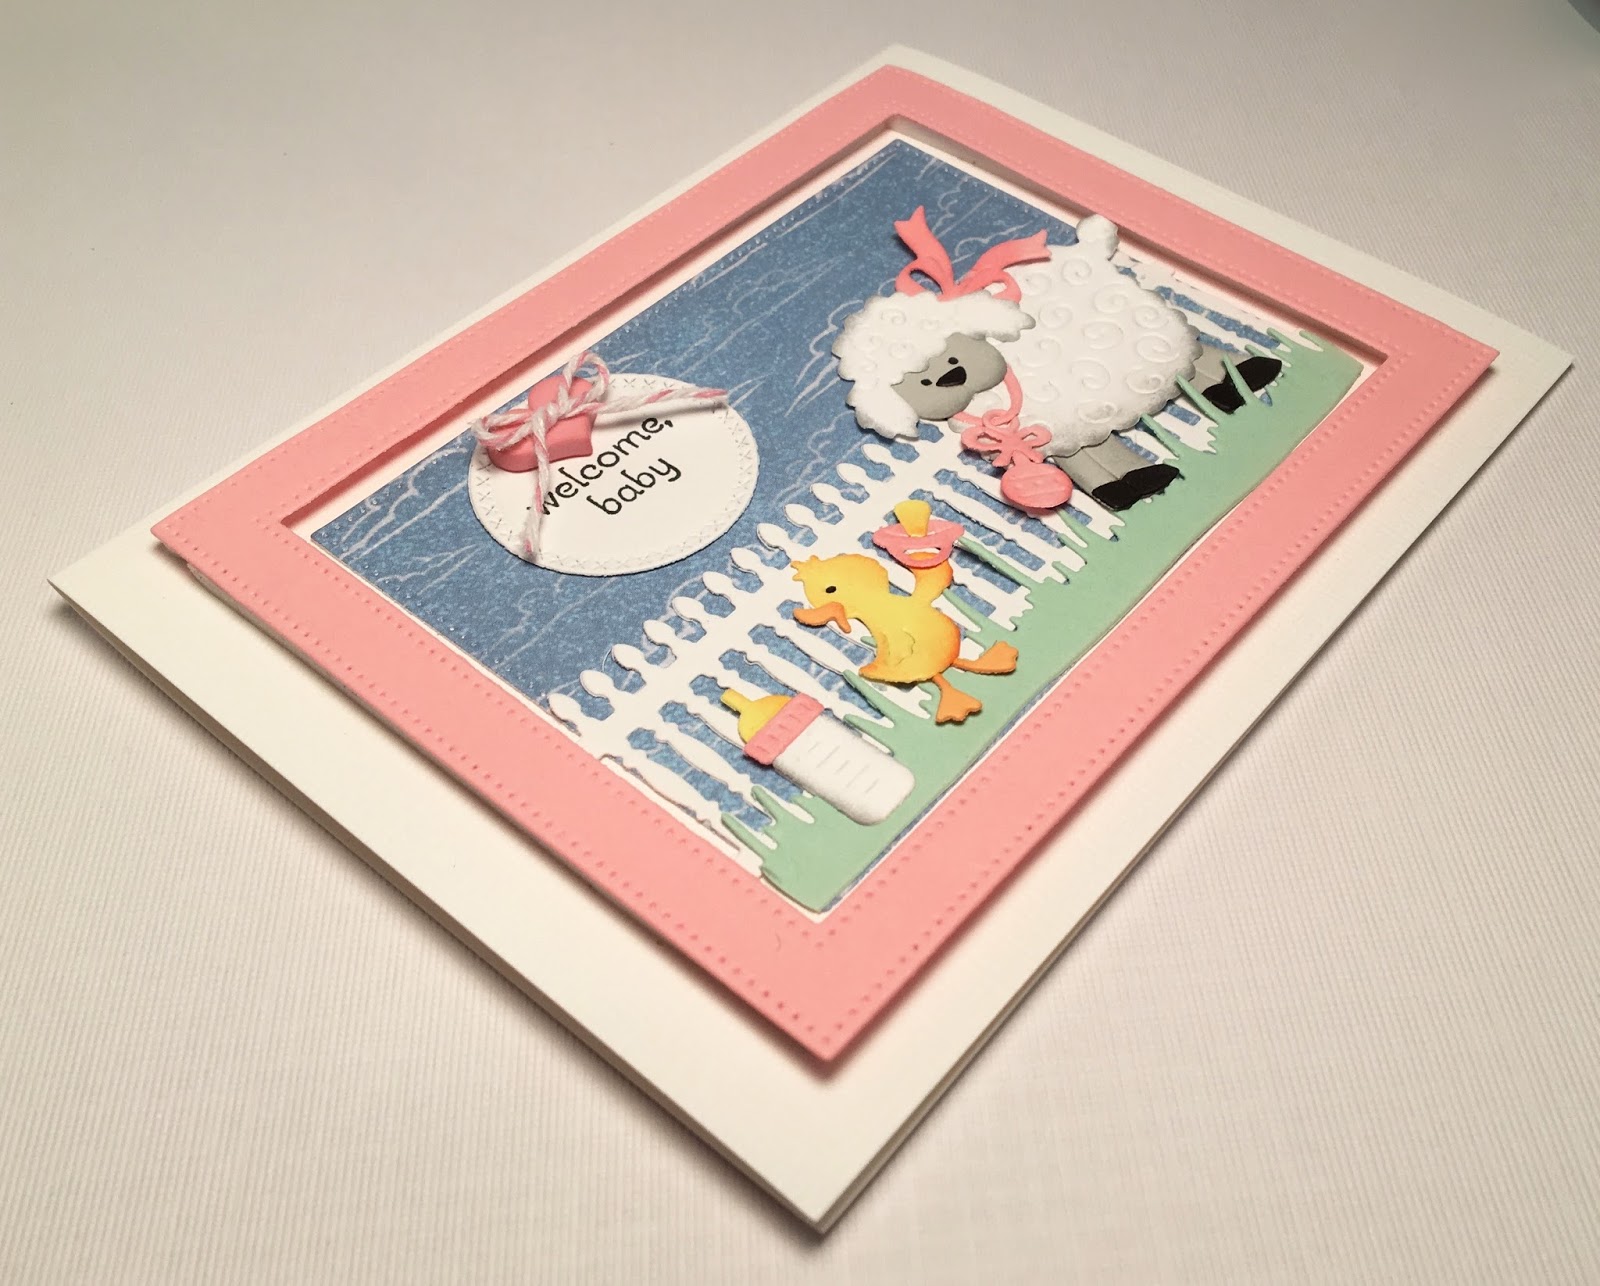
Here are my design steps for this sweet baby card!

1.  Use an A2 white card base cut a piece of cloud designer paper using the second largest Pierced Rectangle die then glue to the center of the card front
2.  Cut a white fence using the Victorian Fence die, cut green grass using the Spring Grass die and cut a pink frame using the Pierced Wide Rectangle Frame Set.  Glue the fence and the grass to the bottom of the sky.  Then add dimension tape to the frame and mount it

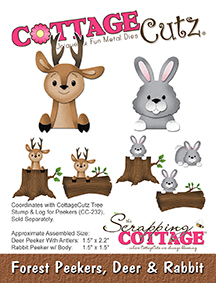
3.  Cut and assemble all the little critters and accessories from the Sweet Baby Lamb die set


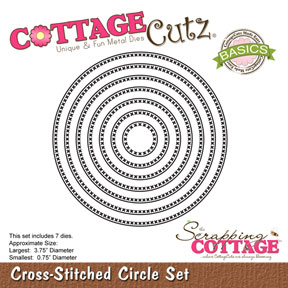
4.  Use the second to the smallest Cross Stitch Circle dies and cut a white circle.  Stamp the sentiment and add a button with some pink and white bakers twine


Here are the Cottage Cutz Products I used to create this card!


These new baby dies are so sweet!  I hope you will make a new mom very happy by making her a card to celebrate having her new little one!

Blessings
Pam


Friday, January 06, 2017

FOREST FRIENDS ARE HERE FOR YOU

HELLO!!!!!

It's Anita here and a warm welcome to the Cottage Blog on New Year. I wish loads of happiness and good health for all of you.

New Year means new things and I start my post with my new friends from the forest. They are super cute and you will love assembling them. You can find the entire collection here

I have made a sweet forest scene where the bunny and the deer are my new friends peeping from the foliage and can you see the mushrooms. I have given a glossy look to them by applying glossy accents.
I loved assembling the whole scene and it looks so pretty.


Have a look for yourself.


I have embossed the card panel with an embossing folder and all the die cuts are coloured with distress inks.

CottageCutz products used.

CottageCutz Forest Peekers, Deer & Rabbit


                                                                                    CottageCutz Mushrooms & Greenery


                                                            Cross -Stitched Circle Set

I hope you had a good time with my friends. I will share more inspirations with you in the coming week.


Sunday, June 12, 2016

The Box - tunnel "Secret Garden" + tutorial

Hello friends!
Yuliya here. Today I share with you my new project. I will be sharing how to make this Box - tunnel  "Secret Garden"using the CottageCutz 3 D Flower dies and new CottageCutz dies of May 2016!  If you missed the May release, please stop by the store and check the dies out. Also visit the blog and browse around and see all the beautiful creations made by the design team!)


Here is list of all supplies I used:
Cardstock: yellow cardstock 2 pc 12 х 12 inches, white cardstok for flowers
Patterned paper: 6 pc 6 х 6 inches
CottageCutz Dies:
- CottageCutz 3D Flower 5
- CottageCutz Bird Trio
Other: Sizzix machine, scissors, glue, glue marker ZIG memory system, deco-topping, glossy accents
Are you ready? Let's get started!
1. Prepare the details for our card: 4 pc ivory patterned paper 6х6 inches
2. With CottageCutz Cross-Stitched Circle Set (Basics)  cut the frame out with patterned paper
3. Our details are ready
4.  Prepare 4 details 6х6 inches for base Box. Fold it  as it is shown on the picture.
5. Glue so as it is shown on the picture.

6. Make neat corners
7. Glue the first detail
down
At the top
8. Prepare some die-cuts. I use CottageCutz Bird Trio
9. Glue image

 10. Glue the other details
A few of the little details. So cute, isn't it?)


11. Cut out many pieces from CottageCutz 3D Flower 5 die on 160 gsm white cardstock (Canson).
12. I use Glossy accents and "deco-topping" for my flowers
13. With CottageCutz Garden Stems cut the details  out with patterned paper

14.


I hope you enjoy the tutorial and will be happy to inspire you!
Have fun and thank you!
And don't forget, third CottageCutz challenge is waiting for you. This time theme is POCKET. You can linked your project here. And please, use only Scrapping Cottage dies.