Showing posts with label Circus Signs. Show all posts

Tuesday, May 11, 2021

Show Time

Hi!

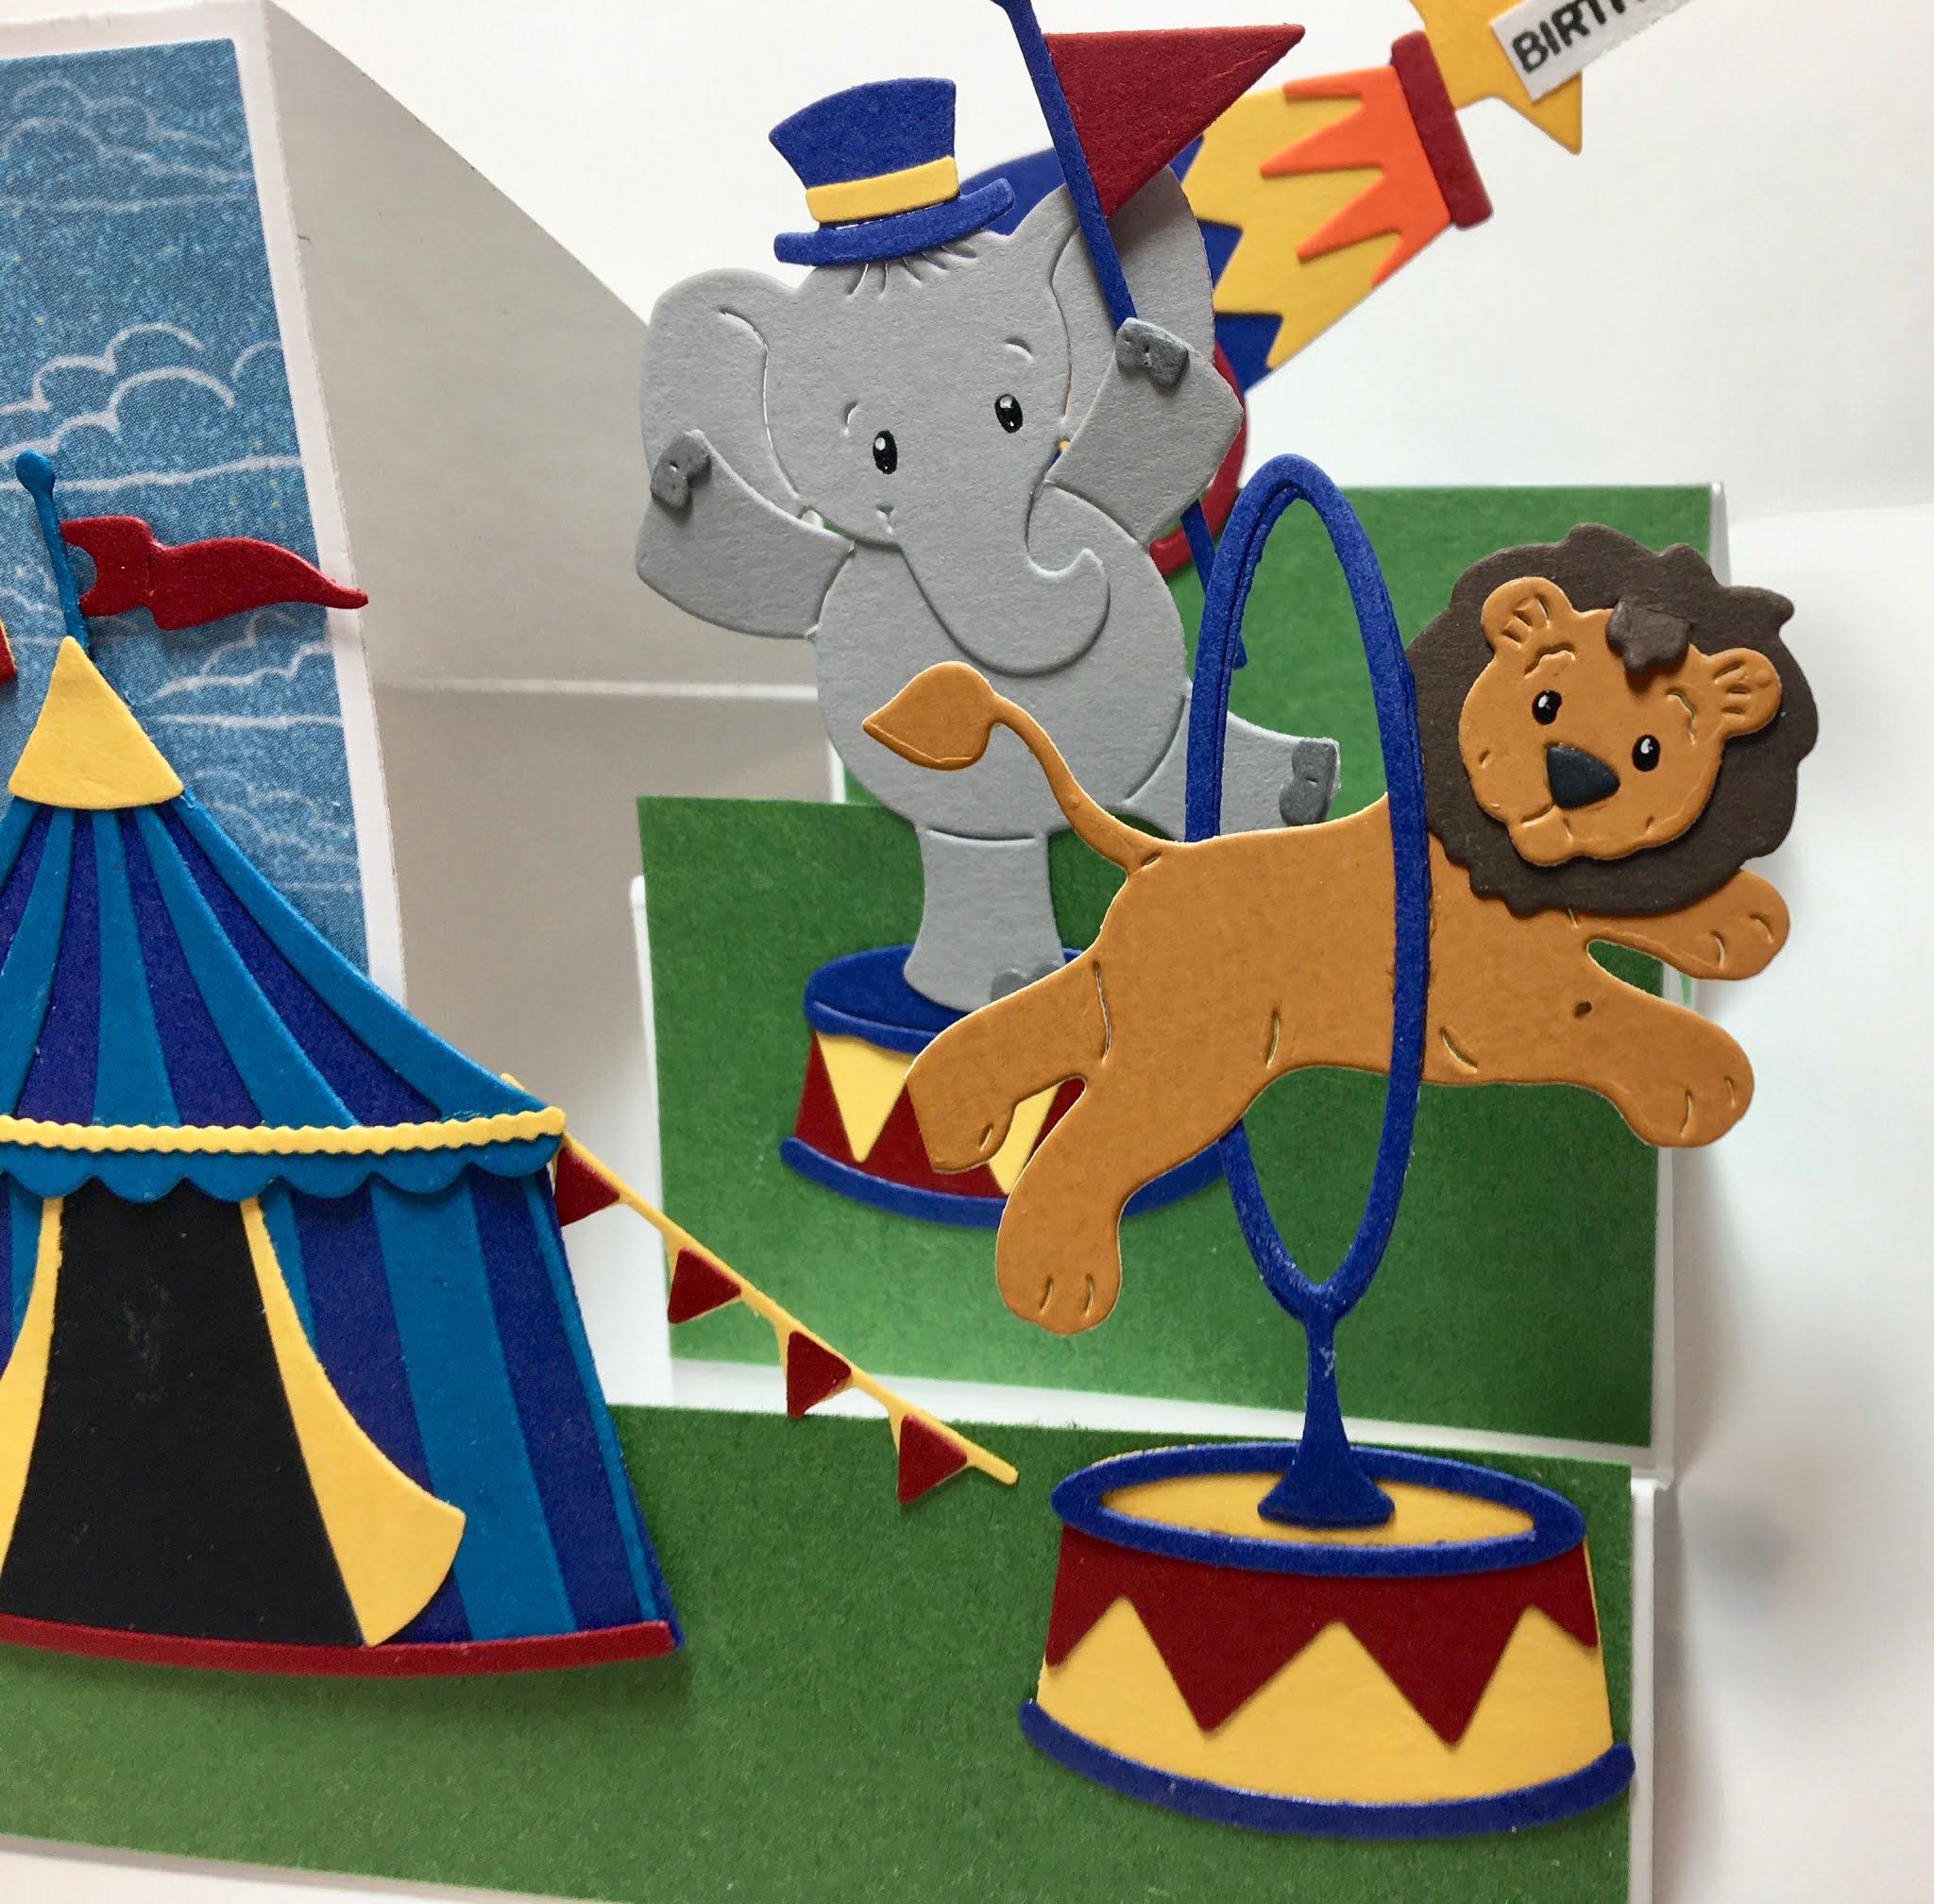
It's Anja here for my Throwback Tuesday post. I have a lot of Circus dies I haven't had the opurtunity to try so I decided to use this and combined it with slimline dies. This is the final result.

For this card I used:

- Cottage Cutz dies (Circus Train Animals, Circus Signs, Lift Flaps Stitched Rectangle Slimline, Windows Slimline, Hills Slimline),

- Distress Inks,

- white card base (10x21 cm),

-patterned paper for background (9,5x21 cm) and die cuts,

- red card stock for background (8,5x21 cm),

- white card stock for die cuts,

- scissors,

- paper glue. 


First I cut and colored all three animals and the signs. Then I die cut the lift flaps from patterned paper. I also used one of the hills dies to put inside of the flap lifts for the ground. I also trimmed patterned and red card stock for the background. When I had all the pieces ready I glued it on the card base. Last I added the animals in all three windows. And my card was done.


And that's all from me for today. Have a nice week and see you again on Sunday. 

Anja Z.


Cottage Cutz dies I used:


Friday, February 12, 2021

Big Top Birthday

Happy Friday!  It's Jeanne sharing today and I have a fun-fold birthday card using dies from the new Circus release.  This release has quickly become one of my favorites because the dies make such bright, festive cards.  The card I have today is an easy fun-fold and goes together quickly.

I used the Circus Tent die but any of the Circus dies would work just as well.  I picked three bright colors to use for the card - yellow, blue and red.

 I cut all my pieces from the Circus Tent, Circus Signs, Stitched Ovals and Scalloped Stitched Ovals dies and assembled them.

The fun-fold is called a Front Flap card.  I'll give you instructions here, but you can also find a video on Splitcoaststampers.

I cut a 5 1/2 x 4 1/4 inch base panel from blue and a 5 1/4 x 4 inch panel from striped paper.  Then I cut a 3 1/4 x 8 1/2 inch panel from red cardstock and scored it at 4 1/4 inches so I could fold it in half.  I cut a 3 x 4 inch panel from red dot paper that will be glued to the front of the folded panel.

After gluing the blue paper to the card base, I glued the red folded panel to the card about 1/2 inch from the left.  (Because I used striped paper I just aligned it with a stripe.)  Then I adhered my dotted panel to the flap.

Next I glued  my white oval to the yellow scalloped oval and adhered it to the right side of the front flap.

I had a fun sentiment that I stamped on a 3 x 4 inch piece of white cardstock and glued it to the inside of the front flap.

Finally I adhered my sign and tent.  This front-flap card is very easy to make and really showcases your image.  It's one of those cards that looks like it takes a lot of time and effort, but really doesn't.  For me that is about perfect!

Be sure to visit the online store where this fantastic release is on sale for a limited time!

Dies used:


Thanks for stopping by today! I hope you have a fun and creative weekend!


Monday, January 25, 2021

You're the Tops

Hello!  This is Sukie and today I have a fun circus themed card to share for my design team post.  I'm showcasing 4 of the die sets from the new Circus die release.  They are currently on sale in the on line store.

I went with a festive design for my slim line card.  The bold pattern was broken up by adding 3 circles from the Circle Set.  Next I nestled in the Leaping Lion, the Circus Tent, and the Prancing Pony into each of the die cut circles.  The arrow from the Circus Signs was perfect for stamping a fun sentiment.  I also stamped a couple of tickets and fussy cut them for my card.
Here are the side sets I used on my card, available in the store:

Monday, January 18, 2021

Circus Birthday!

Hello Friends

I have three little ones to make cards for and they love bright happy cards.  So this fun new release fits the bill! It just screams vibrant colors especially the wonderful primary colors.  Today, I have used 5 of the new dies to make this cute side step card.  

Here is my card to share with you today!


I started my card by cutting all of the pieces out using the Leaping Lion, Balancing ElephantCircus TentCircus Side Show and Circus Signs.  Assemble them and then make your side step base.  Use some cloud DP and green card stock to cover the base.  

Glue the pieces to the base arranging them as you wish and your card is complete.


CottageCutz Products


Thanks so much for stopping by today!  We love visiting with you!
Blessings
Pam


Monday, January 11, 2021

Family Circus

Happy Monday!  It's Jeanne with the Monday post this week and I have a special box card that uses nine of the new Circus dies!  These dies are stupendously cute and are on sale for a limited time.  

When I saw this release I thought of this sentiment that I had in my stash and never used.  I love box cards so I couldn't resist making a FULL BLOWN CIRCUS!

The card folded:

There are many tutorials out there to make box cards.  This one folds to a 5 x 7 size but it could be scaled to an A2 size by placing the elements closer together or not using as many.

I limited my colors to what I think are classic circus colors - red (two shades), yellow and blue (two shades) along with neutrals and used many of the color combinations that are on the packaging.  This cut down my choices when putting my pieces together and made it go a bit quicker.  On some cards I cut everything in white and color with either Copic markers or Distress Oxide ink.  On others I use colored cardstock.  I employed all three techniques on this card!

Although I had a fun sentiment for the front flap, if you do not have  a sentiment you could easily place either the megaphone and "Show Time" or the arrow and "Big Top" across the front while using more of the Circus Snacks (cotton candy and corn dog) on the other small flap. 

The juggling monkey may be my favorite item in the box.  To create the illusion of the clubs in the air I used a 1 1/4 inch acetate circle behind him and glued the clubs to that.  If you look closely at this photo you can see it.  Since he is standing on one foot, I also stabilized him by gluing an acetate strip to his back.

Here are a few more details of the box.

 
This box could also be done with just the clown dies.  The Clown with Balloons could be made to juggle just like the monkey!

In my extended family we don't exchange birthday gifts, so I love making special cards like this one.  These are my gifts to the people I love and I know that they appreciate and cherish them.

Dies used:


Be sure to stop by the online store for great discounts on this release!  But these discounts are only for a limited time! 
 
Thanks for visiting today.  I hope you have a wonderful week!