Showing posts with label Best Wishes. Show all posts

Thursday, April 14, 2016

Best Wishes

Hello everyone,

It's Donna here with with another card to share with you.  The floral leaves are a new release for April which is called Leafy Swirls.  I just love them, there are so many possibilities for these. The flower is a large 3D flower.  This flower can also be made in many different ways.  I finished off the card with the Best Wishes sentiment.  My card can be for a wedding, graduation or someone leaving for a new job.


Here is a closer look at the flower....


 Here is how I made my card:
  • Card Base: 8 1/2" x 5 1/2" and scored at 4 1/4" to make an A2 card (4 1/4" x 5 1/2")
  • The black layer is 4 1/8" x 5 3/8"
  • The woodgrain pattern paper is 4" x 2 1/4" and the floral is 4" x 2 1/4" 
  • I added the ribbon and flower and 
  • finished my card by adding some clear drops.

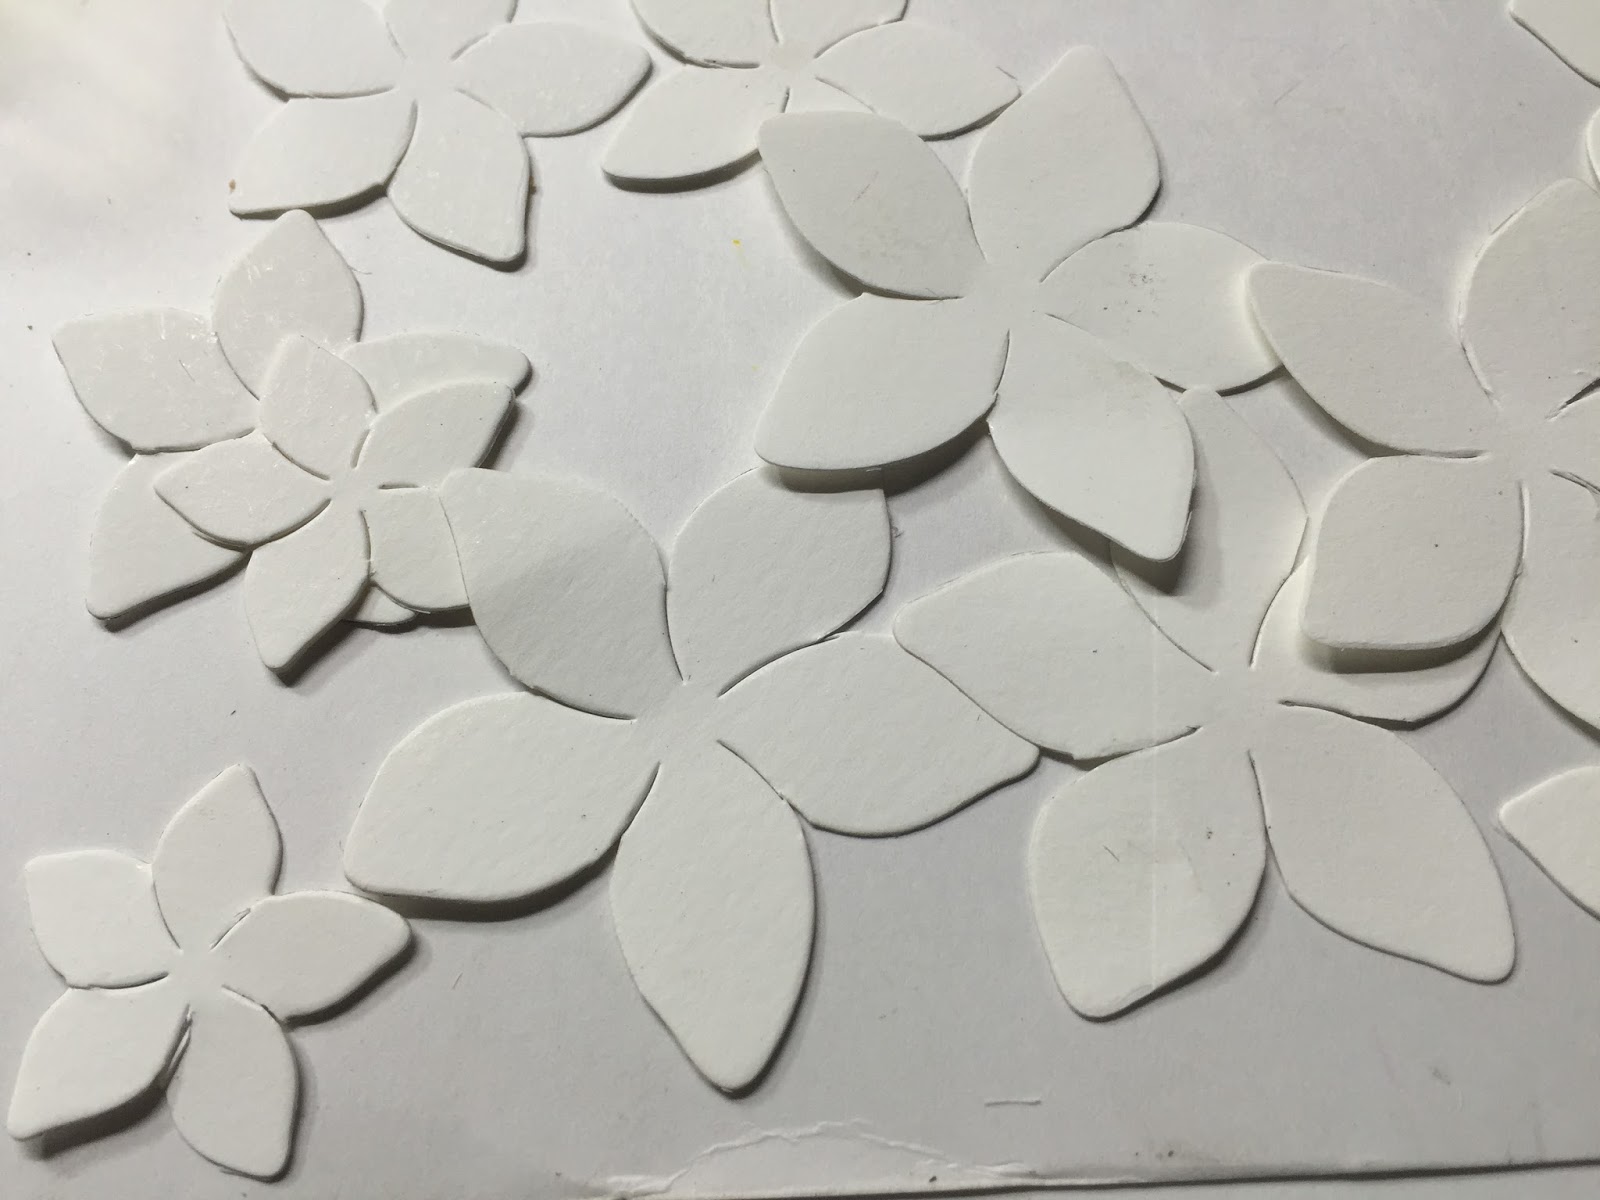
Here is how I put the flower together:

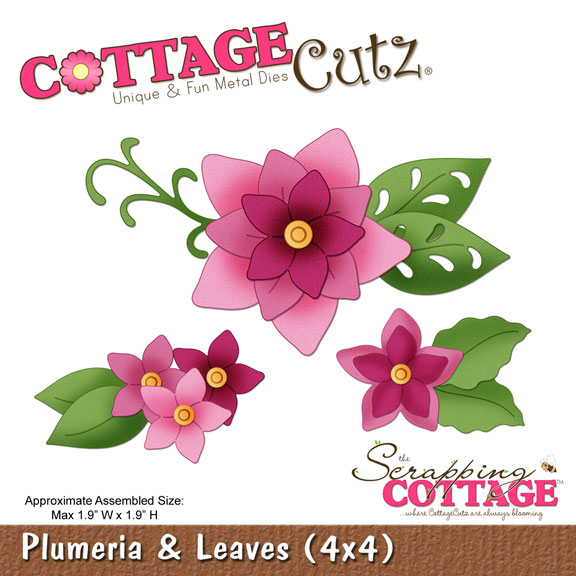
The flower has 6 pieces, and measures 2.2W x 2.2H.  I die cut them out with paper.


After the flowers are die cut and inked, I used my bone folder to curl the edges to get the fibers lose.


After the flowers are curled, I started to assemble the flower.  I used a small brad to hold the flowers.  I started putting the smallest pedal on first and then go to the largest.


Here is the finished flower.  I used a wink of stella clear to add some shimmer to the flower.


This is it for today, I hope I have inspired you to try out some of the 3D flowers.  Also, did you know that we are having a challenge for our fans and followers to display the cards you have made with CottageCutz dies? There are prizes to be won as well.Click here for all the details.  I hope you will join in on the fun!

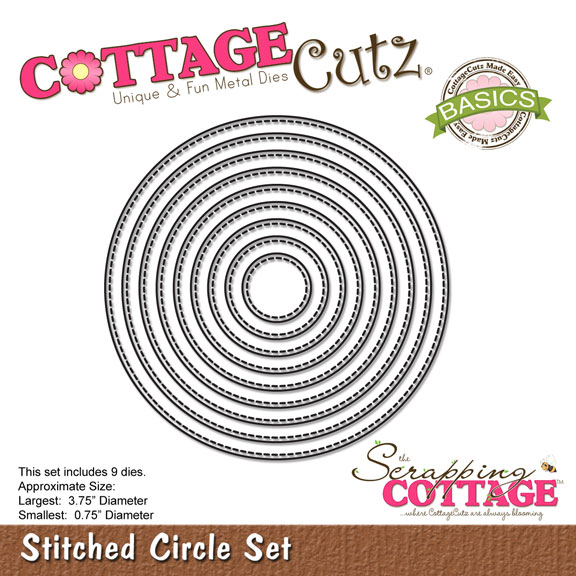
Here are the dies I used:


Saturday, April 09, 2016

PLUMERIA BLOOMS


Hello friends,

It's Anita Kejriwal here, bringing for you a very pretty spring card made with CottageCutz dies.

It's Saturday today and everyone is ready to have super weekend. I ,too am going to have a fun filled weekend with lot of craft activities. So why don't you join me to create this card adorned with very pretty flowers!
I have used stitched Circle dies to create a pattern on the card base on which I have laid down the flowers.

So have a look at the card followed by some step by step pictures to show you how to make this card.


Instructions and pictures for making the card.

The completed card measures 7 inches by 5 inches.

1. Cut a card base the measures 10 inches by 7 inches. Score at the 5 inch mark on the 10 inches side and fold.

2. To make the first mat layer, Cut a card stock measuring 4.75 inches by 6.75 inches. Cut another pink pattern paper measuring 4.5 inches by 6.5inches .
Apply Aged Mahogany Distress Ink on the pattern paper and mark score lines at an interval of 1/8th inch. Adhere this to the mat layer. Adhere the mat layer to the card base with 3D foam tape.


3. Using the CottageCutz Stitched Circle set, cut out frames in many sizes in white card stock and arrange on to the card as shown in the picture below.


4. Cut out flowers and leaves from the CottageCutz Plumeria and Leaves set and make do some deep cutting between the petals by removing the notch between the petals.


5. Colour the flowers with Color Box inks and the leaves with Distress inks. Add a few black dots on the petals.


6. Arrange the flowers and leaves on the card as shown.


7. Add the sentiment from the CottageCutz Expressions Best Wishes on a vellum paper and adhere to the card.

The card is ready.

CottageCutz is having a new challenge - Anything Goes, for the very first time  and giving away two prizes to the winners. So do follow this link Challenge #1 and play with us. 


Here are the dies that I used for my project


Do share your work with us and please leave your comments. It really helps us to serve you better.
Have a great weekend. See you next week.


Tuesday, May 27, 2014

Best Wishes to the Bride and Groom & Video


6 x 6 Easel Wedding Card
Hello everyone, Cheryl here today with a Wedding Easel Card I made for the Scrapping Cottage using the Beautiful CottageCutz dies. Some of these are from the New Wedding Release found here.

For the front of my card I used the CottageCutz Bella Spring Wreath ,I cut it out in cream card stock, and then dusted it in Antique Linen. Next I used the CottageCutz Elegant Veil & Top Hat, and my video shows how I did these.
 Copic colors I used are
RV11, and RV34 Flowers
100Black &BV29 Slate for top hat
C5 band on top hat
G24 Leaves

 Lastly I cut the  CottageCutz Expressions "Bride & Groom" in a black shiny card stock. I also used the CottageCutz Fancy Floral Lace Border along the right side of the front.
 Next for the inside I used the CottageCutz  Bella Spring Corner , it was cut in cream card stock and dusted with antique linen. Then I used the CottageCutz Spring Label for holding up the easel part of my card.For this I did the same as all the other cream pieces, but added some Really Reasonable Ribbon seam binding around it, and then made bows, and added them to each side with flowers and leaves. I used CottageCutz Expressions "Best Wishes" die cut for the sentiment on this tag.


The lace I used is vintage.

All photo's are linked to The Scrapping Cottage for easy finding!


Its been awhile since I've made an Easel Card, so this was super fun for me! Thanks to Carol for the Inspiration! Hugs!!
My Video on Elegant Veil & Top Hat

Hugs to all,
Cheryl

Tuesday, April 22, 2014

Baby Buggy

Happy Tuesday everyone!

Kathy with you and today I have a cute baby card for you using the Baby BuggyBest Wishes, and Fancy Floral Lace Border CottageCutz Dies from The Scraping Cottage.


To make my card, I started with a square 4 1/4" white card base and added a piece of Fancy Floral Lace Border cut with light green paper (Chick-a-doo from S.E.I) to the bottom.  I cut a light green mat (3 1/2" x 4 3/8") and an embossed white mat slightly smaller and glued them together.  I folded Baby Pink Seam Binding in half, wrapped it around the bottom of the mats and glued it in place.  I then added the mats to the card with pop dots just above the border.

The Best Wishes Die was cut with the light green paper and glued to the mat as pictured.  The Baby Buggy Die was cut with white, light green, and a flowered designer paper from Nana's Nursery - Baby Gift Paper from DCWV.  I shaded the white pieces of the buggy body with Pixie Dust VersaMagic Ink and  glued all the pieces together as shown using a mixture of the light green and flowered papers.  The buggy was added to the card with pop dots.  I added a larger flower to the buggy with Diamond Stickles in the center.  I made a triple loop bow and added a smaller flower with White Opal Liquid Pearls added to the center.

These are the dies I used.