Showing posts with label Anita Kejriwal. Show all posts

Friday, April 21, 2017

WELCOME BABY CARDS

Hello Friends !!!

Welcome to the CottageCutz blog. It's Anita here with new Baby theme dies released by CottageCutz.
CottageCutz has released a whole new range of baby theme dies that are so cute. You would all of them. Check them out here

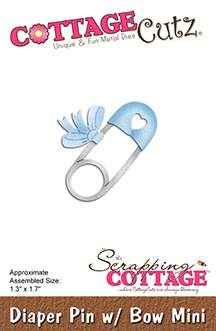
For today's card, I have these beautiful baby dress die featured on a baby girl card and a diaper pin on the baby boy card.


To make these cards, do follow these steps.

Cut a white card stock 5.5" x 4.25" and emboss in the die cutting machine using a baby theme embossing folder.
Adhere this embossed panel on a blue and a pink mat layer that is 1/8 inch bigger than the embossed panel.
Finally adhere this panel on a white card stock which is again bigger than the previous panel.
Now, add ribbon at the base.
Add pink ribbon for baby girl.
For baby boy, Add a strip of vellum on the baby boy ribbon and adhere to base of the card.
Cut the diaper pin and baby dress in white card stock. 
Colour them with copic markers.
the girl's dress is done with Copic R30 and R0000.
The pin is coloured with B01 and B00, C3
Adhere the pieces of diecuts together. Add a little glitter from the Wink of Stella pen.
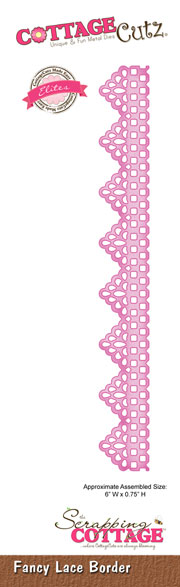
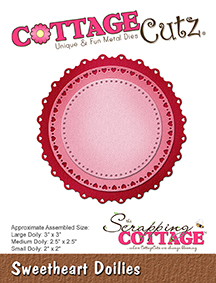
Cut out the doilies die cut from Sweet Doilies die in white pink and blue.
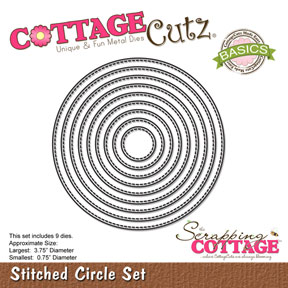
Cut a piece of stitched circle in pink card stock for baby girl card.
Arrange and adhere the die cuts as shown,
Finish with a welcome baby sentiment.


CottageCutz dies used.


I hope you like my cards. See you again next Friday with more cute projects.

Friday, April 14, 2017

Layered Die Cuts Card

Hello !!!!

A very Happy Easter to all !!!
I am Anita here and for today's post , I have a layered die cut card that mainly uses different types of oval designs. You can check them out here at the store. There is a whole new range of new baby dies also now available and shipping at 25 % discount so do not miss it.

Here is my card.


To make this card, just follow the picture tutorial below.


Cut two pieces of die cut in white card stock using these dies.


Adhere each die cut together to add a little thickness to the die cut. Distress with Oxide inks


Cut a card panel 5.5 inches by 4.25 inches and emboss in an embossing folder.


Adhere the base oval die cut after distressing the embossed card panel with worn lipstick oxide ink. Distress the oval lightly with Peeled Paint  Oxide ink.


Distress more die cuts and layer them as shown using Foam tape.


Add glitter to the Songbird Die cut


Score a card base 5 inches by 6.5 inches at 1/4 inch interval on the scoring board.  Add the green ribbon. Distress with oxide ink. Add the layered card panel. Insert  a CottageCutz Victorian corner die cut at the two corners. Add the best wishes sentiment die cut. Add a bow and pearl stick pins.


I hope you liked this card. See you next Friday. Have a good day.

Friday, April 07, 2017

SWEET BABY CARDS


Hello dear friends !!!!

It's Anita here with another post with beautiful CottageCutz products. Did you see the beautiful baby theme dies that have been launched recently. They will surely win your heart... So cute they are!!!!

I have not yet started working with them , but then I am showing some old dies that are so beautiful that I love creating baby theme projects with them.

Here I have made a boy and girl shaker card using CottageCutz dies.

you can check all the baby themed dies here.


To make these cards, cut a card base 7" x 5". 
Adhere matching baby themed pattern papers. 
Cut 2 ovals from the stitched oval die. 
Cut 6 frames using stitched oval die. Adhere the three frames together one, for each card.
Adhere the large oval on the card base. Add sequins and add the transparent sheet cut to oval size. 
Adhere the frames forming a shaker card. Die cut all the baby themed pieces and distress accordingly pink and blue for the cards. Adhere on the card as shown. 
Add sentiment.

It is so much fun and easy to create these beautiful cards with CottageCutz dies.
List of Dies Used.


Do visit the CottageCutz blog and the store for amazing products and inspiration. Thanks for spending time here. Have a nice day.


Friday, March 31, 2017

A CLUSTER OF FLOWERS-EXTENDING STAMPS AND DIES

Hello to all !!!
Before I show you what is in there for you, let me take you to the CottageCutz store where our Anniversary sale is going on and you can save upto 50% for just this week only. Isn't that wonderful !!!

Now on to today's project. Have ever thought that how good it would be if your stamp would have been a little more bigger or if you could increase the design size. Well, you can do that and I call it EXTENDING YOUR STAMP.

This is very well featured in this card here where from one stamp , I have build up a cluster of flowers so that it looks that the stamped image is really bigger in size.
Do check it out here.


All the flowers stamp and die combo that can be used to create this sort of card can be found here
 
 
Stamp out the images in Versafine onyx black and cut with coordinating die.


Use one of the die cut image as a mask and stamp two images on the left and right side of the mask

Remove the mask. This is how the card panel should like.


Arrange all the die cut and stamped images on the card panel to plan out the design

Colour all the images with Zig Real Brush Pens


Arrange the coloured images on the card panel popping some of them with 3D foam tape.


Adhere the card panel on green mat layer and then on the card base 


This is how the card looks like. One stamp can give a big cluster of flowers.


You can build up a similar card from the many stamp and die flower sets . You can check them out here.

I hope you will create many spring cards. Thanks for being with me.