
Hello friends !!!
Happy Saturday!! I am really amazed to see how time flies. It's the last week of the month and almost half the year is gone. Sometimes, I want to hold on to time and go on creating the best of my projects. But as it's said that we must go on doing our work, I too forget everything when it comes to crafting !!! How many hours do you craft everyday ? Just a question !!!! I try to spend every waking minute in my craft room.
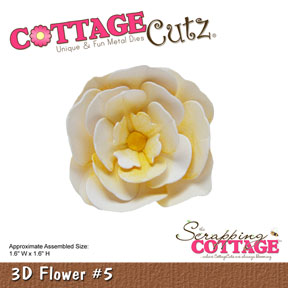
So let me show you what I have for you today. By now, everyone knows about my passion for flower making . With so many beautiful 3D flower dies from CottageCutz, I want to give shape to a variety of flowers using these dies. I have made sweet roses this time using the CottageCutz 3D flower #5
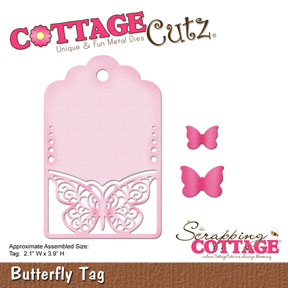
along with the new release die from This and That Collection-Butterfly tag
Its all about gardens and spring.
So do have a look and follow the photo tutorial below to see how I made this tag.


Dies used for making the tag
CottageCutz Butterfly tag
CottageCutz 3D flower # 5
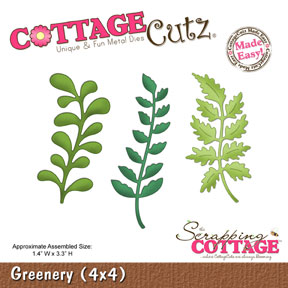
CottageCutz greenery die


Happy Saturday!! I am really amazed to see how time flies. It's the last week of the month and almost half the year is gone. Sometimes, I want to hold on to time and go on creating the best of my projects. But as it's said that we must go on doing our work, I too forget everything when it comes to crafting !!! How many hours do you craft everyday ? Just a question !!!! I try to spend every waking minute in my craft room.
So let me show you what I have for you today. By now, everyone knows about my passion for flower making . With so many beautiful 3D flower dies from CottageCutz, I want to give shape to a variety of flowers using these dies. I have made sweet roses this time using the CottageCutz 3D flower #5
along with the new release die from This and That Collection-Butterfly tag
Its all about gardens and spring.
So do have a look and follow the photo tutorial below to see how I made this tag.
CottageCutz Butterfly tag
CottageCutz 3D flower # 5
CottageCutz greenery die

I have cut all the die cuts in white 160 gsm card stock

Distress the tags with Distress inks

Cut a corrugated piece which is 1/4 inch bigger than the tag on all sides and paint it black.

I added some design with stencils on one of the tag.

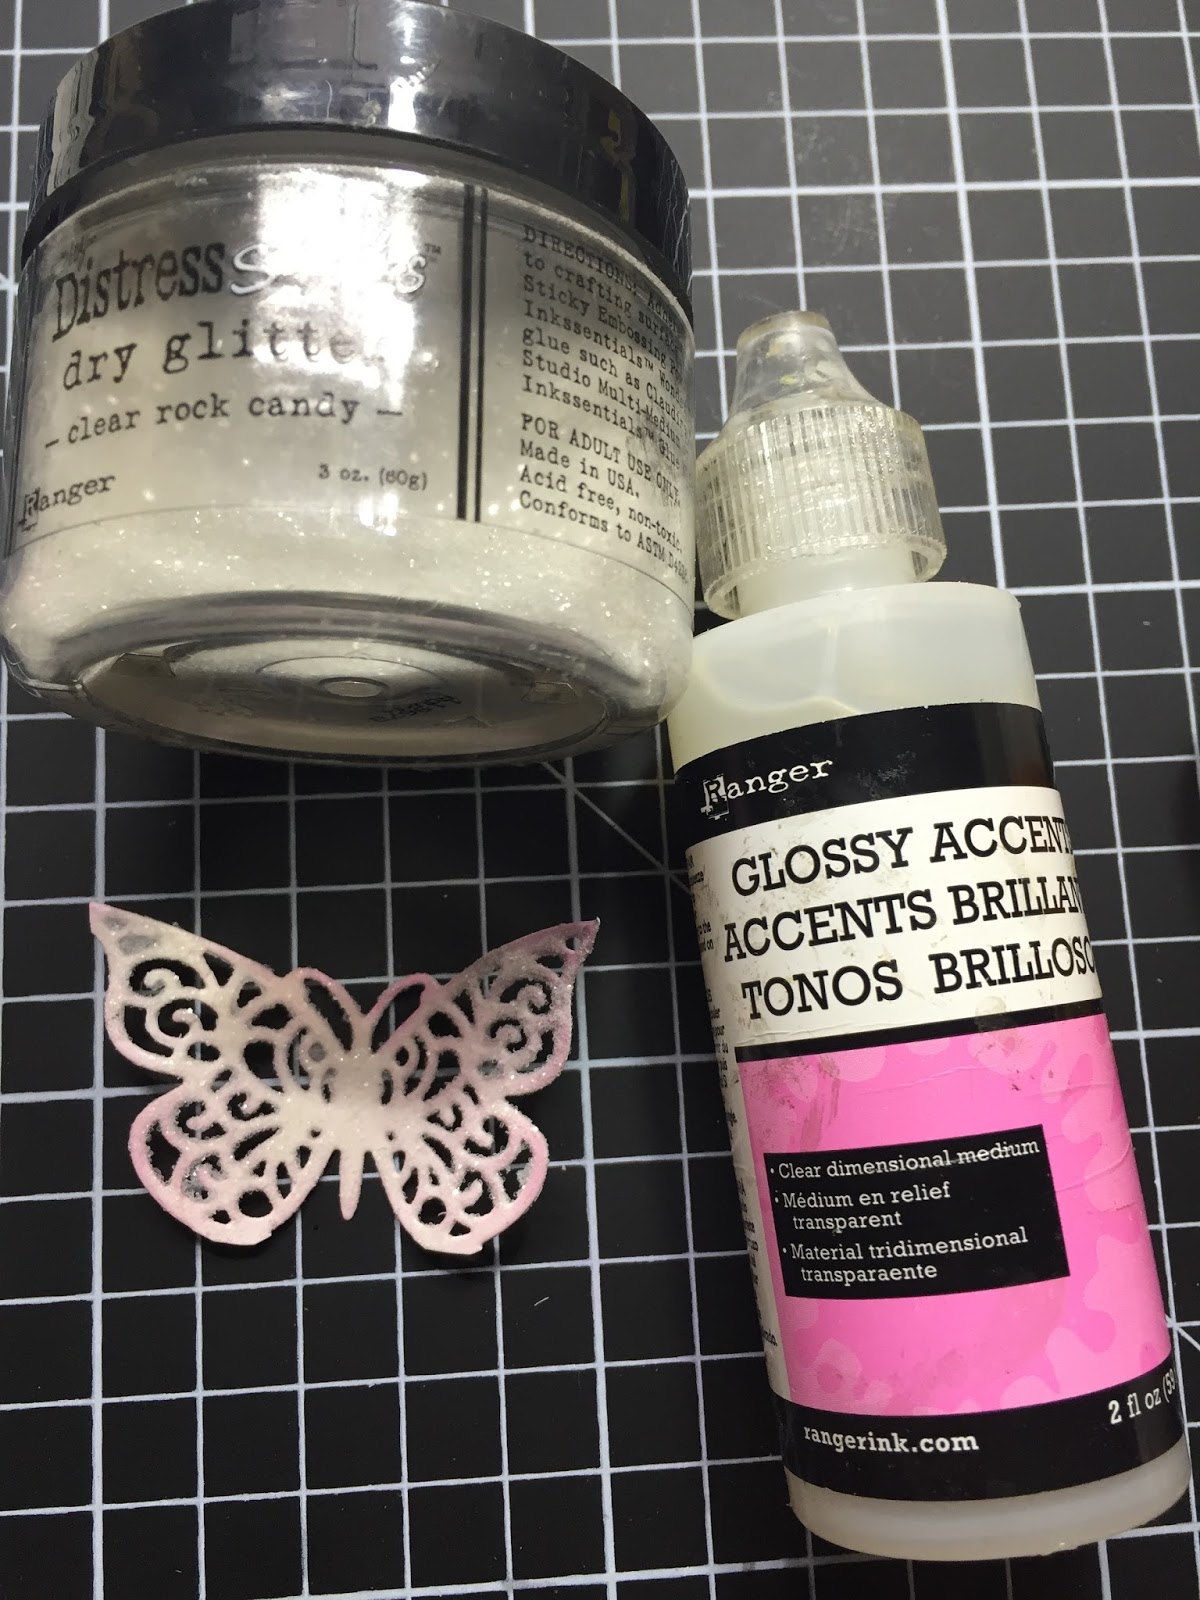
Cut out the butterfly from one of the tag that has no stencil design and apply Glossy Accents. Then sprinkle some glitter. Let it dry.
Add colours to flowers and leaves using Distress inks.

To make the rose, choose 5 large flowers and cup on the opposite side.

Roll one petal like a cone and secure with adhesive.

Bring the rest of the petals together like this.

Add another layer bring the petals together.

Add all five layers as shown and curl the petals outwards with a tweezer,

The rose is ready.

Stick the two tags together with the butterfly one on top. Adhere the glitter butterfly on the tag below as shown. Arrange the flowers as shown.
Do stop by the CottageCutz blog for the new challenge. /the theme is spring and you can win wonderful prizes.


