Hello friends,
I am back again with a new project using the CottageCutz dies. I love the new release dies especially the 3D flower dies. One can create such beautiful blooms with them.
Here I have made a double fold card where I have used many CottageCutz dies to create a lovely floral arrangement . I have also done a video tutorial on how to create the flowers along with a photo tutorial on how to make the base of the card.
Do have a look at this card. The flowers and leaves look so fresh and beautiful. It is very easy to make these flowers and they actually look very realistic.


Here is the video tutorial showing how to make the flowers.
Here is the photo tutorial showing how to make the base of the card.

Fold the card along the score lines as shown.

Adhere the first mat layer using white card stock measuring 2.75 inches by 5.75 inches for the first front and back panel. For the inside panel, use the mat layer measuring 5.5 inches by 5.5 inches. Add ribbon measuring 25 inches as shown here.


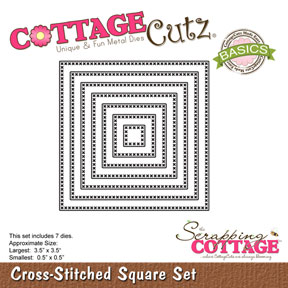
Make the center panel by using the CottageCutz Cross stitched square die set . Make it 3D by using foam tape and mount it on black card stock measuring 3.75 inches by 3.75 inches. Stamp a sentiment.


Repeat on the inside with same panel


I am back again with a new project using the CottageCutz dies. I love the new release dies especially the 3D flower dies. One can create such beautiful blooms with them.
Here I have made a double fold card where I have used many CottageCutz dies to create a lovely floral arrangement . I have also done a video tutorial on how to create the flowers along with a photo tutorial on how to make the base of the card.
Do have a look at this card. The flowers and leaves look so fresh and beautiful. It is very easy to make these flowers and they actually look very realistic.
Here is the video tutorial showing how to make the flowers.
Here is the photo tutorial showing how to make the base of the card.
Cut the base of the black card stock 12 inches by 6 inches and score at 6 inches and 9 inches on the 12 inch side.

Fold the card along the score lines as shown.

Adhere the first mat layer using white card stock measuring 2.75 inches by 5.75 inches for the first front and back panel. For the inside panel, use the mat layer measuring 5.5 inches by 5.5 inches. Add ribbon measuring 25 inches as shown here.

Adhere the pattern paper to the mat layer. The narrow panel measures 2.5 inches by 5.5 inches and the inside layer of pattern paper measures 5.5 inches by 5.5 inches.

Make the center panel by using the CottageCutz Cross stitched square die set . Make it 3D by using foam tape and mount it on black card stock measuring 3.75 inches by 3.75 inches. Stamp a sentiment.

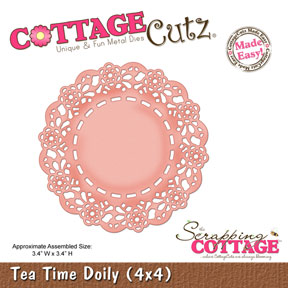
Cut the CottageCutz tea time doily in half and adhere on to the card as shown.

Repeat on the inside with same panel

This is how the base should look.

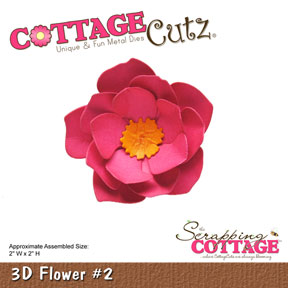
Finish the card using the CottageCutz 3D flower# 2 die , CottageCutz leafy foliage die and the CottageCutz lacey Rose die
The Final card