We have a NEW RELEASE which is perfect for all those sports fans in the family! It is called Baseball & Golf! It has 16 fantastic dies which will make your card making and scrapbooking pages look great! The release has special pricing right now so go and check it out HERE!
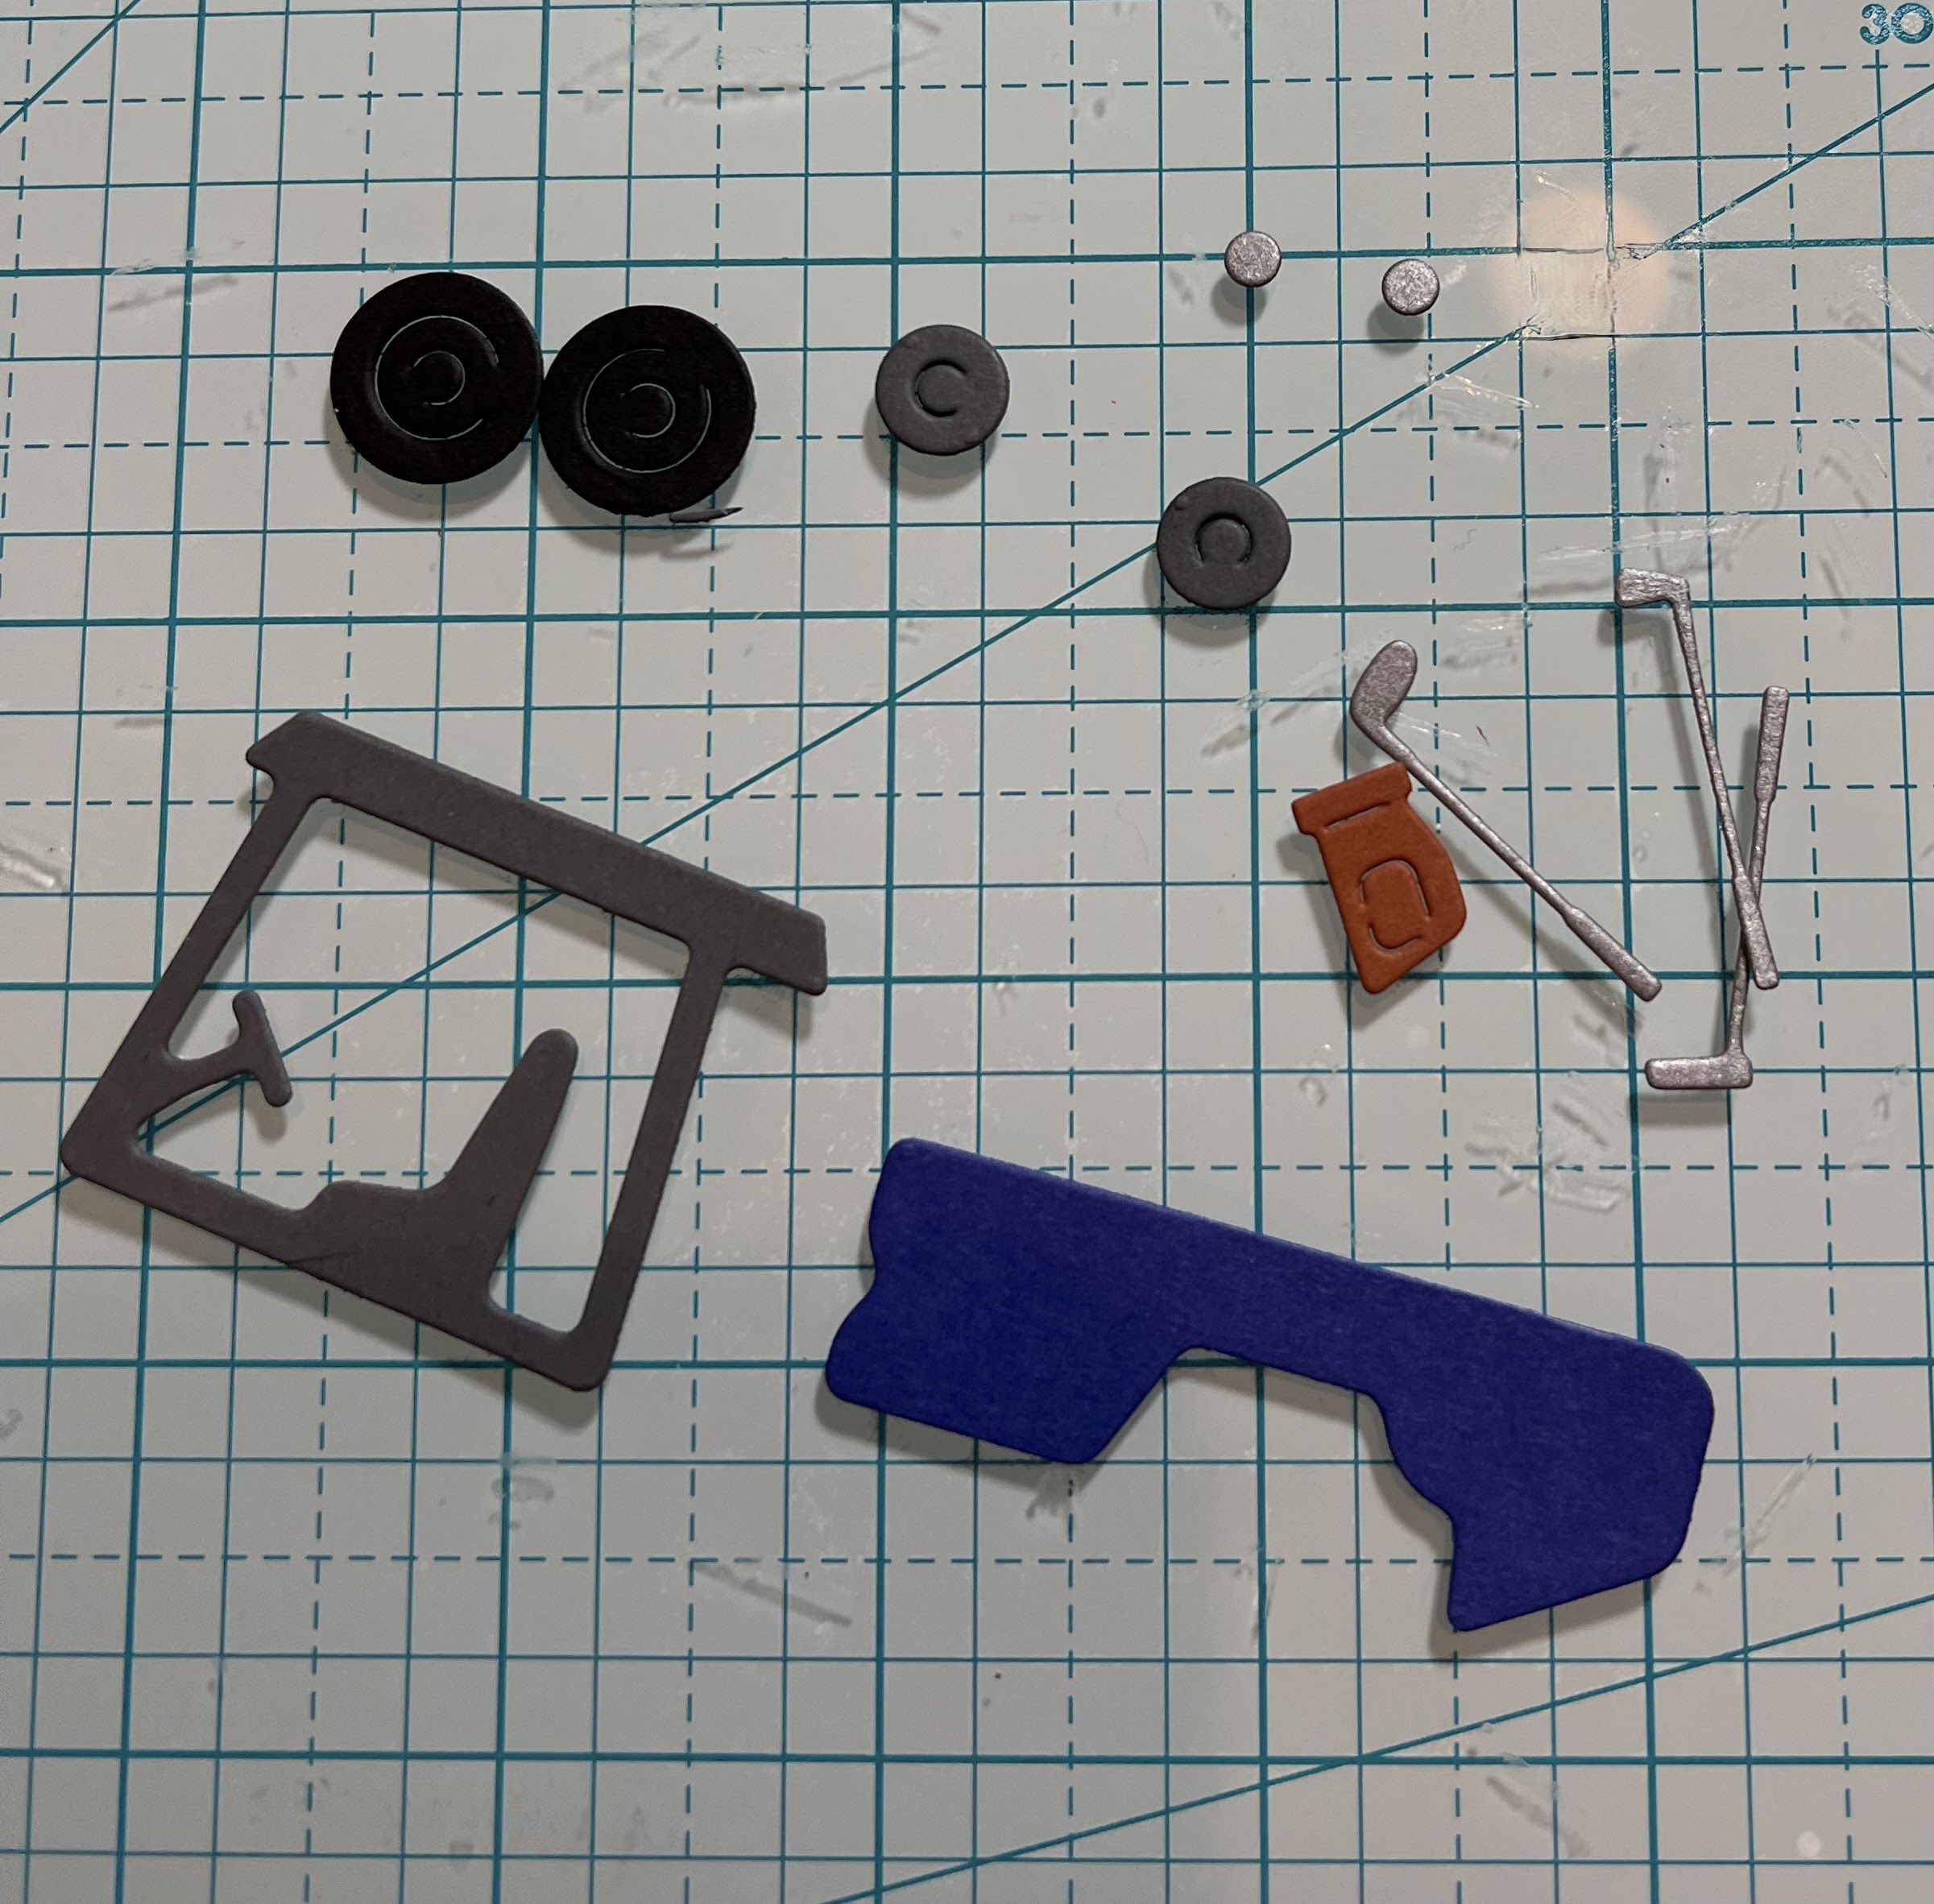
My husband is a golfer so I am really going to enjoy creating with the golf dies. I used the Putting Green and Golf Cart for this card. I mixed it with a few of the slimline dies for the background.
Design Steps:
1. I used the Golf Cart die and cut gray, silver, red, blue, rust and black card stock. I then assembled with a fast drying, fine tip glue
2. I used the Putting Green die and cut brown, red and green card stock. I will assemble the putting green on the card. You will see on the card I added a little piece of white on the back side of the hole
3. For the background of the card I used an A2 white base, blue DP for the sky 2 1/4 x 5 1/4, dark green card stock cut with Mountain & Trees Slimline, a piece of green measuring 3 x 5 1/4 cut with the Hills Slimline and not pictured a piece of white 2 x 5 1/4 cut with the Clouds slimline
4. Glue the sky down first to the white card base. Glue the tree line to the green hills and then glue to the card
5. Glue the putting green to the green hills as pictured above
6. Pop up the golf card, add the clouds to the top and your sentiment to the bottom. Your card is complete
CottageCutz Products
Here is the new release so please check it out in our store today!!
We have more inspiration on our YouTube Channel check it out HERE
Thanks so much for stopping by! And I will see you next Thursday.
Melinda here with you on on another sweet TuesDIE. Today I am sharing a fun card and box set, featuring dies from the Baseball and Golf release.
Here’s a look at the set. It features an A4 top folding card and a fun circle shaped box. I made the box from some circle dies from the Pierced Circle die set. Below is a quick tutorial on how I made the little box.
I started with cutting out two each of the two largest circles in the set. I cut a strip of paper 2.5” x 11”. I then scored the strip at .5” the long way.
Next I used my ruler and “curled” the paper. The same way you would take a pair of scissors and curl ribbon for like a balloon.
Using the ruler allowed me to curl and or “train” the paper to have a curve as pictured above.
I then cut the half inch strip into little tabs by cutting thin little triangles out as pictured above. I kind of followed along with some of the creases that were created when I "curled" the paper.
Here is a shot showing you the way I cut the tabs. I didn't "measure" them or make them exact. I just cut them about every half inch or so.
I then added adhesive to the tabs and began to attach them to the bottom of the second to the largest circle from the die set.I just made sure as I was going around, that I kept the edge of the circle flush against the edge of the paper.
Once I made it all the way around, you can see I just closed up the side by adhering the two ends together.
The above white pieces were my first try. I started by making the box white. I decided that I wanted a blue base instead so I did all the above steps with blue cardstock. Once I got here, I cut out a piece of the same blue cardstock about 3/4" x 2". I scored it at the 1" mark length wise. I then glued it to the inside of the largest circle and to the outside of the box. I put it on the outside of the wall so that it would get covered by the patterned paper.
I then added the second largest circle to the bottom of the box. Doing this allowed me to "sandwich" the tabs between the interior circle and the larger outside circle. I also added the second circle of the size smaller than the largest to the inside of the lid. Doing this covers the mechanics of the hinge.
Here's a closer look at the card. I used a combination of blue and white pierced circles. To those, I added a variety of the super cute dies to them. For the hat, I used my white gel pen and did some faux stiches. It was real easy to do that as the stitching marks are already on the die.
Here's a closer look at the finished top of the box. I used the large baseball die as well as the glove ball and bat. I inked the mit and the bat. I also used the scallop stitched rectangle die and added the All Stars sentiment to it. I used foam tape on the various pieces to give them a bit of lift off the top.
Here is one last look at my set. I think is turned out very cute!
Here's a link to a YT Video I made showing the set and explaining it.
Also, don't forget to head over to the CottageCutz YouTubechannel and check out all of the amazing projects on there. Our video team is doing a wonderful job of filling the channel with all sorts of creative content! You don't want to miss it!
Well that about covers it for today! Until the next time, have a wonderfully craft-die day!
Happy Monday ~ Guest DesignerKris here with aBaseball card, featuring a POP UP inside! The new BASEBALL & GOLF RELEASE is so perfect for those masculine cards, and the individual dies from this release are 30% off!
I wanted to make the front look like a baseball jersey, then when you open the card ~ SURPRISE! A pop up feature completes the sentiment ☺
...and here's the inside:
HOW I MADE IT:
1. I cut a piece of thick white cardstock at 4-1/4" x 11" - thenscored at 5-1/2" for an A2 card base.
2. I cut a royal blue cardstock at 5-3/8" x 4"
3. I cut a blue/white/grey pinstriped card (from an old Paper Pumpkin kit) at 5-1/4" x 3-3/4"
4. I then measured to find the center of that pinstriped card and placed a mark along the top. I then placed the corner of the largest die from the Nested Rectangles Slimline dies (but you could easily use the squares, rounded rectangles etc.) onto the top of the card as shown below. I counted the stripes so I had equal stripes on each side of the die to cut a "V".
5. On my blue cardstock, I measured in 2" and placed a pencil mark along the top. Then I placed it behind the pinstriped layer to get an idea of what size circle die to use.
6. I cut a half circle using the 3rd smallest (from smallest to largest) Pierced Circles Setto cut an almost half circle from the top of the blue cardstock, using that pencil mark as a center guide.
7. I later decided I didn't like how large the shirt opening was, so I used the 2nd smallest circle die to cut an even amount from the blue piece that was cut out from the 1st cut. Then I inserted that smaller piece so it nested just above the rounded blue cardstock and Voila!! It totally looks like a t-shirt hem with those pierced marks from the die! ♥ it!!
8. I attached the blue rectangle layer to the very top edge of my card base (centered) and glued in the shirt hem. Then attached the pinstripe layer on top, aligning at the very top edge of card as well.
9. Next, I cut a strip of my pinstriped card (with stripes going horizontal this time) AND a strip of the solid blue cardstock to 1/4" x 4". I then layered them so the blue is offset to the left a bit and attached them to the center of my card.
10. I die cut 5 (can do just 4) "buttons" which are parts of the wheels of the Ice Cream Truck die and glued them to the placket.
12. For the inside mechanism, I cut a piece of white cardstock that was 3/4" x 4" and scored at 1", 2", and 3" - fold and burnish.
13. I folded the 2 ends in so they meet in the middle. Added glued to the 2 end sections and attached to inside of card so that the spot where the ends meet in the middle goes right over the score line of card base.
14. And last but not least, I added glue JUST to the section of the mechanism closest to the base of card and attached my die cut elements! ☺