Tuesday, May 10, 2022

Sweet Treat Release Soda Fountain Sundae Die

Hello Scrapping Cottage friends!  
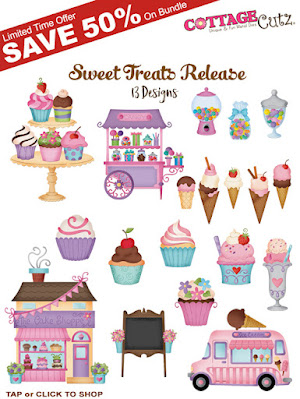
Melinda here with you on this Terrific Tuesdie! Today I am sharing a project featuring dies from the SUPER SWEET New Sweet Treats Release! Talk about sweet! This set is over the top adorable!  Here is what I created.


This adorable Double Fountain Sundae card. 


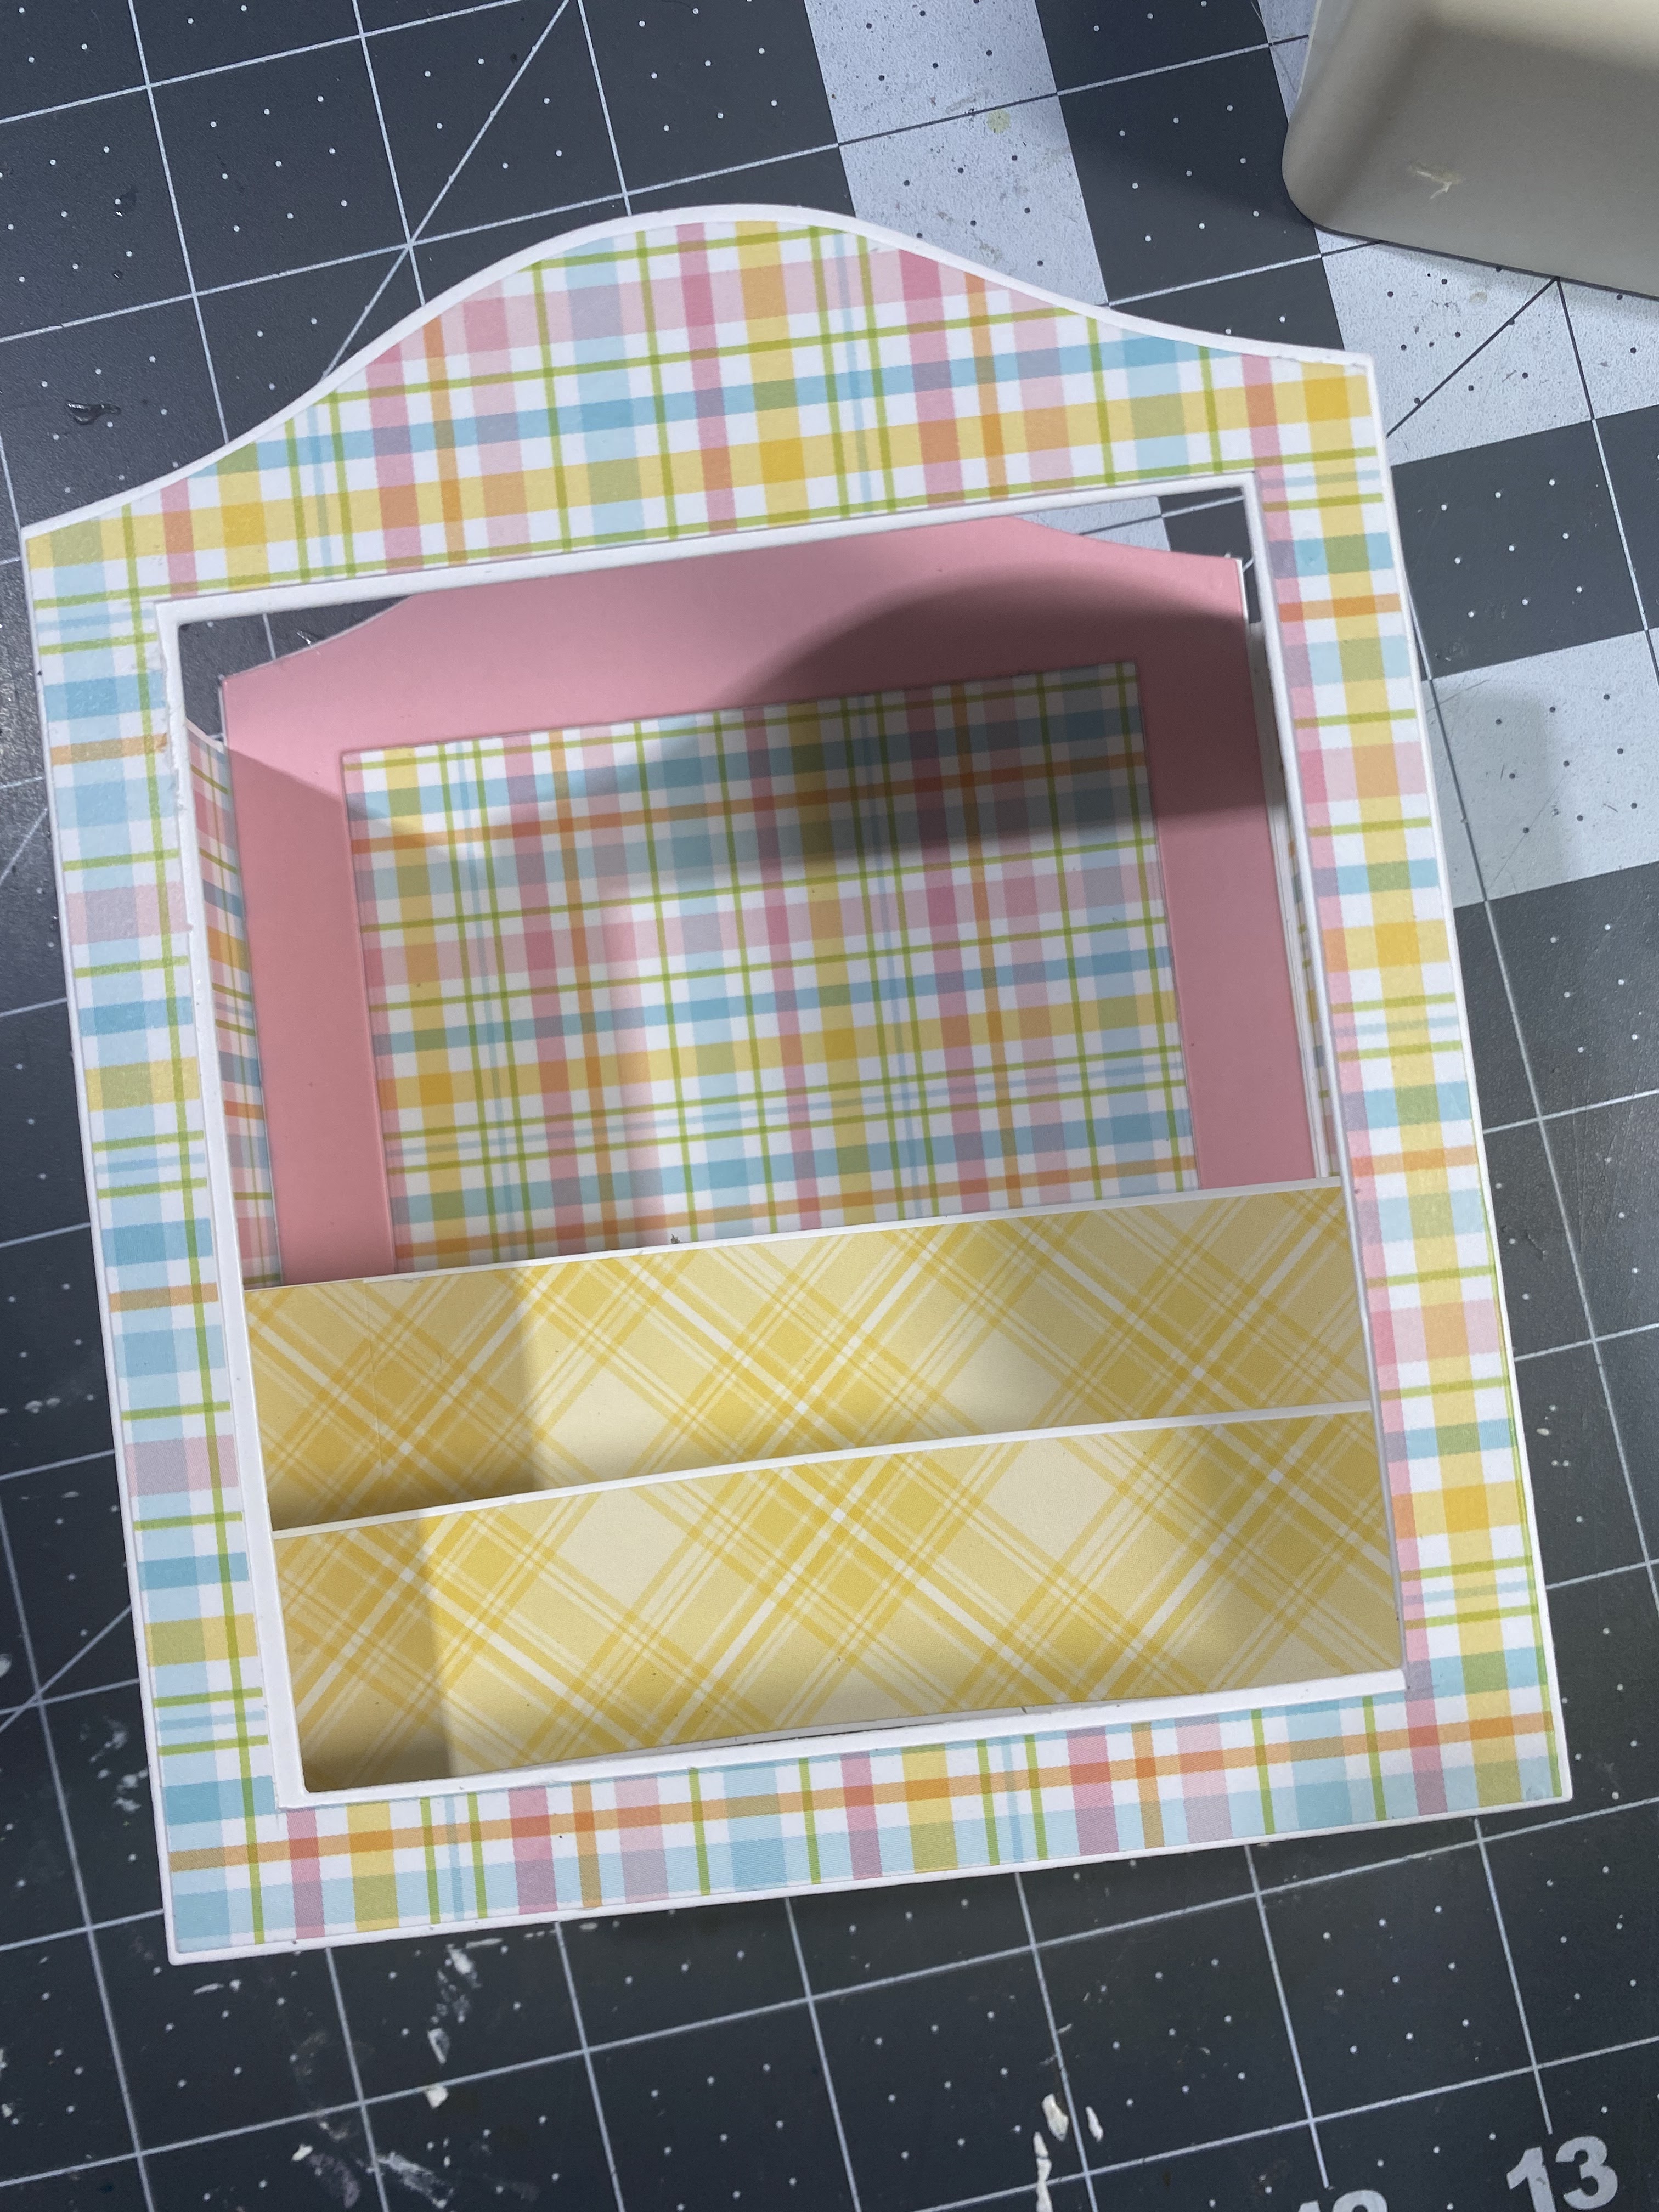
I started by cutting out all my pieces in white cardstock. I used my chalks to dust some blue chalk along the edges of the fountain cup.

I colored in the heart with my pink marker and then applied it.

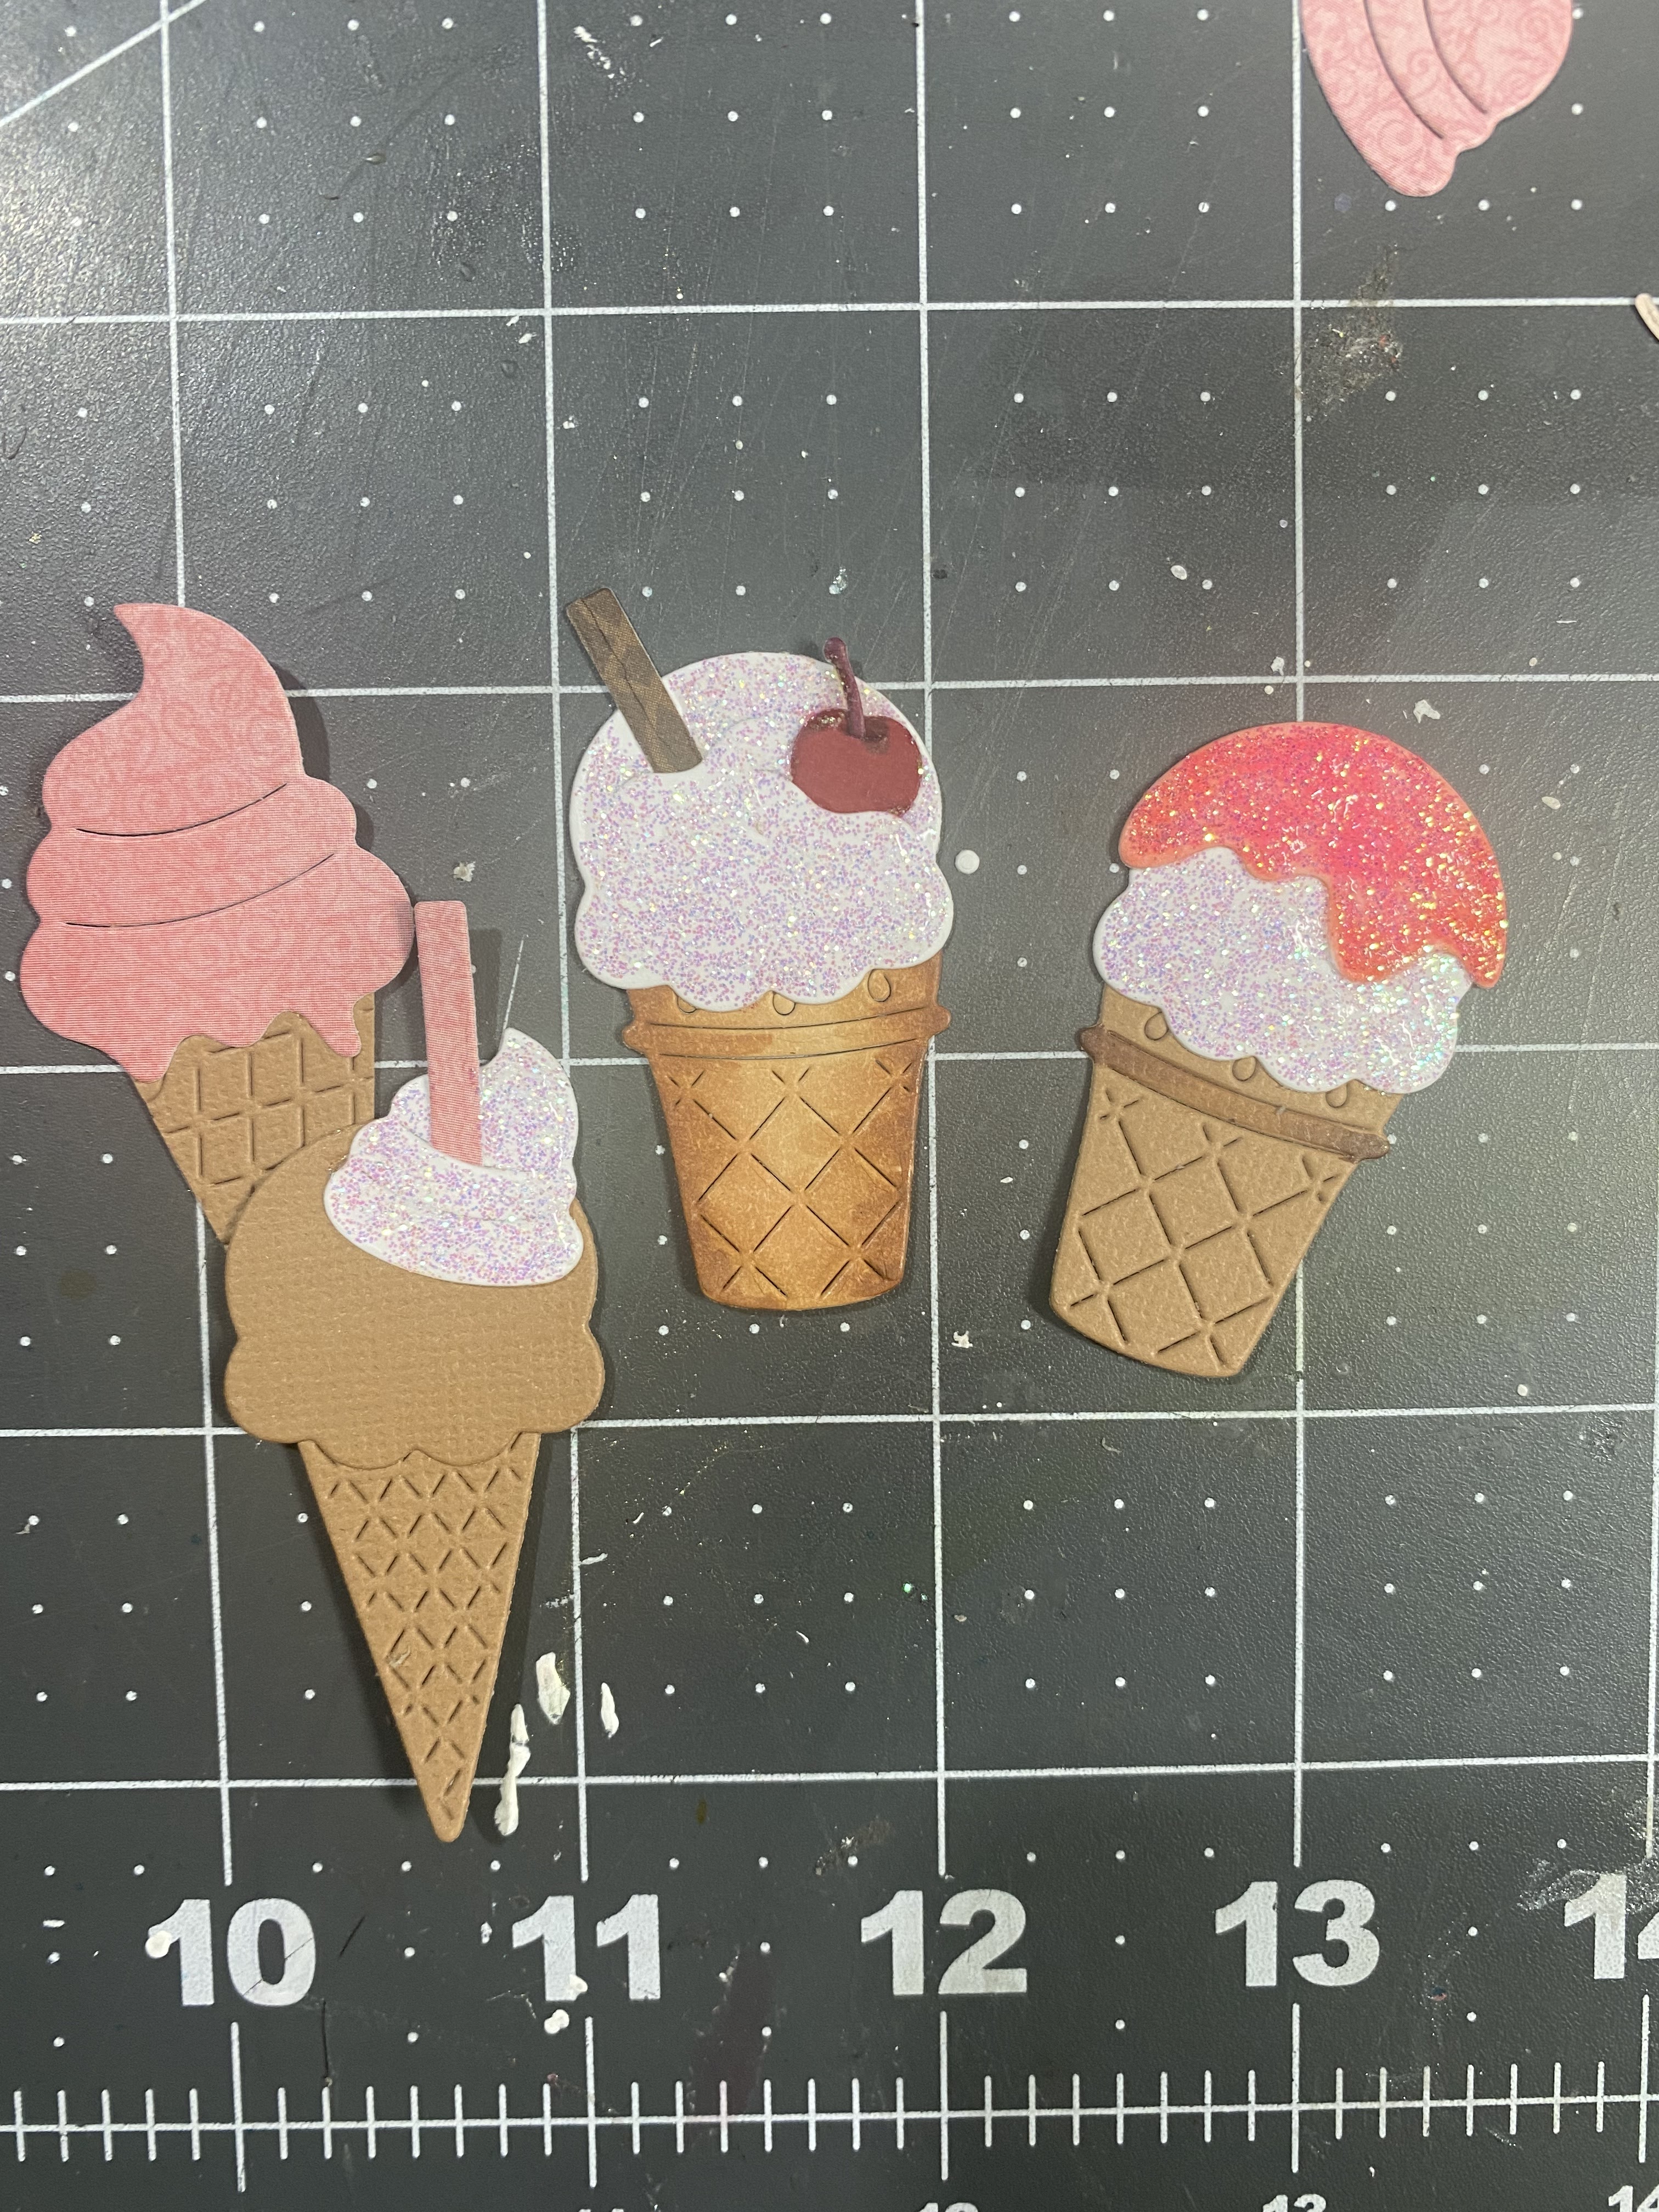
Here's a photo that shows the difference when you add some of that shimmery chalk over the top of the colored piece. The shimmery one is the one on the right. I love adding my shimmery chalk to pieces like this It gives it some extra sparkle without any mess.


Here's a closer look at the finished sundaes. I added some stickles to the white decorative swirl pieces. They are just so cute. I added a dew drop to the center of each heart and some more stickles to the top pink ice cream scoop.  I layered both onto a double stitched oval die.

I added all that onto an A4 top folding card base. 

Here's a closer look at the ribbon bow I added to the top. I don't have a sentiment on this one yet. Not sure if it will be a birthday card or something else.

Here is one last look at this adorable die! 


ACT FAST!!! This new release is available for a whopping 50% off if you buy the entire SWWEEETTTT collection!

Sweet Treats Release


The Dies I used to create this project:


Have you checked out the CottageCutz YouTube channel yet? 
It is filling up with beautiful projects and great how-tos!  
Head over and check out the latest video! 

Well that about covers it for today! Until the next time, have a wonderfully craft-die day!
Melinda Beltran

Monday, May 09, 2022

Framed Box Card


Hi everyone Happy Monday belated Mother’s Day to all the moms and dad moms.  I swear time seems to fly by so quickly these days I mean summer is almost here and with summer comes the summer heat and it isnt summer if its not filled with ice cream!
To make this framed card I drew a picture of a sort of window and cut it out.  You can leave it square or draw and sort of shape for the front.  The frame measures 5 x 5.5 with the sides at .5 You will need two of these one for the front and the other for the back.
2.  Next will make the sides for our shop.  Cut a strip of paper 4.5wx 3” h score each end .25 so you can adhere it to the frame of the box as seen below.  Decorate as desired. 

3. Now we will make the rows inside to be used as a sort of shelf.  We will add out diecut pieces to the strips
4.  You see I covered the strips with patterned paper this is an option.  You can leave it plain the choice is yours.
5. I used Candy & Gunballs, Build an Icecream Cone, Farm Fence slimline and Easel Sign w/Flowers to decorate my shop.
This completes my post and I hope everyone enjoyed it.  I just had some Jennys Gooey Buttercream  icecream myself 🥰
You can use glitter, enamel gel and more to dress up your cones.

Products Used

Saturday, May 07, 2022

Ice Cream Truck Birthday (new die)

Hello CottageCutz friends! Thanks for taking the time to stop and visit with us today. It's Mary Marsh here bringing you the Saturday edition of the Blog.

We have new dies in the online store. It's our Sweet Treats release with 13 new designs. They are so perfect for any card making occasion you may have. You can pick up the entire bundle for a limited time savings of 50%. The individual dies are currently 30% off.  

Today for your viewing pleasure I have created a birthday card using the new Ice Cream Truck die.  So, let's get started with some details on how I created my card. 

Design Steps:

I cut the ice cream truck image using the packaging as a guide for the colors. I just loved the pink and purple truck. 
For my card layout, I decided to do a fun fold. I was looking on Pinterest one day and came across a double easel fold design. I thought it would work for my ice cream truck birthday card nicely. Here is a link to a video if you like visuals. 
white card base: 4 1/4" x 11" - scored at 5 1/2"
lemon-lime layer: 4" x 10 1/4", scored at 2 1/2" and at 5"
lemon-lime designer paper: 3 3/4" x 5" and 2 1/4" x 3 3/4"
This is what the layer looks like after the score lines are burnished. 
Next, I attached the designer paper layers. 
Then this layer is attached to the white card base using double sided tape. 
I cut my sentiments in 2 shades of pink. They are from the sentiments w/shadows release. I used Sweet, Happy Birthday and Wishes
I attached the sentiments with glue dots. The ice cream truck is attached with dimensional adhesive. To finish off the card I scattered a few pink enamel dots.
 

That's my card for this week. See you again next Saturday. The DT will be showing more samples this week using these new dies. 

Reminder: Our YouTube Channel has a new video from Jen Hartsgrove. There is a giveaway for being a subscriber, liking the video and leaving a comment. Click here. 

dies I used to create card:


Thursday, May 05, 2022

Aussie Smiles

Hello CottageCutz Friends,

It is Pam sharing with you on the blog today!

I have created a slimline card today featuring a number of the Australian Friends dies.  This sweet card uses the WombatDingo and the Echidna dies.  There are 14 different dies in this release and all of them are just as cute as they can be!!  If you haven't checked out the Australian Friends Release click HERE. 

Design Steps:
1.  Using these dies: DingoWombat and Echidna cut out the following colors of card stock: rust, tan, brown, dark brown, white and black.  Assemble the critters with a fine tip, fast drying glue
2.  For the white card base use a slimline measuring 8 1/2 x 3 1/2 (folded) Cut a piece of black card stock with the Film Strip Slimline.  Also with the same slimline cut out the Smile which is included in the Film Strip Slimline.  Cut a piece of blue DP 3 1/4 x 2 1/4 glue to the center of the white card base
3.  On the card front glue down the film strip and the smile as shown in the picture above
4.  For a little added decoration use the Spring Grass die and cut it 3 times out of green card stock.  Cut the pieces to fit inside of the film strip sqaure and glue down.  Use the Koala Bear w/Floral die and cut out 4 green leaves and 2 yellow flowers.  Glue the leaves and the flowers in the corners of the top and bottom film strip squares as shown above
5.  Add the remaining critters and some small rhinestones to the flowers centers.  I decided to do the inside of the card by adding one film strip square and some leaves with yellow flowers.  I stamped inside of the square to complete the card

CottageCutz Products


We have more inspiration on our YouTube Channel check it out HERE
Thanks so much for stopping by!  And I will see you next Thursday.

Blessings and Take Care