Good morning Cottagecutz fans. I trust you have had a great week. Hopefully you’ve broken up for Christmas now and are watching Christmas movies, eating mice pies and maybe a glass of eggnog
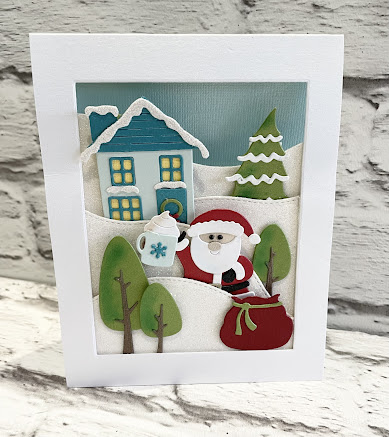
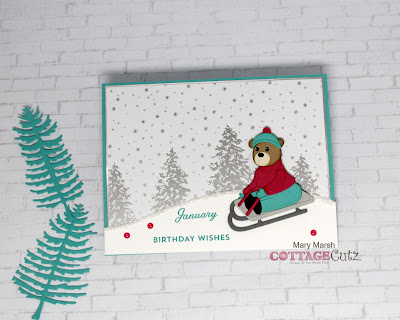
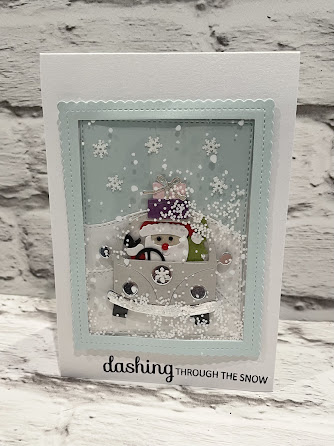
It’s Wendy bringing you the blog today and I’ve made this shaker card and Santa had lost his sleigh.
Here’s how I made it.
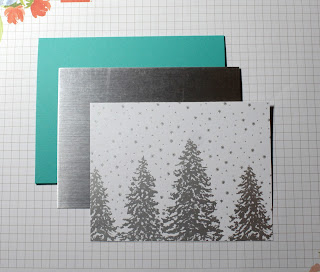
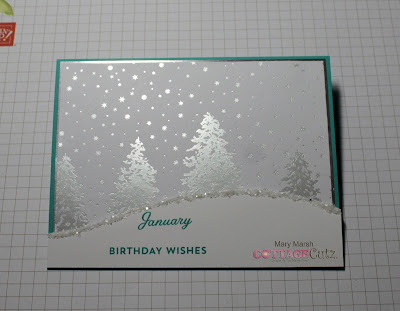
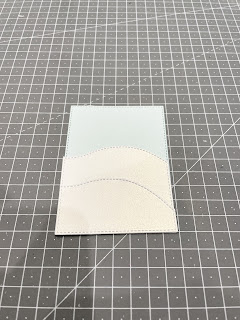
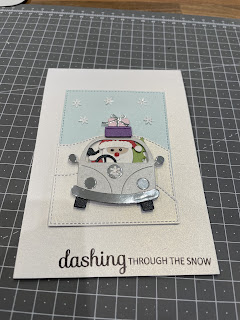
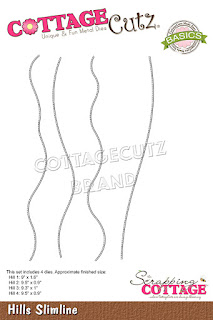
I took the largest rectangle and cut in out in blue and white. I took the white card and used the ‘Hills Slimline’ to make some snowy hills.
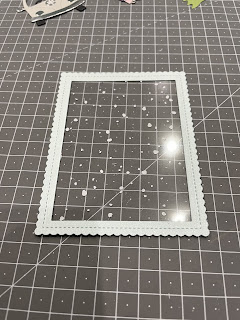
Next I took the largest ‘Nested Scalloped and cut out in blue card. I then attached some snowy acetate to the back of the card.
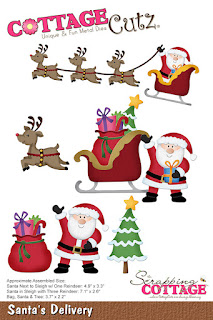
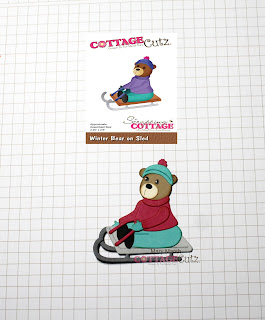
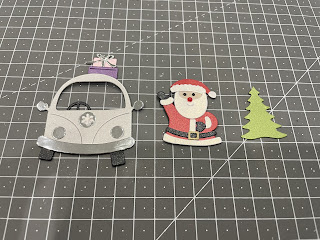
Next I cut out all the elements that I wanted on my vCard. unfortunately I had to chop off Santa’s feet so he fitted in the car lol!
I then assembled the card and added a cute little sentiment and Sonne little snow shapes.
So to finish I added some chunky glitter and attached the card with the acetate with with 3D foam pads and we are done
I really hope you like the card today. I wish you a wonderful weekend with plenty of crafting time and I will see you on Tuesday for another exciting blog post
Hugs
Wendy
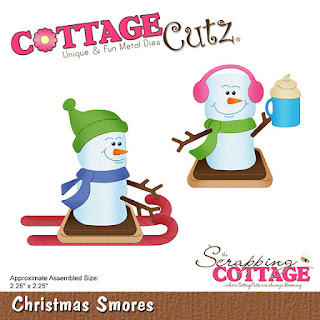
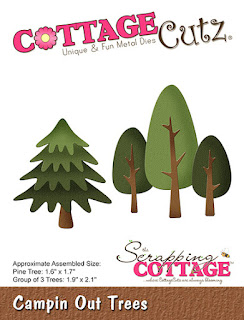
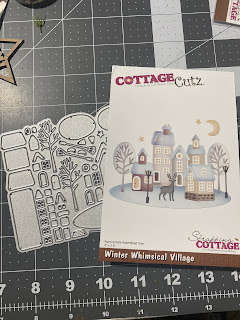
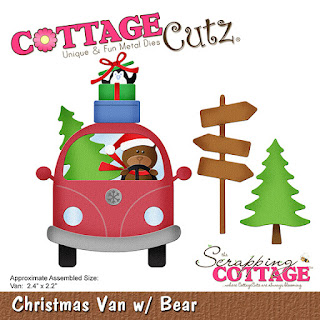
Dies i have used:
Please don’t forget to check out our YouTube channel to check out out latest project