Saturday, December 04, 2021

Snowman & Penguins Buddies

Hello CottageCutz friends! Thanks for taking the time to stop and visit with us today. It's Mary Marsh here bringing you the Saturday edition of the Blog.

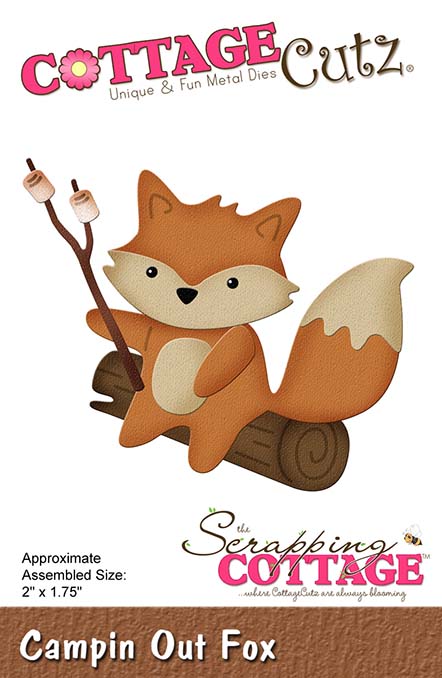
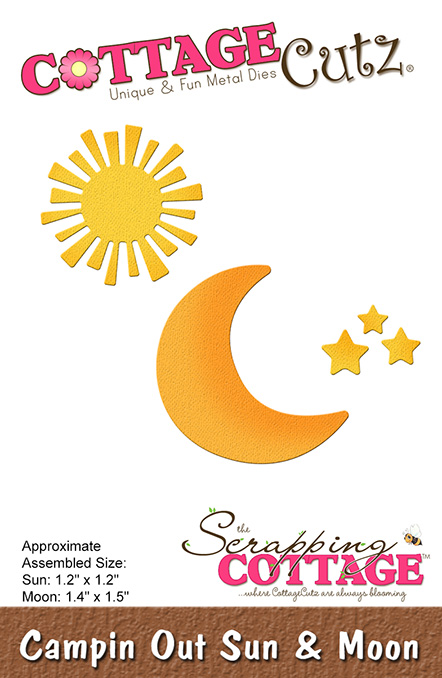
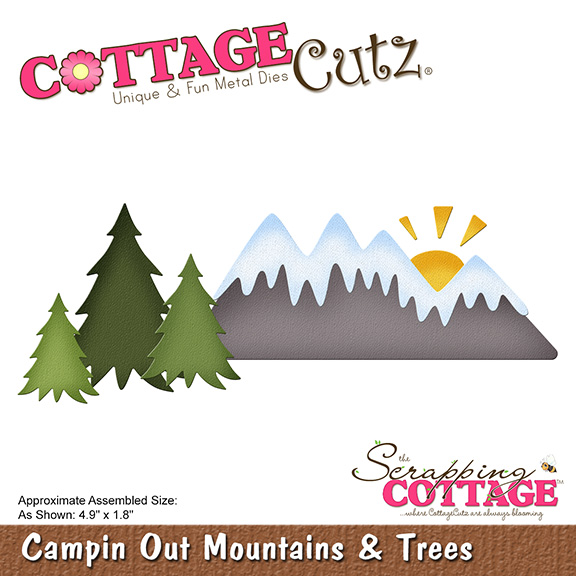
IT'S NEW RELEASE TIME! Our annual Black Friday release is in the store. It's the Campin' Out release with 14 ever so cute designs. It's perfect for year-round card making. And the Christmas release Part 1 and Part 2 is also available. There is still time to get Christmas dies ordered and delivered for Christmas card making.  

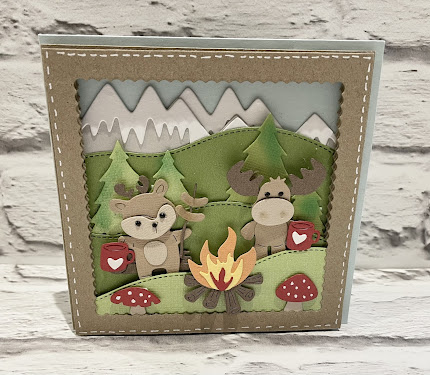
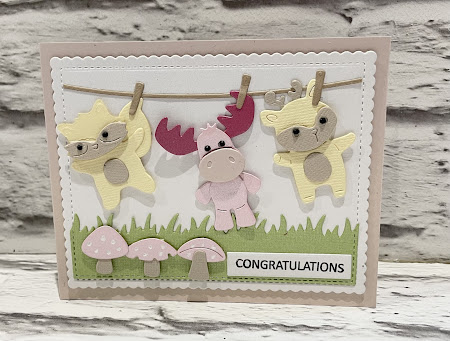
Today, for your viewing pleasure I have a Christmas card in non-traditional colors using the Snowman w/ Woodsy FriendsIce Skating Buddies and Merry Christmas w/Snowflakes dies. They are all from the Christmas Part 1 release. So, let's get started with some details on how I created my card. 
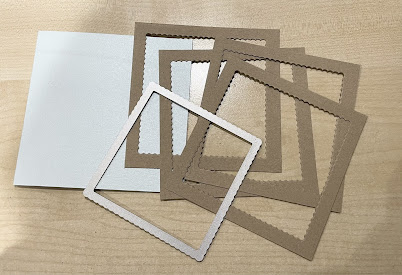
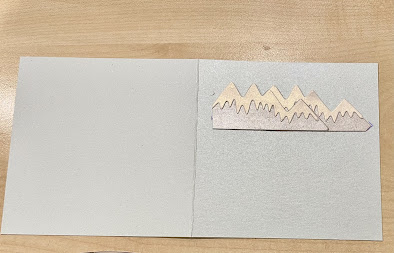
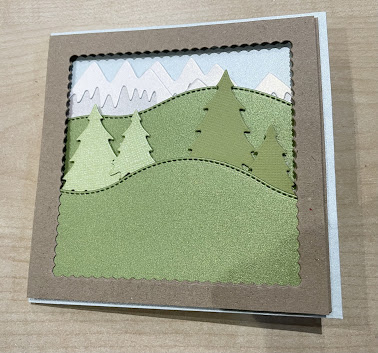
Design Steps:

I started my card this week by first selecting my designer paper. Since this is a whimsical style card, I wanted designer paper to reflect that style. I found a pattern that I thought would work well. And, it had non-traditional colors, so I liked that as well. 

Misty Moonlight (Blue) card base: 5 3/4" x 4 1/2" 
Fresh Freesia Layer: 5 5/8" x 4 3/8"
Designer paper Layers each: 5 3/8" x 2 1/4"
Next, I cut the images and used the colors that were in the designer paper for their accessories with the addition of red for the Penguin hat & Snowman hat trim and the Christmas stocking. 

I wanted a Christmas greeting and decided to use the Merry Christmas w/Snowflakes dies. I cut it in the misty moonlight cardstock. I cut it 2x to give it more emphasis on my card.  
Now that all my elements are prepared, I am ready to start card assembly. I attached the designer paper to the fresh freesia panel with double sided tape. To join the 2 panels, I used some misty moonlight ribbon. 
The images are next, and I attached those with double sided tape. The Merry Christmas greeting is secured with Art Glitter glue. This adhesive dries clear so it's my new fave. 
To finish off the card, I added the image panel to the card base with double sided tape. I also scattered a few white enamel dots just for added interest. 
That's my card for this week. I hope I have given you a fun and different way to use the new dies. See you next Saturday!

Reminder: Our YouTube Channel is active once again with complete tutorials from our designers for more inspiration and a giveaway. Check it out HERE.
 
Dies I used to create card:


Friday, December 03, 2021

Dimensional Camping Card


Happy Friday CottageCutz fans. I hope you’ve had a great week and are looking forward to the weekend. We are 22 days away from the big day so my Christmas crafting is crucial now. 

However, it’s the last day of the sale on the website and of course this release is so amazing that I couldn’t help but make one last card for you. This is a dimensional card so it made up of many different layers so lets get down to how I made the card


To begin with, I cut a piece of blue card measuring 5” x 5” when folded and then 4 pieces of kraft card measuring 4.5’ x 4.5”. I actually used only 3 of the pieces of kraft card but you could use many layers. To cut the centre of the Kraft card I used the largest ‘Nested Stitched Scalloped Square Set’. 

One thing to remember, each Kraft layer is attached to the card with 2mm foam pads


Next I cut out 2 of the mountains from the ‘Campin Out Mountains and Trees’ and layered onto my card. I layered it so that the kraft card would cover it up


Next I used the ‘Hills Slimlime’ to create some greenery and then covered up with the first of my kraft
card pieces


For the next layer, again I used the ‘Hills Slimline to create more greenery and took the trees from the ‘Campin out Mountains and Trees’. I’m going t use some chalk later to give the trees some dimension but again I layered up with another piece of the kraft card


My final layer was a different colour green for the grass again using the ‘Hills Slimline’ and I attached this to the card before adding the remaining embellishments. For my embellishments I used the Moose and Reindeer from the ‘Campin Out Moose and Reindeer Set’, the Mushrooms from the ‘Campin Out Mushrooms and Rocks’ set, the Campin Out Fire and & Sign Set’ but I only used the mushrooms. Then finally the mug from ‘Campin Out Bear on Log’ die.

To finish, I added some chalk on the trees to give them dimension, some stitching round the side of the card and some white gel dots on the mushrooms


I really hope you like this card and it given you some inspiration for this release. It is a super cute release and when you see how many dies you get for the price it’s amazing

I wish you all an amazing weekend with lots of crafting and I will be back on Tuesday with a super Christmas card

Reminder: Our YouTube Channel is active once again with complete tutorials from our designers for more inspiration. Check it out HERE

Wendy

Dies I used:


Thursday, December 02, 2021

Campin Out - Few Days Left for Black Friday Sale

Hello Friends

There are only a few days left to take advantage of the Black Friday sale.  And I don't want you to miss out on all the saving. Check it out today!

Today, I am using the Campin Out Mountains & Trees, Campin Out Fox and Campin Out Campfire & Sign.  This fun card is perfect for a friend or hubby that you love spending time with!  I am thinking it could even be a Valentine!


Design Steps:

1.  Use an A2 blue card base, cut a piece of green and browncard stock with the Slimline Hills die, cut a piece of with the Clouds Slimline and finally cut a dark green, gray and white with the Campin Out Mountains and Trees die


2.  Glue the brown to the bottom of the blue card base leaving the top the brown without glue.  Tuck the green hills under the green leaving the top of the green without glue.  Next tuck in the white cloud and then tuck in the mountains under the green hills. Then go back and add glue to the top of the green and brown card stock hills.  Add the trees, sun and snow to the card as shown above 
3.  Using the Campin Out Fox and the Campin Out Campfire & Sign cut out the fox in rust, white, dark brown, tan, and black.  Cut out the fire in yellow, red, orange and dark brown.  Assemble and then glue flat to the card as shown below

Reminder: Our YouTube Channel is active once again with complete tutorials from our designers. for more inspiration.  Check it out HERE

CottageCutz Dies Used in this project


Black Friday Sales


BLACK FRIDAY SALE INFO

CottageCutz Dies     Click Here to SAVE up to 85%

Stamp & Die        Click Here to SAVE 80%    

 Slimline Dies       Click Here to SAVE 65%  

Retired         Click Here to SAVE up to 80% 

Overstock      Click Here to SAVE up to 70%


Lil’ Bluebird Designs    Click Here to SAVE 60%

Stamp Sets    Only $5.98

Die Sets         Only $7.98


Thanks so much for stopping by today and I will see you next Thursday!   

Blessings
Pam


Wednesday, December 01, 2021

Sending A Long Distance Hug Featuring Campin' Out Fox


Hello there, Friends! It's Theary Chea here again on the blog. For today's post, I wanted to share a card that I created using some products from the Campin' Out Black Friday Release. 

This release has to be one of my favorites. I love everything about nature and being outdoors, so this card that I created was inspired by my love for mother nature.


For more information on how I created this card, Please check out CottageCutz Youtube Channel here.

The Winner of the Gingerbread family from my November 17th video is Debbie Coppersmith. Please contact Mary Marsh at mrmarsh917@gmail.com. 


Until next time,
Supplies used:


Tuesday, November 30, 2021

New Baby Card


Happy Tuesday Cottagecutz fans. I hope you had a wonderful Thanksgiving and had lots of time with family and loved ones. It’s Wendy bringing you the blog today and I am mixing it up a bit. I love the new camping release and I have made quite a few camping scenes so I thought I’d try something slightly different

I have made a new baby card and just by changing the colours you can use these dies all year round and I think that’s what we want from theses dies.

This is a short tutorial today but I’ll be back on Friday with full tutorial

To begin with I cut the largest ‘Nested Stitched Scalloped Rectangles’. I then took the largest ‘Nested Stitched Rectangles’ and cut it out in green card. You don’t need to cut the full rectangle as I used the  ‘Grass Slimline’ to cut a small border. I then attached this to the card

Next I took a thin slither of brown card to act as a washing line and glued on the card. To fill up my washing line with stuffed animals I used the ‘Campin Out Racoon’ and ‘Campin out Moose and Reindeer’ dies. I cut them in very girlie colours but you could change it to a masculine theme. I attached the animals to the washing line with 1mm foam pads. 

Next I took the ‘Campin Out Mushrooms and Rocks’. I cut the main mushroom in pink and used a white gel pen to give them some features. Again these were attached to the card with 1mm foam pads.

To finish I took a folded card to fit the design and attached it with 3D foam pads. I also used the pegs from the ‘Baby Boy Clothes’ to secure the animals to the washing line. I then stamped a congratulations sentiment and attached the the bottom right of the card

I really hope that you like the card today as I had so much fun making it. I wish you a great week and make time for crafting. See you Friday for anther post
Wendy


Dies I used: