Hello
Scrapping Cottage friends! Thanks for taking the time to stop and visit with us today. It's
Mary Marsh here bringing you the Saturday edition of the Blog.
IT'S NEW RELEASE TIME! The Scrapping Cottage has just added a new brand to the company line.
Lil' Bluebird Designs is being introduced with 16 new Photopolymer Clear Stamp Sets and 16 coordinating dies. There are stamps for so many of your card making occasions and then some. The coordinating dies just make it a perfect fit for your card making designs.
They are currently on a great
bundle price at 40% off and the
individual dies are 25% off.
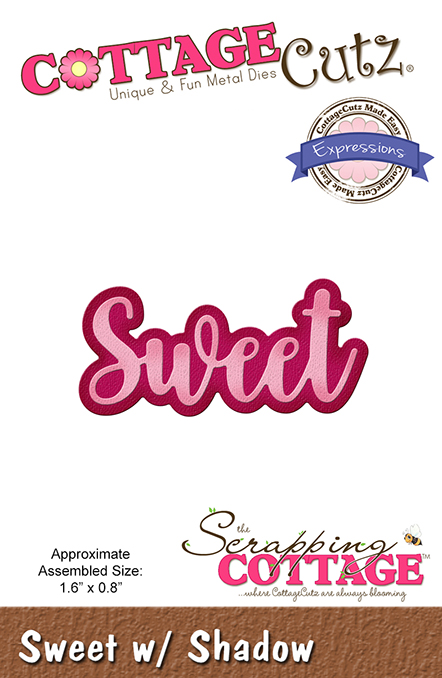
And speaking of new releases, we have just introduced new CottageCutz
Sentiments with Shadows. There are
12 phrases in this new release and you can pick the
bundle up at a 51% savings or the
individual dies at 25% off.
The shadow dies are so popular right now and they coordinate so well with the new Lil' Bluebird Stamps and dies.
Today for your viewing pleasure I am featuring the new
Happy Birthday Stamps & Dies + the
Kitty Love Stamps and Dies. I used the sets to create a birthday card. I like to have birthday cards on hand to send out to my family and friends. I have a large extended family so I am always in need of cards. So let's get started with some details on how I created my card.
Design Steps:
Having a layout in mind at the card start is always a big boost for me. That way I can just choose the card colors, and I am good to go. I liked this week's
sketch #868 from Splitcoaststampers. I thought it was a great layout to use several of the stamps.
After many attempts to use designer paper for my image panel, I finally gave up and decided to keep the background white. It just seemed to busy with any of the patterns I tried to use in addition to the circles.
Light Purple Card Base: 4 1/4" x 5 1/2"
White image panel: 4 1/8" x 5 3/8"
Light Purple Circles: 1 5/8" (I used the 4th largest
Circle Set die)
Next, I stamped, colored and die cut the birthday images. I used alcohol markers to color.
Photo of the alcohol marker colors I used for coloring.
Now I am ready to start card assembly. I attached my images to the circles with dimensional adhesive. Then the circles are attached to the white image panel with double sided tape.
The birthday swag banner & the happy birthday phrase are both attached with dimensional adhesive.
I added some sequins to the card. I just didn't like the empty white space. I am not a clean and simple stamper (lol)!!! The image panel is attached to the card base with double sided tape to finish off my card.
Well, that's it for me for this week. I hope I have given you an idea for a fun way to use these new dies. I am really enjoying coloring the images. See you on Monday with another card sample.
Stamps & Dies I used to create card: