

Hello Scrapping Cottage friends! Thanks for taking the time to stop and visit with us today. It's Mary Marsh here bringing you the Saturday edition of the Blog.
Our Christmas dies are in the online store. And, you can still pick them up on a 25% sale. We have Christmas Part 1 (22 new designs), Christmas Part 2 (21 new designs) and Christmas Part 3 (11 new designs).
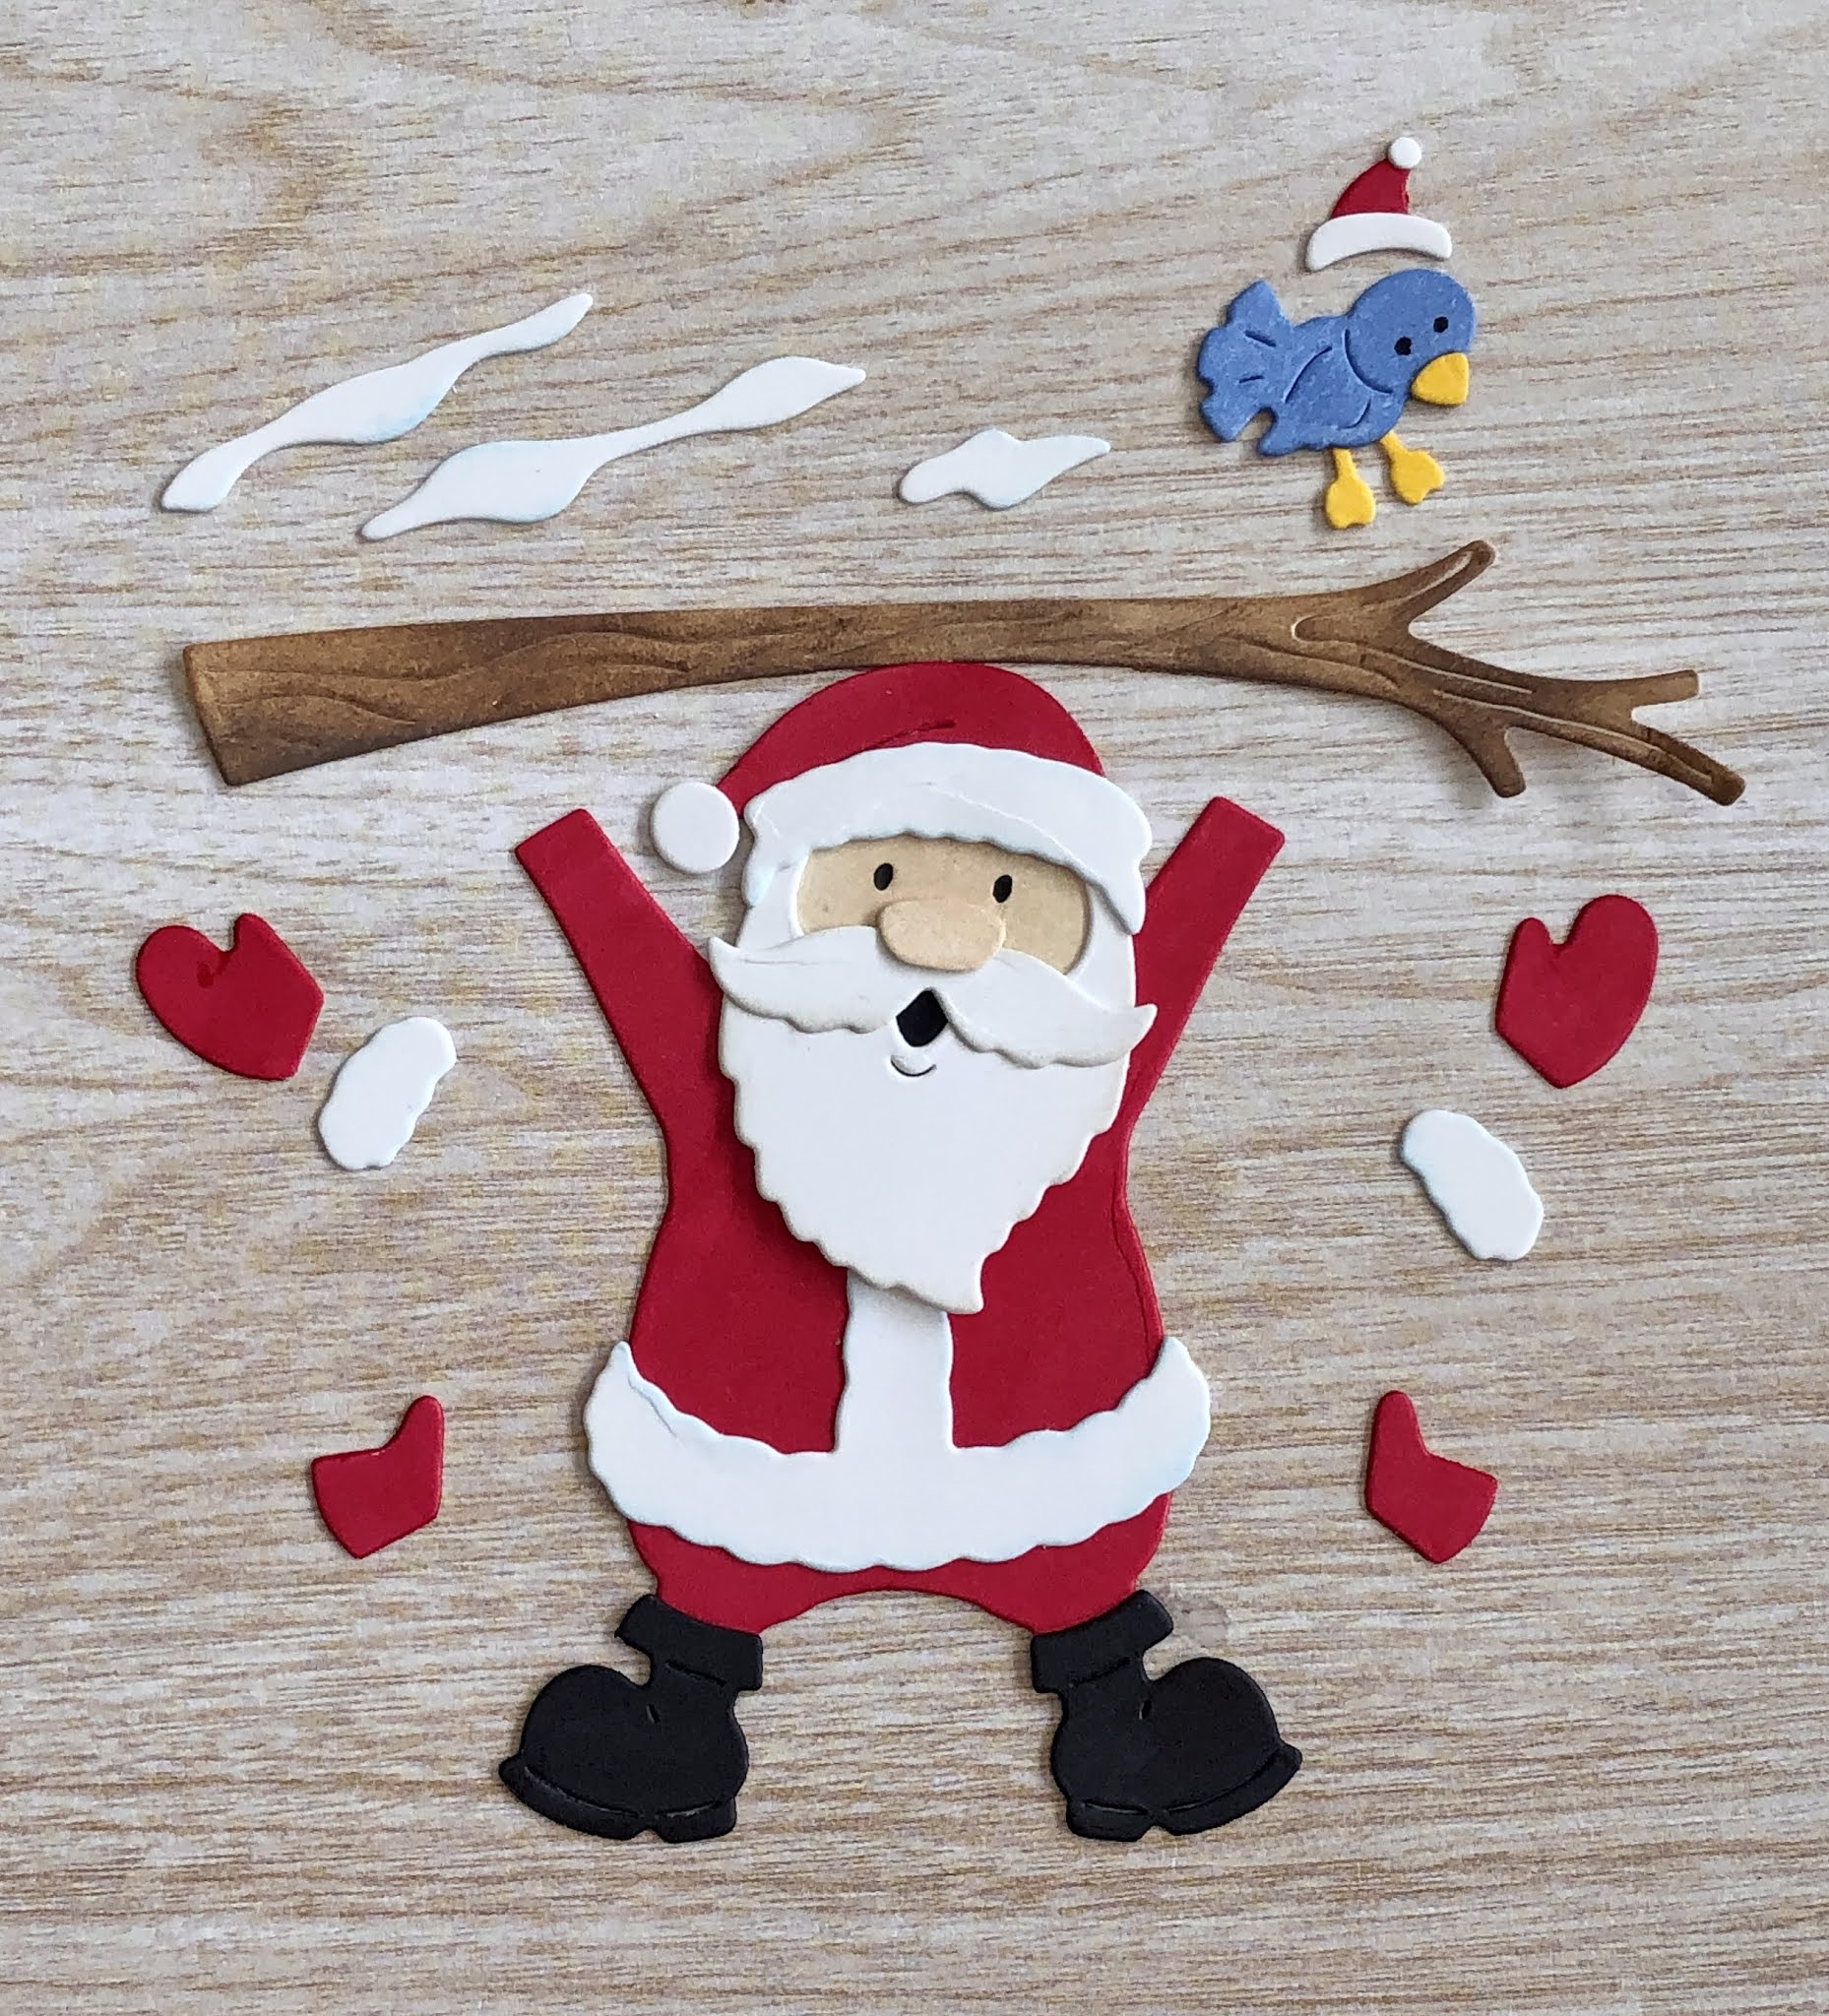
Today, I have for your viewing pleasure a card featuring the new Santa & Reindeer Truck from the Christmas Part 2 release. It's one of those whimsical dies that would make a really cute Christmas card. So let's get started on some details of how I created my card.
Design Steps:
I started my card this week with the Splitcoaststampers sketch #827. I noticed the option of doing a pocket card and I thought this die would be cute on a tag to fit in the pocket. Here is a link to a YouTube video for step by step instructions.


Then fold at the score lines with a bone folder for a nice burnished edge. I used a corner rounder and rounded the flap and the top portion of my card.

Next, I added Scor-tape or any strong adhesive to the outer edges of the top portion of the card. That forms the pocket.

Gold panel: 4 1/8" x 4 1/16"
Designer Paper Panel: 4" x 3 15/16"

For element 4 of the sketch, I used the Santa's Express Tag die from the Christmas Part 1 release. I cut it once in white cardstock and then again in cherry cardstock. I did a die inlay technique and added the cherry letters to make the white tag pop. The card pocket is finished.

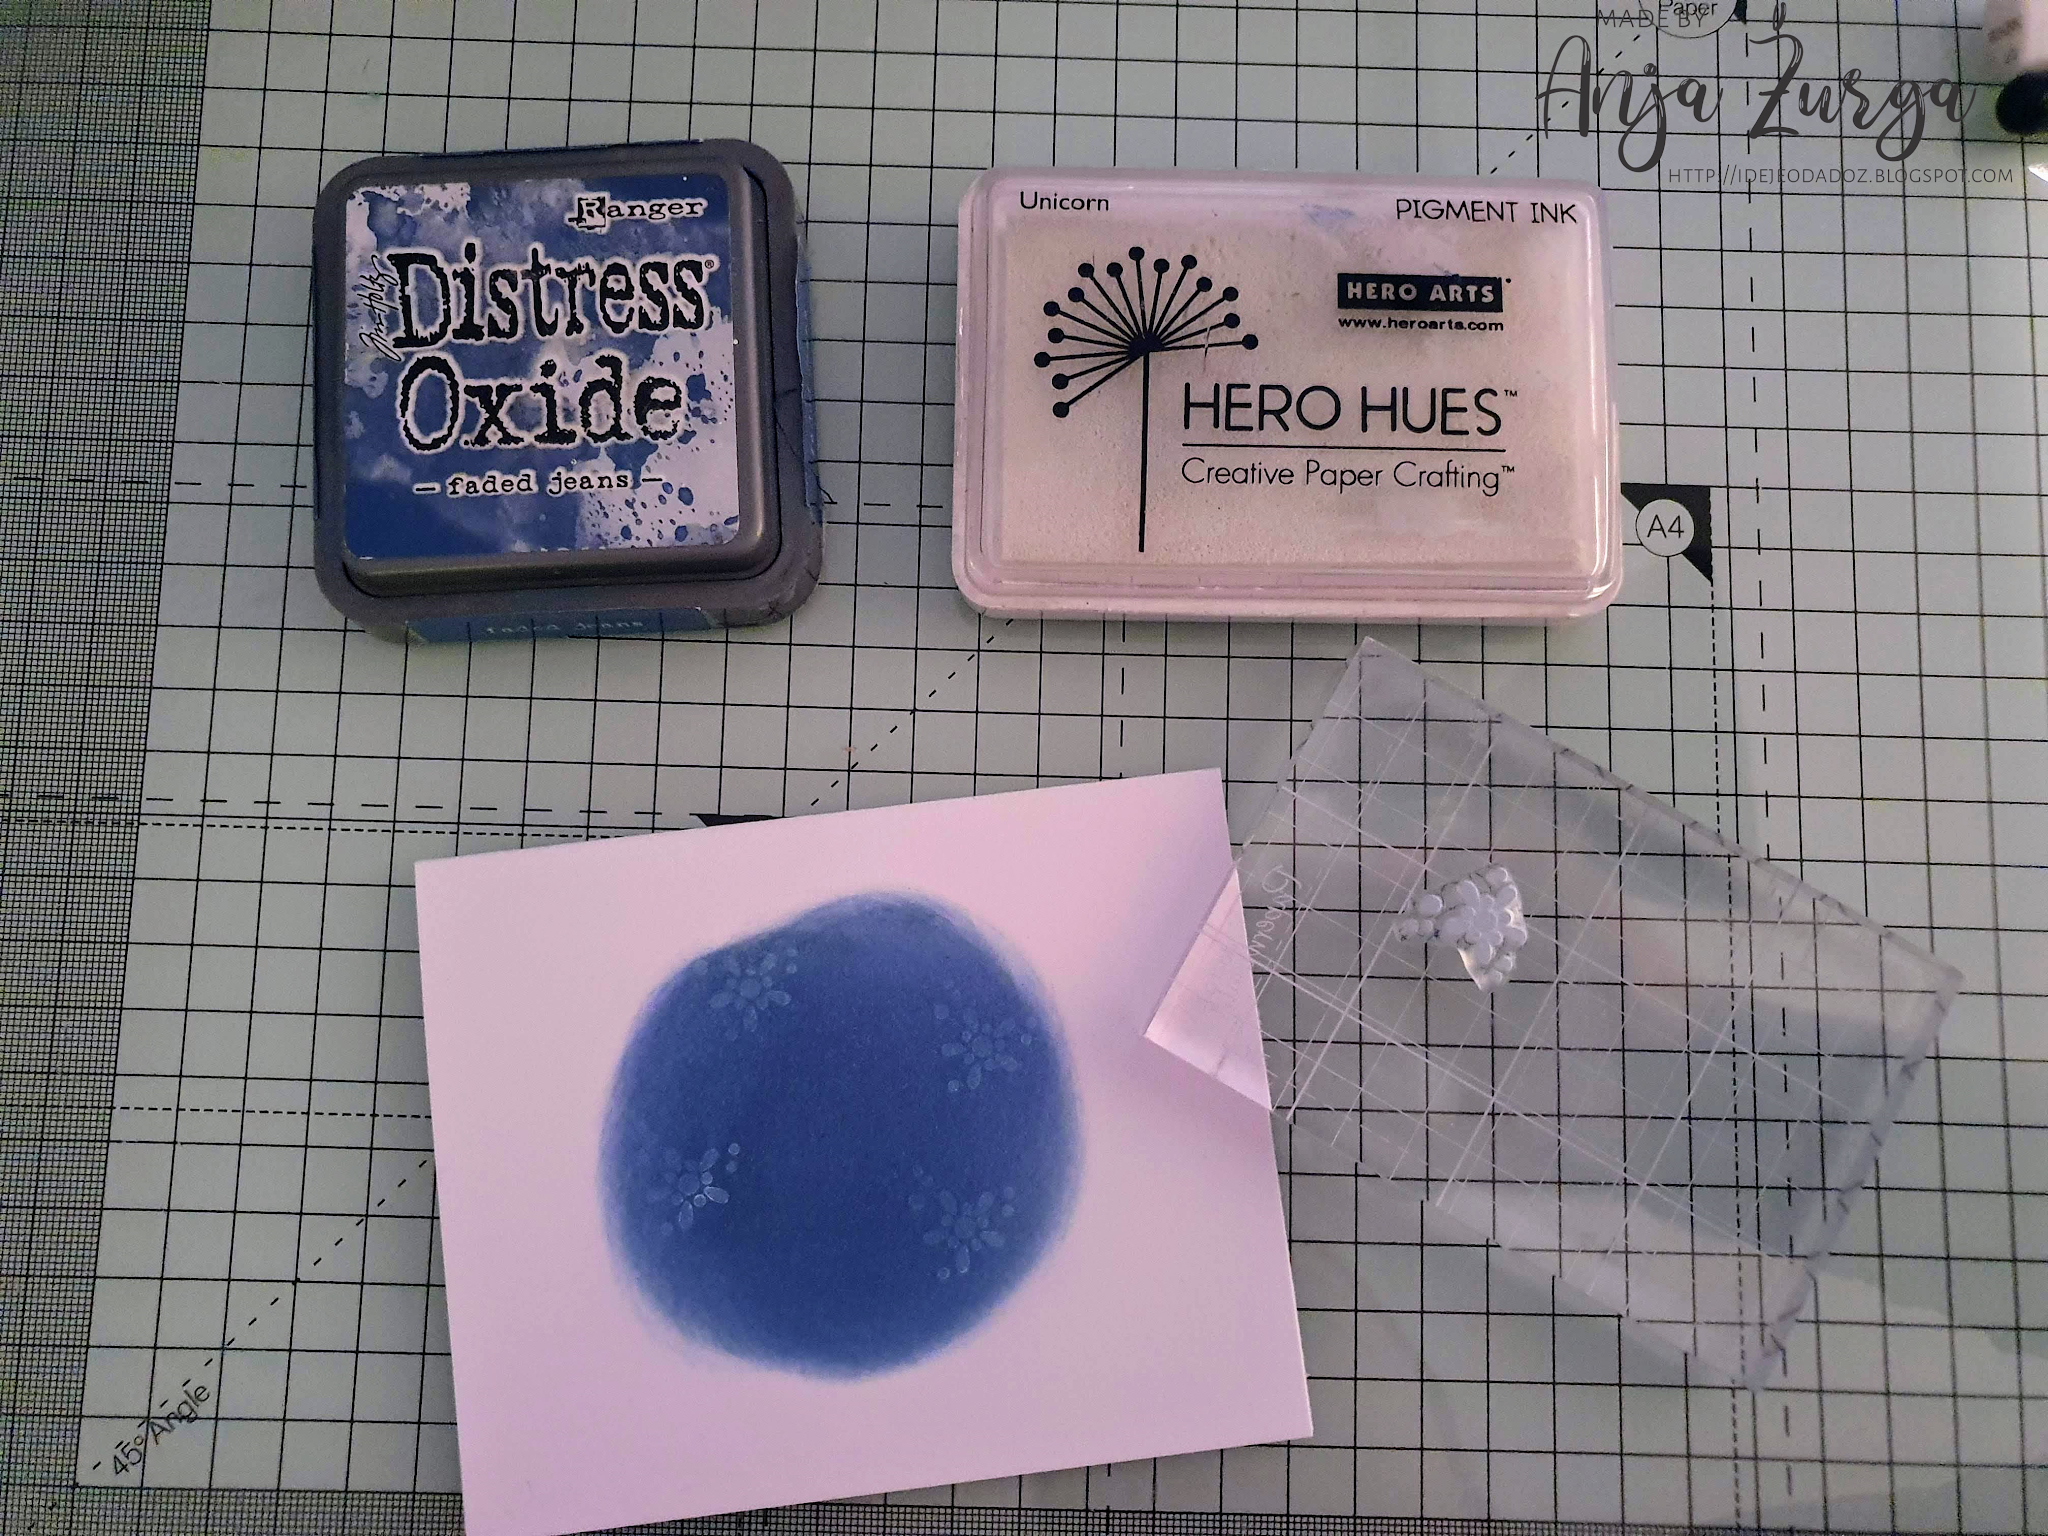
Now I am ready to start the tag that will be placed on the inside of my card. I cut the images using the cardstocks cherry cobbler & shaded spruce to match the card front designer paper. I cut a tag using the mail tag set using some snowflake designer paper. This piece had the background colors I was looking for.
Looks like this die is out of stock but what you could do is cut a piece of cardstock 3 1/4" x 5" for the image. That's what the tutorial shows to do. I wanted mine to be a tree decoration and the friend I am sending this too likes these tags for her Christmas tree.


Well, that's it for me for this week. I hope I have given you a different idea for a way to use this cute new die. See you next Saturday!
die I used to create card:


