Wednesday, November 11, 2020

Holiday Deliciousness

Hello!  This is Sukie and I have another holiday card to share today for my design team post.  There are 3 Christmas die releases in the store with so many amazing die sets.  This card is full of Christmas cheer!

I started by cutting all of the pieces to make the adorable Gingerbread Baker using card stock. The pieces were easy to put together.  I love how he's sitting on a rolling pin with the spoon in his hand!

I found the snowflake pattern kraft card stock in my stash.  I used an oval die cut to add some white ink to the card panel. I simply held the oval in place and inked all the way around the inside of the oval.

The card base was created with layers of kraft and white card stock and then finished off with the pattered snowflake paper.


I affixed the Gingerbread Baker to the center of my card base. The soft inked oval in the background keeps the die cuts from blending into the background.

The sentiment is from the APB - This is December #2 stamp set which was heat embossed on some red card stock for a pop of color.  The cheery sentiment is definitely a fun addition!

The kraft, red and white gives this card a warm and cozy feel to it.  It's one of my favorite color combinations for holiday cards!

Here is the die set I used on my card available in the store:

Monday, November 09, 2020

Sweet Christmas Wishes

Hello!  This is Sukie and I have a slime line Christmas card to share.  Today's card features several of the new dies from the 3 Christmas die releases in the store.  

I selected some yummy treats to showcase on my card.  The die sets I used for the cupcakes include: Upside Down Santa Cupcake, Reindeer Christmas Cupcake, Gnome Cupcake and Snowman Christmas Cupcake. All of the pieces were cut from card stock, pieced together and popped up on card stock for some dimension.  I added a tiny bit of Stickles to a few of the die cut pieces.
The tiny cupcakes and gingerbreads are from the Baking Spirits Bright die set.  They were used as embellishments to highlight the heat embossed sentiment.  The sweet treats on this card all work together perfectly and make for a yummy card.

Here are the die sets used on my card, available in the store:


Sunday, November 08, 2020

Christmas Joy

Hi!

It's Anja here. For today's post I made a clean and simple card in a smaller format. I replaced the snowman from Joy Snowman die with a snowman and a reindeer.

For this card I used:

- Cottage Cutz dies (Snowman & Reindeer, Joy Snowman, Nested Stitched Scallop Rectangle Set, Circle Set),

- Distress Inks and Oxides,

- white card base (10x12,5 cm),

- white card stock for die cuts,

- white pigment ink,

- black pen,

- white pen,

- acrylic block,

- snowflake stamp,

- paper glue. 


First I cut and colored the snowman, reindeer and both letters.

Next I cut a rectangle out of white card stock. I used the largest die from the set. Next I cut a circle out of the rectangle. I used the fourth largest die from the set.

I colored the night sky directly to the middle of the card base. I used Distress Oxide ink for coloring. When dry I stamped the snowflakes on the blue night sky.

When all the pieces were ready I glued it together and my card was done.


That's all from me for today. Have a nice Sunday and see you again next week. 

Anja Z.


Cottage Cutz dies I used:


Saturday, November 07, 2020

Silly Reindeer Skiing

Hello Scrapping Cottage friends! Thanks for taking the time to stop and visit with us today. It's Mary Marsh here bringing you the Saturday edition of the Blog. 

Our Christmas dies are in the online store. And, you can still pick them up on a 25% sale. We have  Christmas Part 1 (22 new designs), Christmas Part 2 (21 new designs) and Christmas Part 3 (11 new designs). Even though Halloween is in the history books for 2020 you can still pick up the Halloween release dies (14 new designs) at a 25% savings and you will be set for next year's cardmaking. 

Today, I have for your viewing pleasure a card featuring the new Silly Reindeer Skiing die from the Christmas Part 1 release. . This die is too cute, and I thought it would be perfect for a family member who like to ski. 
But don't limit it to Christmas. It would also work for a winter birthday card or as a thank you for a Christmas gift received. So let's get started on some details of how I created my card.

Design Steps:

I knew I wanted to make a snowy scene with the reindeer, so, I looked for some background designer paper. I found this blue (pool party) paper and paired it with a white layer panel and then a red card base. I made this slightly larger than the A2 size card.

Red Card Base: 4 1/2" x 5 3/4"
White Layering Panel: 4 1/4" x 5 1/2"
designer Paper Layer: 4 1/8" x 5 3/8"
Next, I cut the reindeer in colors to match the designer paper. I used red & green cardstock because these are Christmas reindeer after all!

I cut a couple of snow slopes for the reindeer to ski down. I added some chunky white glitter to put some sparkle on the slopes. 
I attached these to the designer paper with double sided foam adhesive to lift the slopes off the background. 
Now the reindeer images are ready to be attached. I also used the double sided foam adhesive to attach. 
After I attached the snow slopes I realized I forgot to stamp my sentiment. Fortunately, The dimensional adhesive was used on the top of the slope and the bottom part was flat. I used my MISTI to stamp the sentiment in red ink and it only required one inking for a good impression. 
To finish off my card I attached the image panel to the white layer with double sided tape. Then it was attached to the red card base. I used a few red glitter enamel dots for some added interest. 
And, that's my card for this week. I hope I have given you an idea for a way to use this cute die for a Christmas card. See you next Saturday! This die is on sale at 25% off. See it in the online store here

die I used to create card:


Friday, November 06, 2020

No Peeking 'til Christmas Gift Card Holders

Happy Friday!  It's Jeanne today with gift card holders using the new Christmas Pals Peekers die from Part 2 of the new Christmas release.  Gift cards are my go to gift at Christmas for both my immediate and extended family.

These tag holders are super easy to create and can be attached to a present or hung on the tree.  

To start I cut all my characters from white cardstock using the Christmas Peekers die.

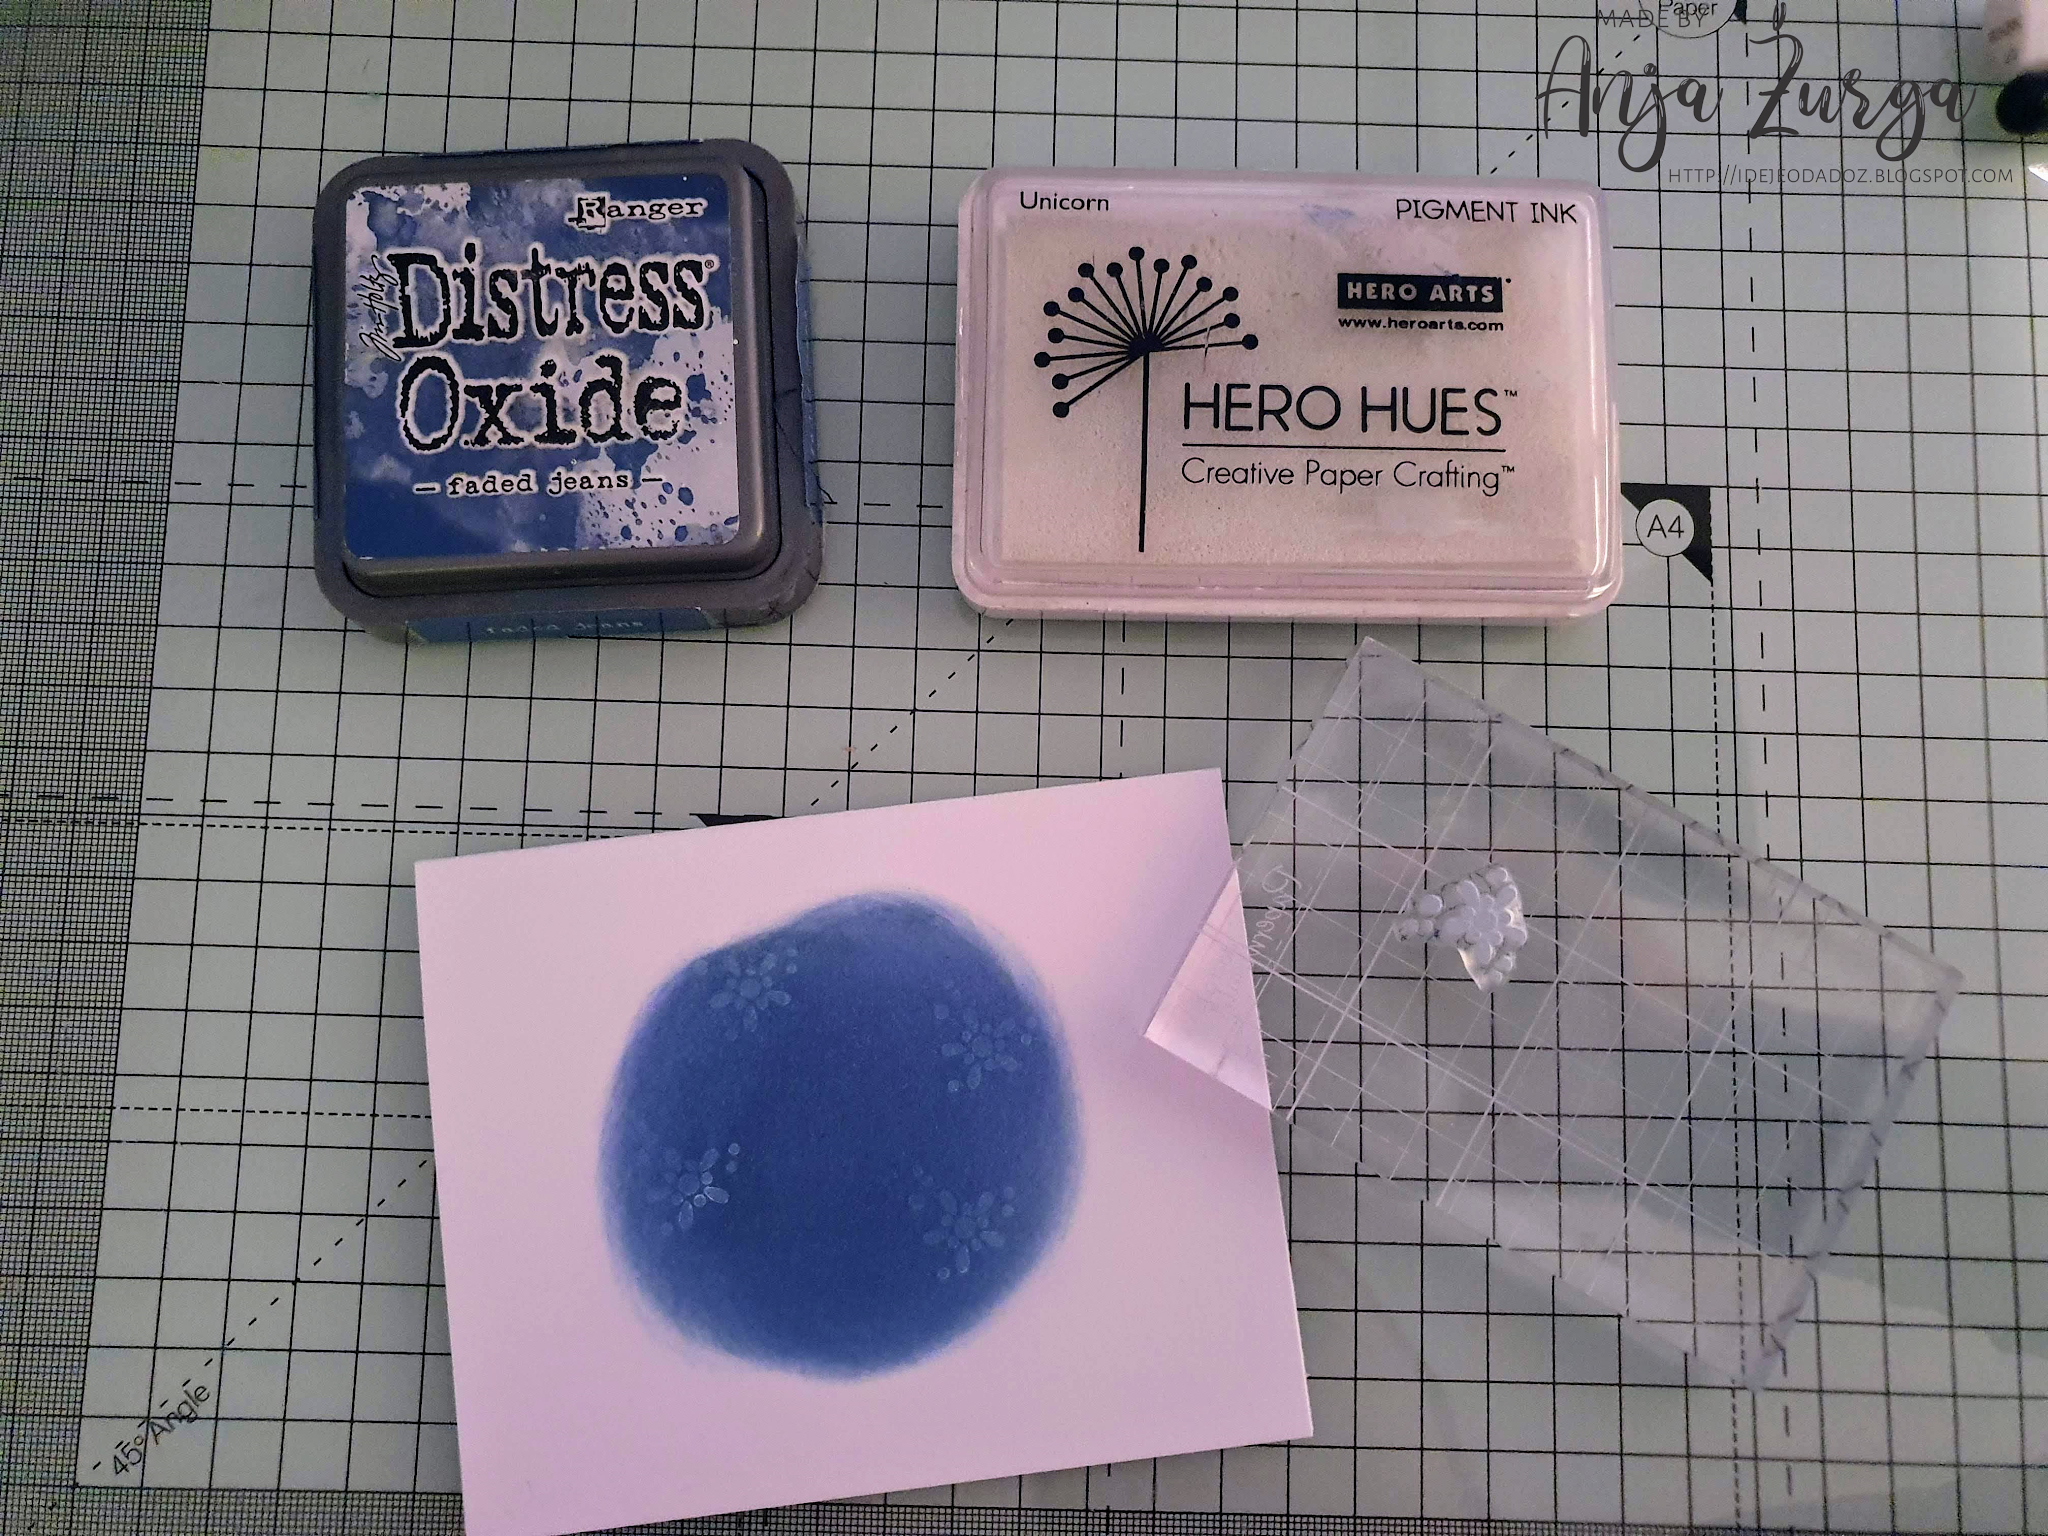
I used Copic Markers to do most of the coloring. I did a bit of shading using Distress Oxide ink in Pumice Stone for the Santa Gnome's beard and hat, and Tumbled Glass for the Snowman and the Penguin's hat.  I used Antique Linen and Tea Dye to color the Santa Gnome's skin.

I will show how I created one of the holders.  All holders were made the same way.

I cut a piece of patterned paper 3 x 6 inches and a piece of coordinating cardstock the same size.  I used a permanent tape runner to adhere these together.


I have a corner punch which I used to round the top corners and a slit punch which gave me the hole for the ribbon.  You could also simply cut the top corners at an angle and use a hole punch for the ribbon.

Next I cut the pocket from the same cardstock using the Fancy Pocket Plus die and heat embossed the sentiment. 

Because I was making several, I used my stamping platform and did all my stamping at one time.

I folded and glued my pocket together before putting it on my card.  I placed several acrylic blocks on top and left them for several minutes to give it a good seal.

I then glued it to the tag and added my peeker!

I cut a 16 inch length of coordinating ribbon and tied it at the top.  Now my tag is ready to hang on the tree!

These are very easy to assemble.  I chose to make each of my tags different, but if you use a paper that's appropriate for all of the characters (stripes, plaid, dots, etc) you can get eight tags from one 12 x 12 inch sheet of patterned paper!  My patterns were on paper so I needed the cardstock backing for stability, but if you use 12 x 12 patterned cardstock you can even eliminate one step!

And now for a little extra:  After I had completed these tags I decided that these would be perfect for my tree and immediate family, but I needed a fourth one.  (I'll be making more for the nieces and nephews).  I wanted something different and in looking through my dies...

I found the Gingerbread Baker from the new Christmas Part 1 release is perfect as a peeker for a gift card!

Be sure  to visit the online store where the new Christmas Release (Parts 1, 2, and 3) are on sale for a limited time!

Dies used:


Thanks for visiting today.  I hope you have a fun and creative weekend!