Friday, August 21, 2020

Sunshine and Pink

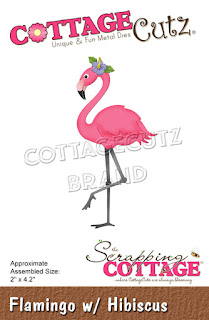
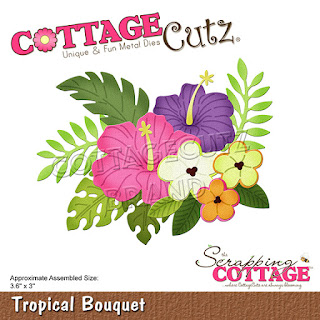
Happy Friday!  It's Jeanne today with another tropical card.  I love the sentiment on this card - probably because I love the sun and I love the color pink!  I used the Flamingo with Hibiscus and the Tropical Bouquet dies from the new release. Tropical Bouquet is one of my all time favorites!  It features two flowers I love; hibiscus and plumeria.  On today's card I used the plumeria.  They are gorgeous, easy to create and add a special touch to any card!
To start I cut the flamingo using Flirty Flamingo cardstock, as well as a light pink and grey.  For the black pieces, I colored the light pink pieces with black Copic marker.
For my flowers I went into my scrap box and got several colors of pink making sure I had a variety of tones.  The plumeria have two layers - a larger bottom layer and a smaller top layer.   After gluing these two together, I used pink ink to brush the edges and added the black centers.  Super simple and very elegant.  I used the DO ink to edge my flamingo.
I cut a panel 5 1/2 x 4 1/4 inches that will be adhered to an A2 card base, and three other panels.  A white one 5 1/2 x 2 5/8 inches, a pink 5 1/2  x 2 3/4 inches and a yellow dot 5 1/2 x 2 inches.
Using a stencil and yellow ink, I created a sun for under the flamingo on the narrow white panel.
I stamped my sentiment and assembled the layers.
I added my flamingo, flowers and a few sequins.  Super easy card and perfect for anyone who loves pink, flamingos, flowers or sunshine!

Be sure to visit the online store where the new release is on sale for a limited time!

Dies:
http://www.scrappingcottage.com/cottagecutzflamingowhibiscus.aspx

http://www.scrappingcottage.com/cottagecutztropicalbouquet.aspx

Thanks for visiting today.  I hope you have a fun and creative weekend!


Thursday, August 20, 2020

Slothy Thinking of You

 Hello Scrapping Cottage Friends

It is my turn to post today so happy Thursday morning to you from Pam!

We have an amazing Summer Sale going on right now but the bad news is today is the last day.  Many dies are on sale for 50% off.  DON'T MISS OUT!

The design team is continuing to showcase our brand new release called Beach & Tropical Dies!  It includes 14 new designs and it is currently on sale for a limited time at 25% off!  Each of these dies can be used in so many different ways.  Today,  I am using the little sloth surrounded by tropical leaves and flowers.  I just love how he is peeking out ready to say Thinking of You!!

Background Photo by Bart Zimny on Unsplash

Design Steps
1.  Using the Sloth die cut out the pieces using 2 different shades greens, 2 different shades of purple, yellow, black and 2 different shades of brown
2.  Using the largest Pierced Circle die cut out a white circle.  Assemble the sloth and flowers using a fine tip glue.  
3.  Place some pop dots on the back of the sloth and then pop him up on the white circle
4.  Arrange the greenery around the sloth and then pop up the purple flowers.  Add small white dots to the sloth's eyes using a white gel pen
5.  For the base of the card use an A2 white piece of card stock.  Cut a piece of purple just slightly smaller then the white base.  Then cut a piece of purple flowered DP slightly smaller then the purple card stock.  Glue the purple card stock to the white card base and then glue the DP the purple card stock.  Using the largest Stitched Scallop Circle die cut out a purple circle. Also cut out of the purple card stock 2 Thinking of You with the Expressions die
6.  Glue the purple scalloped circle to the upper have of the card as shown.  Next add the white circle with the sloth on it.  Last glue the 2 Thinking of You together and then glue to the card as shown and your card is complete
CottageCutz Products


So happy you were able to stop by today!  I aways appreciate your visit!

Blessings
Pam

Wednesday, August 19, 2020

Good Day Sunshine

Hello!  This is Sukie and I'm sharing a card using the new Cottage Cutz die sets. I wanted to mix up a couple of the die sets from the Beach & Tropical die release which is currently on sale!
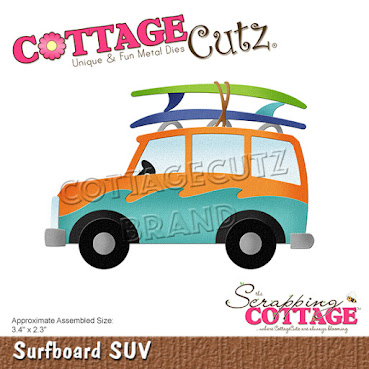
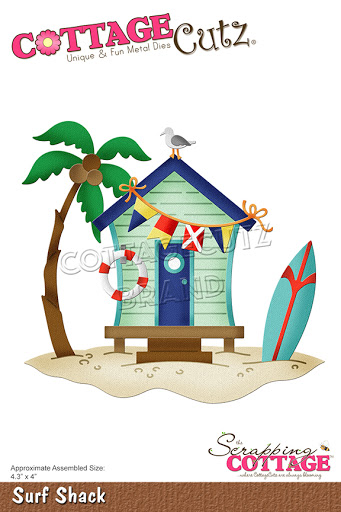
I used the Surfboard SUV and a palm tree from the Surf Shack die set to create this beach theme card.
I started by creating the background by blending some bold Oxide Ink colors replicating a bright and sunny beach day.  The circle also got some inking and was stamped with fun sentiment.  The hand cut hill was also shaded with some ink.
Next I created the scene by adding the oversized sun on the top of my card and layering the hand cut hill along the bottom edge.
I'm loving the cool background!  It served as the perfect backdrop for the coordinating Surfboard SUV.
I pieced together the palm tree and affixed it to my card.  The oversized palm is perfect for towering over this beachy scene!
The final card is a bold and beautiful beach scene which is perfect for an all occasion card!
Here are the dies sets used on my card, available in the store:

Sunday, August 16, 2020

Ahoy Envelope

Hi!

It's Anja here. For today's post I have a little bit different project for you. I decorated a pirate themed envelope.

For this project I used:

- Cottage Cutz die (Ahoy Matey),

- dye inks,

- craft paper envelope (13x18 cm),

- white card stock for die cuts,

- map themed stamp,

- acrylic block,

- white pen,

- iron,

- paper glue.

First I cut and colored the parrot and the sentiment.

 
Next I stamped the map on the envelope.


Then I crushed the envelope and shaded all the folds with the ink.

 
Next I ironed the paper to get it back in shape. 


And last I adhered the parrot and the sentiment to the envelope. And my project was done.


That's all from me for today. Have a nice Sunday and see you again next week.
 
Anja Z.
 
 
Cottage Cutz die I used:


Saturday, August 15, 2020

Ahoy Matey


Hello Scrapping Cottage friends! Thanks for taking the time to stop and visit with us today. It's Mary Marsh here bringing you the Saturday edition of the Blog.

We have a brand new release of Beach & Tropical dies in the online store. We have 14 new designs in this release and they are currently on sale for a limited time at 25% off

They are so perfect for creating beach themed birthday cards, thank you, thinking of you etc. Let your imagination soar! The Design Team has been showing some great samples to spark your creativity. If you haven't seen them, look back on the Blog for lots of eye candy. 

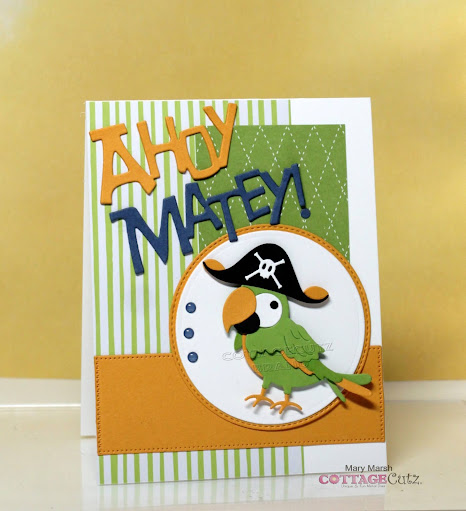
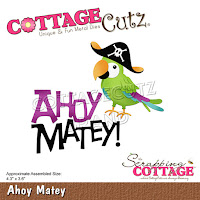
For my card today, I am using the Ahoy Matey die and created a birthday card for a 7 year old boy. He loves Pirates so this one will be perfect for him. I usually give him 2 cards and this Pirate card is the other that will be his.  This one is part of the Pirates & Sea Creatures release. They are a companion to the Beach & Tropical release. And, it's also still on the 25% off sale price. 

Design Steps:

I started off my card this week with the colors. I saw the color challenge #804 On Splitcoaststampers and thought of this Ahoy Matey die immediately. The colors are perfect for a parrot. 
granny apple green, mango melody, misty moonlight

Once I had the colors, I cut the parrot and the Ahoy Matey phrase in the challenge colors.
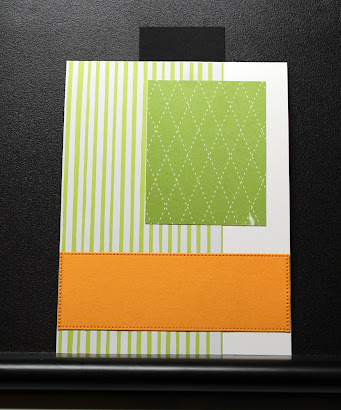
I found this layout online and decided to use it for my card design. It would allow me to use designer paper and have several layers for my card. These are 2 elements I really like for my cards.
For the horizontal rectangle, I wanted a look to complement the stitched circle I used. The Pierced Rectangle set doesn't cut this size so I worked the die to get the size I wanted. First I took a piece of mango melody cardstock and cut it 4 1/4" long  x 3" high and then I made my first cut with the die.  
Then I marked this piece at 1 1/4" and laid the die back on cardstock for my 2nd cut. I used Purple Tape to secure the die. This brand is easy release and doesn't tear your cardstock. 
This is the finished piece- a perfect 4 1/4" x 1 1/4". It's just another way to get more mileage out of the dies you own.
Next, I selected my designer papers. I decided to focus on the granny apple green for the 3" and 4" rectangle layers. The circles are cut with the 3rd largest Stitched Circle & Circle dies. 
Now that all my card elements and images are cut, I am ready to start card assembly. 
I attached the parrot  to the circle panel with dimensional adhesive. 
The layers are attached to the white card base (4 1/4" x 5 1/2") with double sided tape. 
The image panel is next  and that also is attached with double sided tape. 

To finish off my card I added the "ahoy matey" phrase. I did cut it twice to give it more depth on my card. A few enamel dots in the misty moonlight color and it's done. I hope I have given you another idea for a way to use this new and oh so cute die. See you next Saturday!

dies I used to create card: