Wednesday, November 04, 2020

Sending Holiday Cheer!

Hello!  This is Sukie and today is my day to feature a card for my design team post.  I'm having a blast showcasing the new Christmas die sets.  All of the die sets are so fun and perfect for those holiday creations!

I cut out the Christmas Camper and all of it's elements along with a few extra trees.  I used Oxide Inks to shade all of my die cuts.  The trees were splattered with white paint.

My card base was created by blending some ink on white cards stock.  I splattered the inked background with some paint for a snowy appearance.  However, I may have gotten a bit carried away a created a blizzard instead of just some snow.

Once I added my card panel, I decided to hand cut a couple of hills to add along the bottom edge.  I inked them slightly for a bit of dimension.

The Christmas Camper was placed at the focal point of my card, slightly tucked into the hills. The monochromatic blues are so pretty for a Christmas card.

The trees were scattered amongst the hills.  I trimmed a couple of the trees so that they would be different heights on the hills.  The sweet snowman was tucked amongst the trees.

The sentiment was stamped on a hand cut flag and was added to my card as the final finishing accent.

Here is the die set that I used on my card, available in the store:

Thanks so much for stopping by!  Have a spectacular day!

Monday, November 02, 2020

A Sweet Christmas

I hope you had a wonderful weekend!  It's Jeanne today with a sweet card to start the week.  As I mentioned in this post, gingerbread is one of my favorite themes for Christmas.  And the new Christmas releases have some wonderful gingerbread and baking themed dies.


My card today uses two of the dies - Gingerbread Cottage and Sweet as a Christmas Cookie.  For this card I used paper that came from the same paper pack as my previous gingerbread card.

For this card I wanted to see more "sweet" in keeping with the sentiment.


I used white glitter paper for the frosting on my house and also for my gumdrops.  It was easy to color the glitter paper with Copic markers.


I also wanted my peppermints to shine, so after assembling them I covered them in Glossy Accents. I used Distress Oxide ink in Vintage Photo to "brown" the cookies, house and card.

Be sure to visit the online store where the new releases are on sale for a limited time!

Dies used:


Thanks for visiting today!  I hope you have a wonderful week!


Sunday, November 01, 2020

Ho Ho Ho!

Hi!

It's Anja here with another Christmas card. I used one of the cute gnomes die.


For this card I used: 

- Cottage Cutz dies (Gnome w/ Chimney, Pierced Square Set, Build A House Set 2),

- Distress Inks,

- white card base (15x15 cm),

- red card stock for die cuts and background (14,5x14,5 cm),

- white card stock for die cuts and background (11x11 cm),

- green card stock for background (10x10 cm),

- sentiment stamp,

- black pigment ink,

- acrylic block,

- paper trimmer,

- paper glue. 

First I cut and colored the gnome in the chimney. This time I used red and white card stock for die cuts.

Next I trimmed the background pieces. I used the biggest die from the Pierced Square Set for the smallest square piece.

Next I stamped the sentiment on a strip of white paper.

And after that I put all the pieces together and my card was done.

That's all from me for today. Have a nice week and see you again next Sunday.

 Anja Z.


Cottage Cutz dies I used for this card:


Saturday, October 31, 2020

Snowman Cupcake on a Fun Fold

Hello Scrapping Cottage friends! Thanks for taking the time to stop and visit with us today. It's Mary Marsh here bringing you the Saturday edition of the Blog. 

We have four brand new releases in the online store. It's Christmas Part 1 (22 new designs), Christmas Part 2 (21 new designs) and a Halloween release (14 new designs). They are all currently on sale and you can save 25% on the individual dies. Christmas Part 3 has just been released and is also on a limited time sale. This one also has savings of 25%.

Today, I have for your viewing pleasure a card featuring the new Snowman Christmas Cupcake die. This is such a cute die that I just couldn't resist making a card with it. I have a few December birthdays and I thought this would be a perfect winter themed birthday card. So let's get started on some details of how I created my card. 

Design Steps:

I decided to do a fun fold for my card this week. I saw this fold on Pinterest and thought it would be a cute one for my Snowman Cupcake. I started with my card base of 5 1/2" x 8 1/2". I scored it at 4 1/4" and then at 5 1/2". 
Then I used 1/8" Scor-Tape to seal the left section of the card base closed.  
This is the photo of the card base after it's secured with tape. It's like a book-binding. 
Next, I chose two winter themed designer papers for the card front. The larger piece is 2 3/4" x 5 1/4" and the smaller is 1" x 5 1/4". 
I attached those to the base front with double sided tape. 

I cut the snowman cupcake image in colors to match the designer paper. 
I wanted to frame the cupcake image and decided on the Stitched Wide Rectangle Frame. I used the 2nd largest die and cut in flirty flamingo cardstock. It's one of the shades in the designer paper. 
I stamped my birthday wishes sentiment in coastal cabana ink. It is also one of the colors in the cardstock. I used my MISTI and inked 3x to get a bolder image. 

Next, I attached the snowman cupcake using dimensional adhesive. In the frame corner I added the happy phrase. It's from the Festive Birthday Greeting die. 
To complete my card I added some bakers twine and bow in the flirty flamingo shade. That's it for me for this week. See you next Saturday. 

dies I used to create card:


Friday, October 30, 2020

Happy Paw-lidays!

Happy Friday!  Its' Jeanne today with a card for pet lovers.  Christmas Pets is one of my favorite dies from the new Christmas Releases because it is so versatile.  I used it for a Christmas card, but if you leave off the Santa hats you have an adorable bundle of pets for any occasion.

To start my card I cut all the pieces from white cardstock and used Distress Oxide ink and blending brushes to color.  The tree is cut from the Reindeer w/Tree die and the star is from the Christmas Camper die.  I did use gold foil cardstock for the star.

I partially assembled my images before placing them on the card.  I find this easier than trying to assemble everything on the card itself.

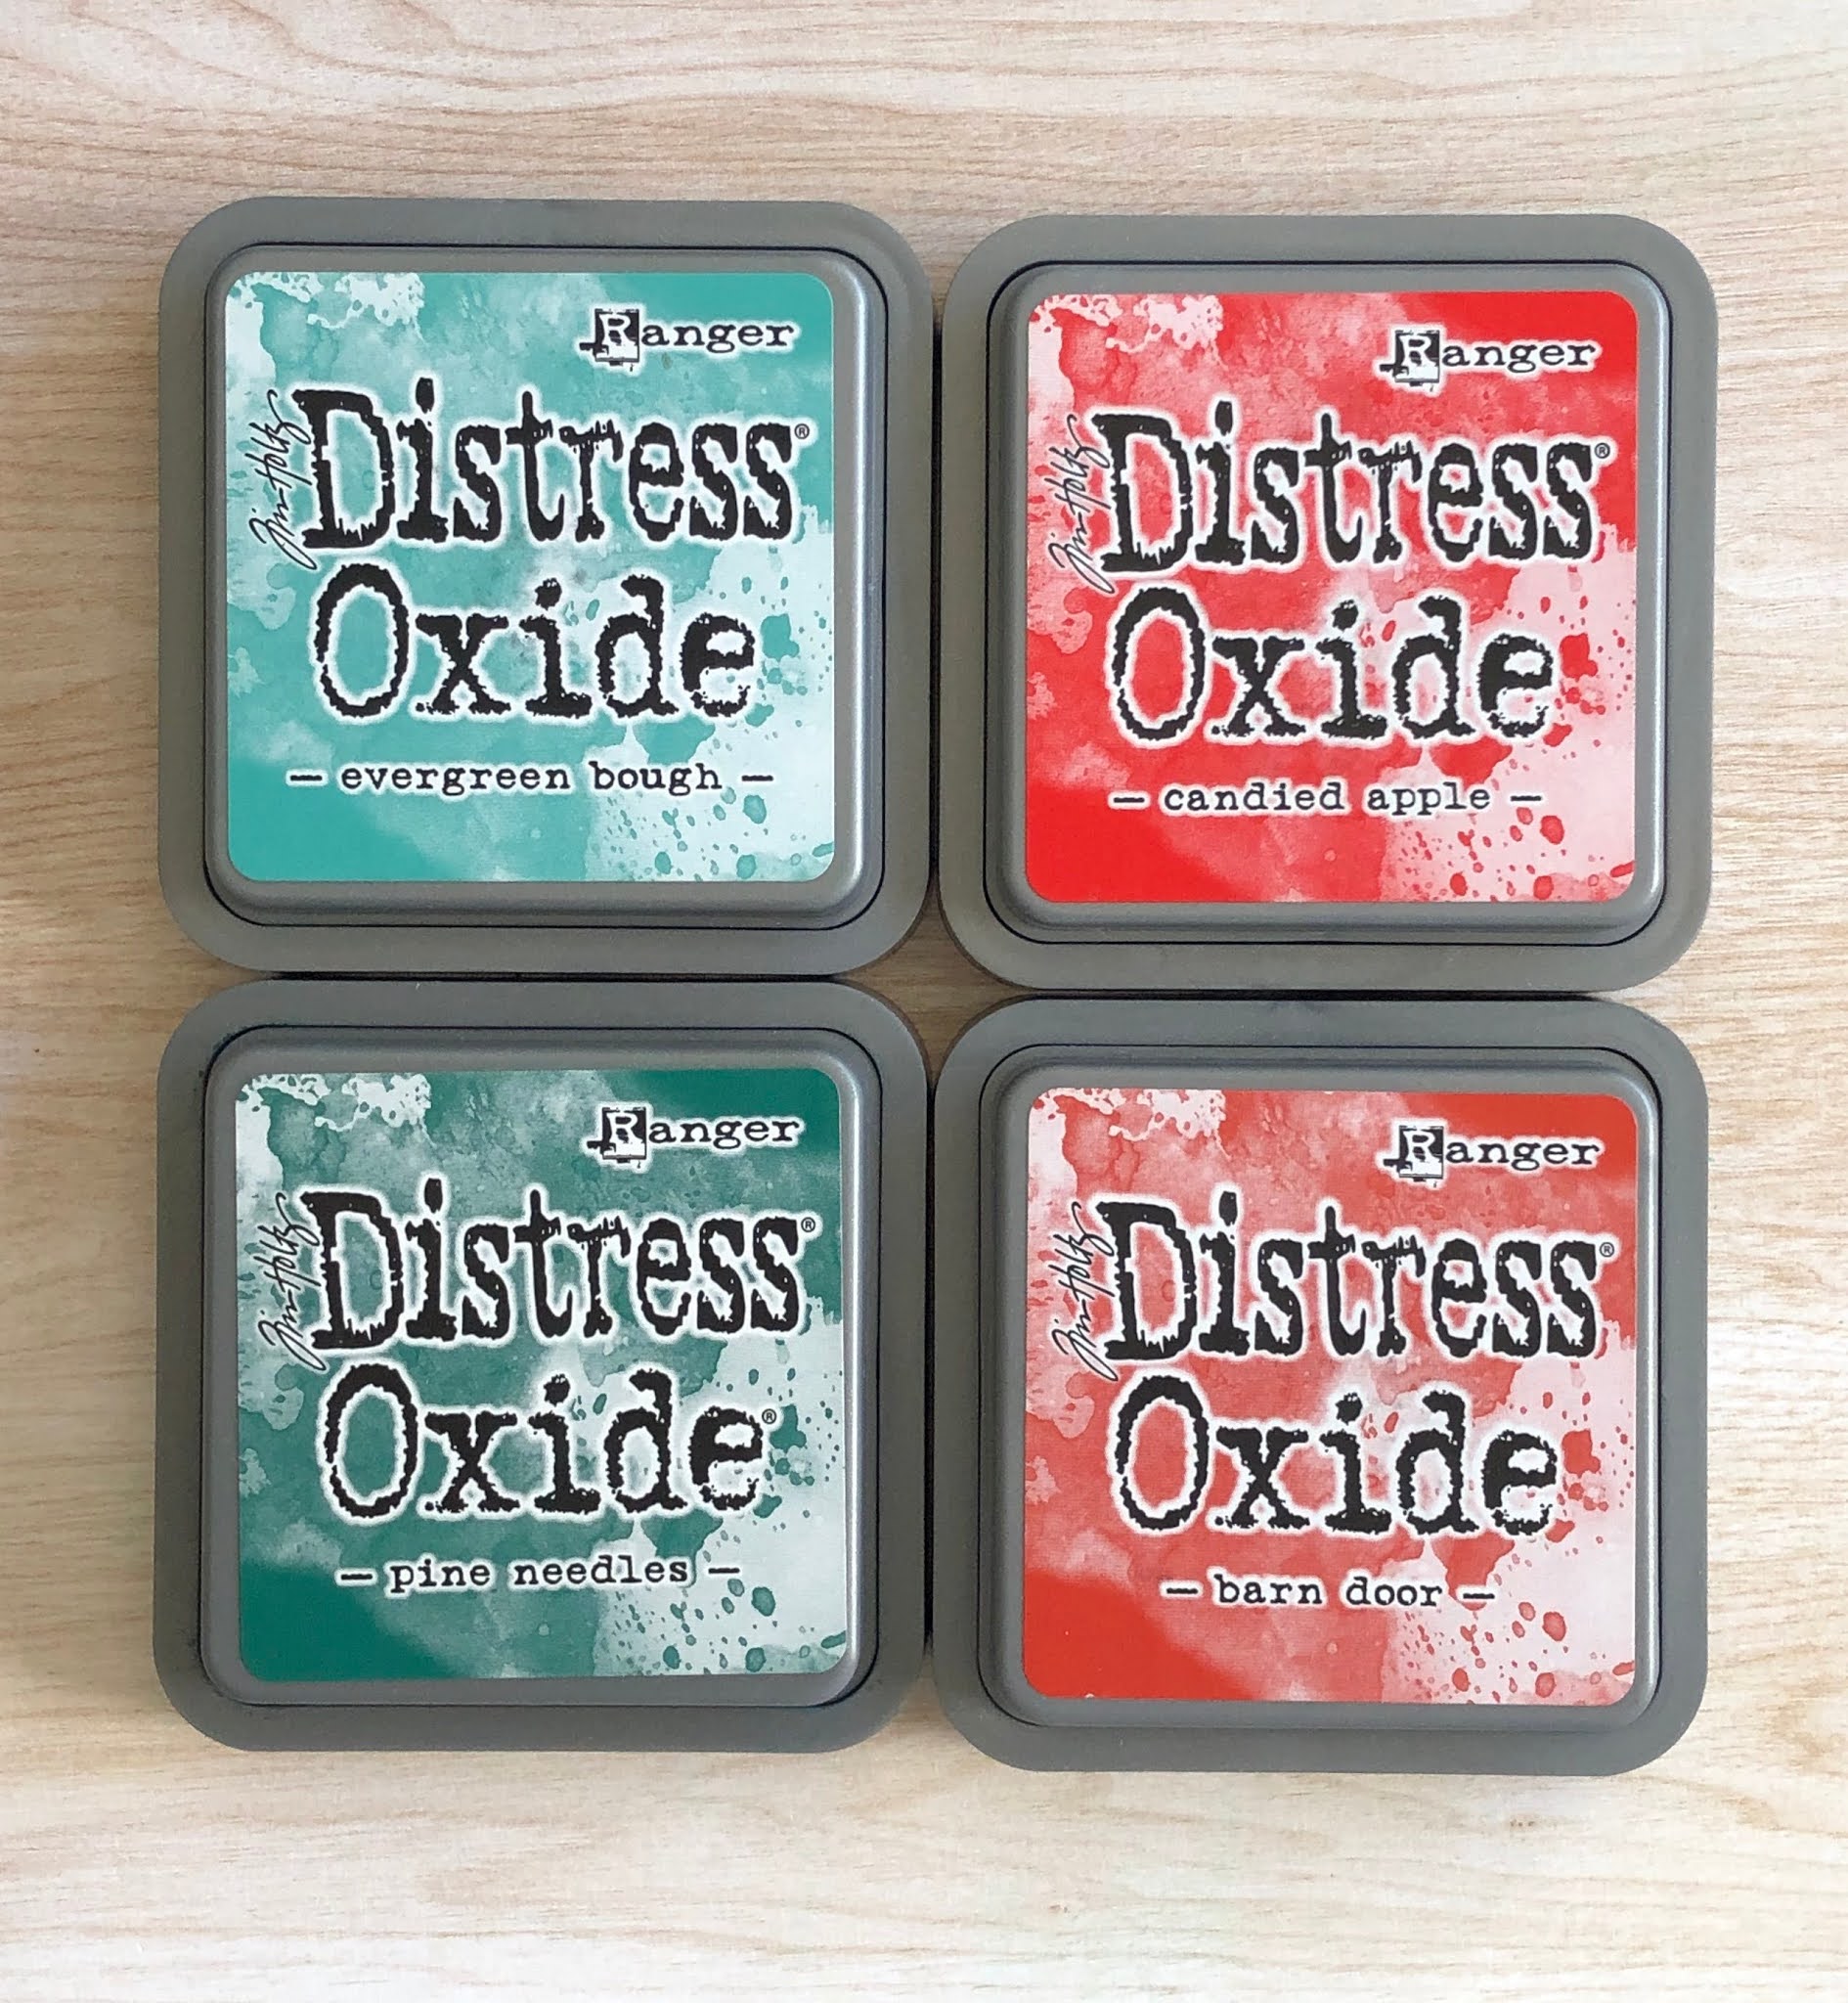
Below are the inks I used for coloring the pieces.  This pile of pets reminds me of a dog and two cats that I used to have, so I colored them similarly.  Our orange tabby would definitely have been the cat sitting on top of the dog! 


I decided to make this a 5 1/4 inch top fold square card to fit in a 5 1/2 inch square envelope.  I cut the card base from white cardstock 10 1/2 inches by 5 1/4 inches and folded it in half.  Then, I cut a plaid panel 5 1/4 inch square to completely cover the front and a piece of red cardstock 4 7/8 inch square.

Using white cardstock I cut a circle using the largest of the Stitched Circle dies and a 4 3/4 square which I embossed with a snowflake themed embossing folder.

My sentiment strip is 3/4 inch high and about 4 1/2 inches long.  The length isn't crucial as it gets trimmed but I did center my sentiment to make it easier to place.


Next, I stacked all the layers centering them.  The red being just slightly larger than the white embossed panel gives it a nice frame.

I glued my images to the front and placed the sentiment at an angle.  Because this plaid is on a diagonal I made sure to line up the sentiment with the plaid.  After it was glued down, I trimmed the overhang.

I hope you've enjoyed my card today and it's given you some inspiration for creating this weekend.  The new Christmas releases and Halloween release are on sale for a limited time.  Be sure to stop by the online store!

Dies used:


Thanks for visiting today!  I hope you have a fun and creative weekend!