Tuesday, June 16, 2020

Beach Huts

Hi Janja here with you. Welcome to the blog today.
In the beginning, I intended to prepare a greeting card on the topic of gardening.
However, since summer is almost here, I changed my mind and turned the garden shed into a beach hut.


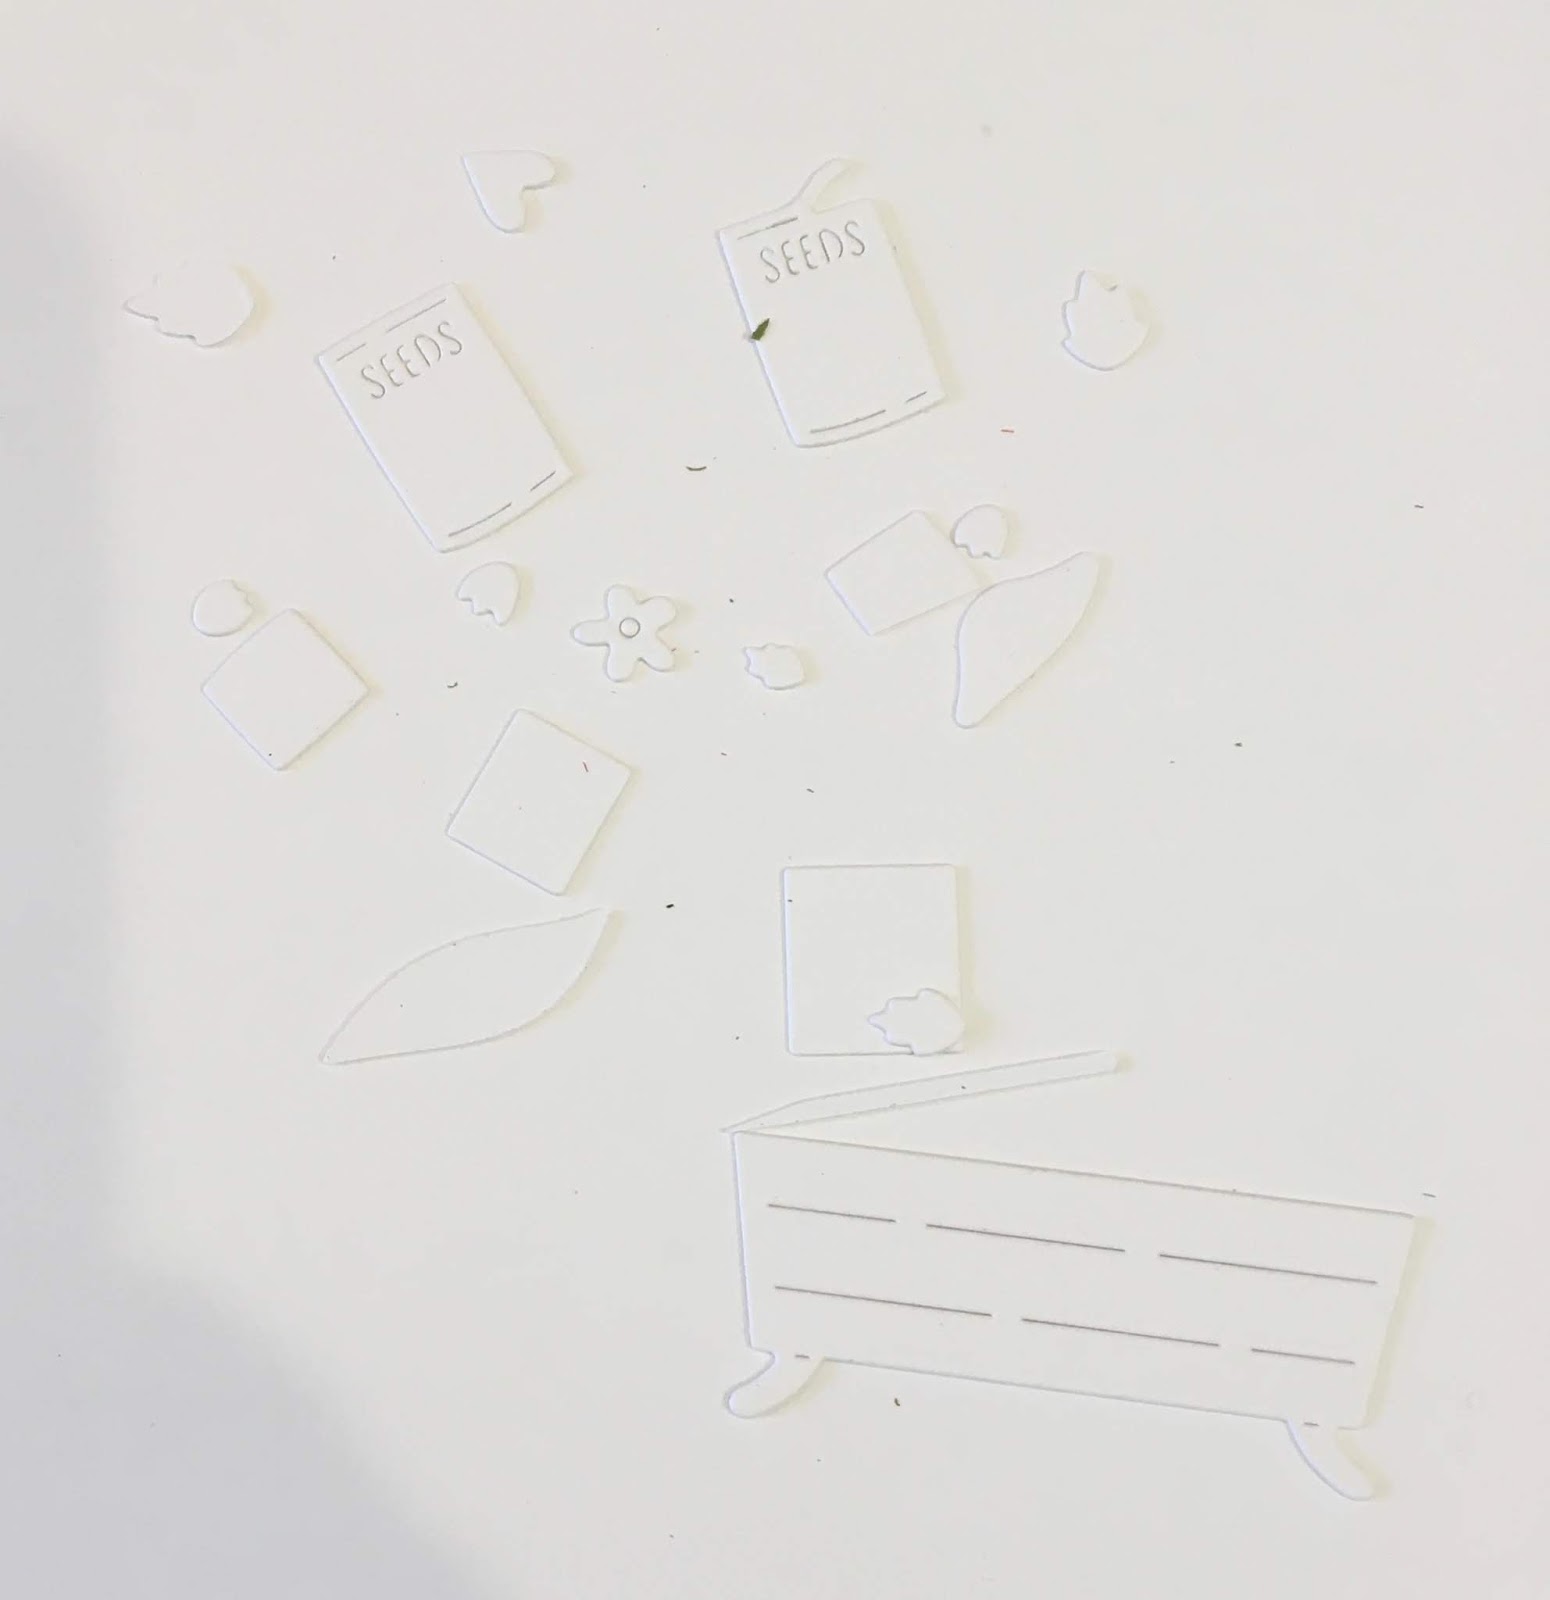
- CottageCutz dies: Potting Shed, Puppy in Garden Cart (parasol), Fairytale Castle (flags), Camping Trailer (flags garland), Seagull (sand dunes)
- blank card: 5 7/8" x 5 7/8" (15 x 15 cm)
- white cardstock: 5 1/2" x 5 1/2" (14 x 14 cm)
- patterned papers
- different colors of brush markers
- different colors of ink pads
- glue, double-sided adhesive tape, self-adhesive foam pads

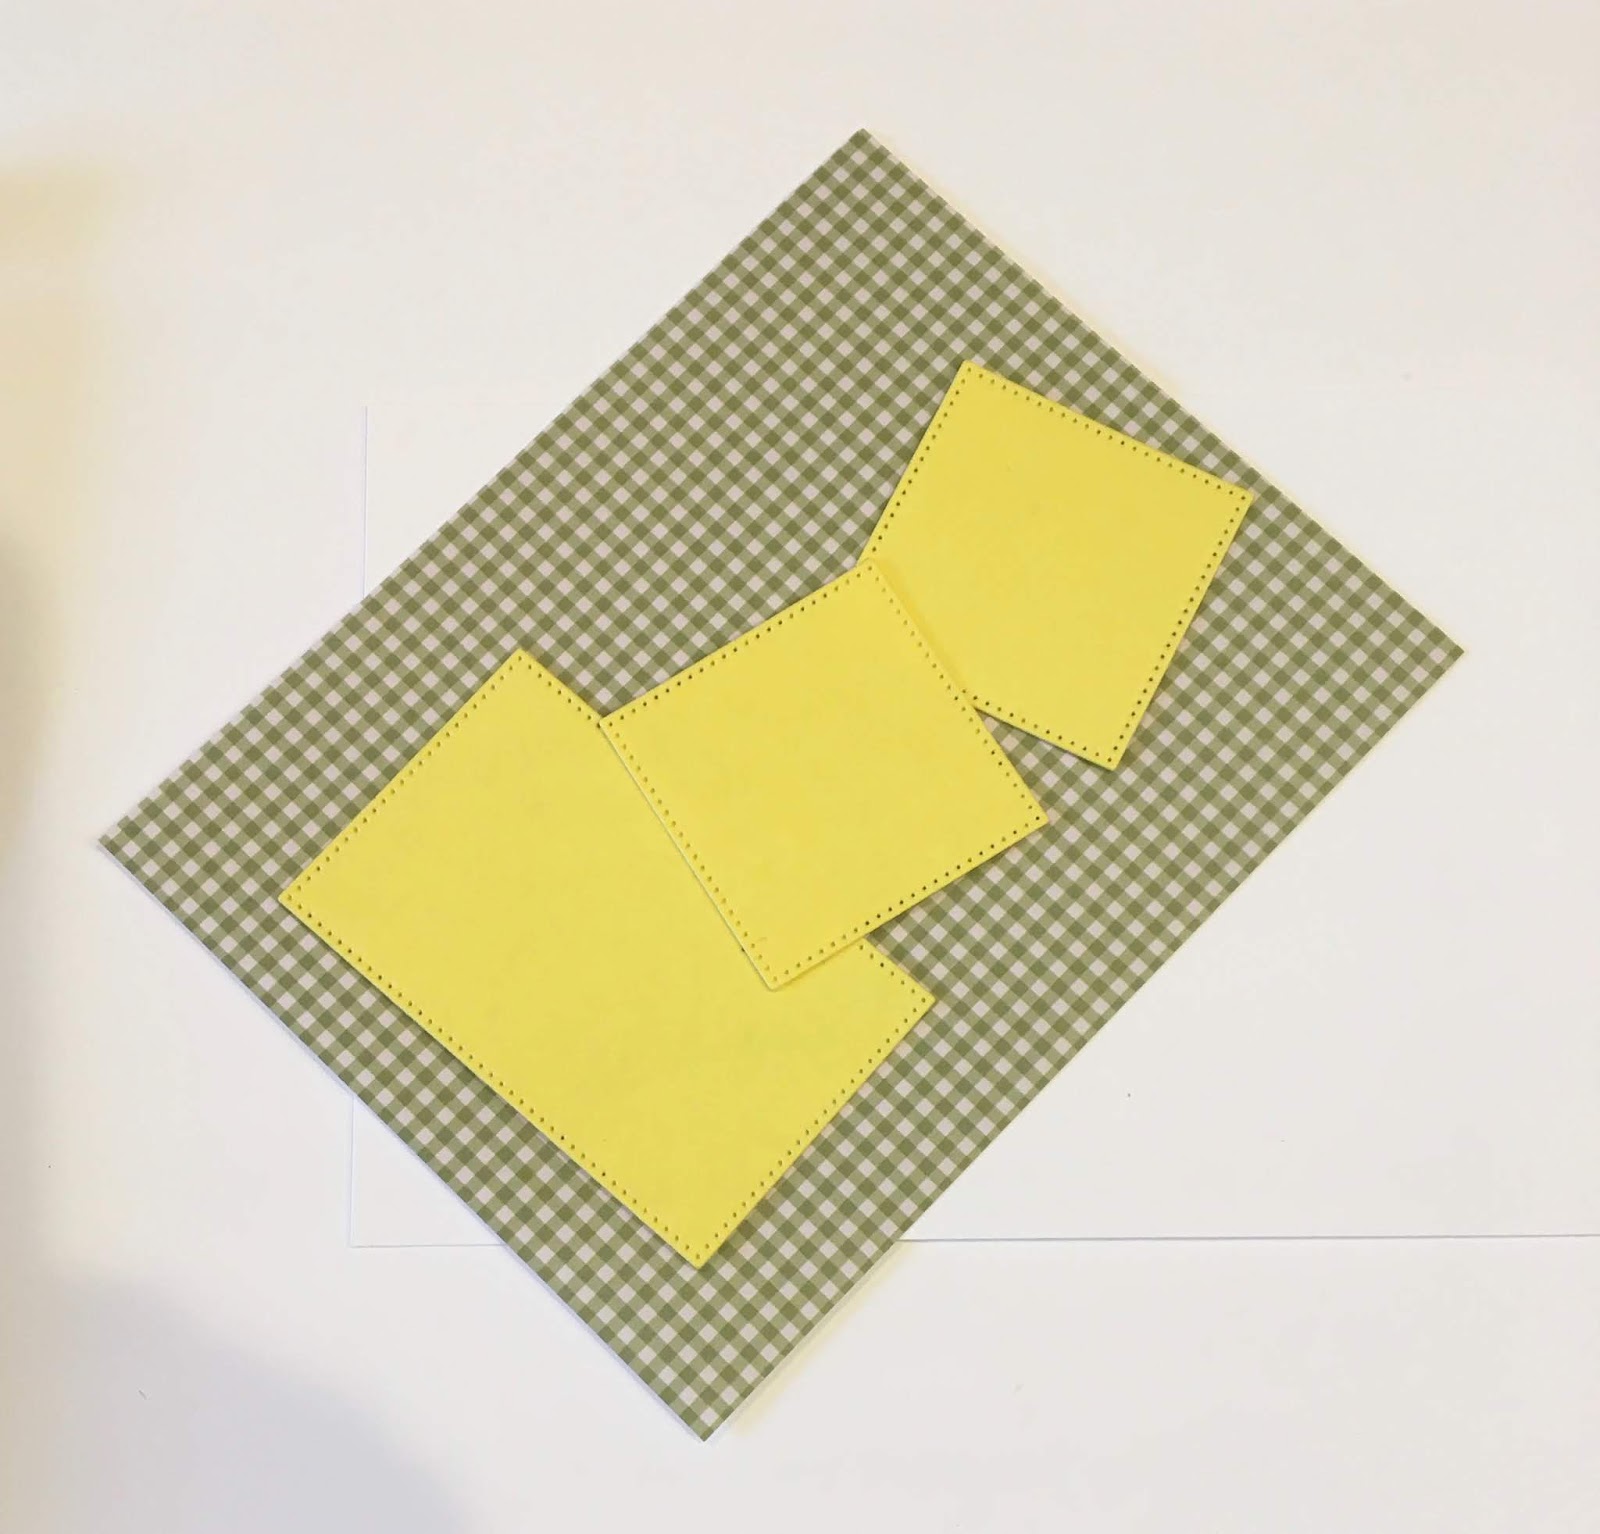
Cut the beach huts out of striped papers. Also cut out three parasols.


Use white cardstock for the background. Shade it with different colors of ink pads. For a sandy beach, use a stamp or simply add dots with a marker.


Now attach all the elements to the prepared background with glue and self-adhesive foam pads as shown. Attach the parasols to small sand dunes.


Thank you for stopping by.
Janja


Sunday, June 14, 2020

Gardening Time

Hi!

It's Anja here. I have another gardening card for you today. I combined this cute cat die with a mini hose.


For this card I used:
- Cottage Cutz dies (Gardening Cat, Garden Hose Mini, Circle Set),
- Distress Inks,
- white card base (15X15 CM),
- white card stock for die cuts and paper stencil,
- silver pigment ink,
- black pen,
- black Versafine pigment ink,
- sentiment stamp,
- acrylic block,
- brush,
- paper trimmer,
- paper glue.

First I cut and colored the cat and all the gardening accessories.


Next I did the same with the hose.


Then I made a paper stencil. I used the paper trimmer to cut the circle in two. I used the biggest circle die from the set.


I used the negative and the bigger part of the circle to color the ground. You could also use washi tape to set the paper for easier coloring.


Then I used the smaller part of the circle to color the sky. I used a brush for coloring.


Then I added the sentiment in upper right corner of the colored circle.


Last I added the cat and the hose and my card was done.


And this is all from me for today. Have a nice Sunday and see you again next week.

Anja Z.


Cottage Cutz dies I used for this card:


Saturday, June 13, 2020

Kitty & Hedgie Birthday Wishes


Hello Scrapping Cottage friends! Thanks for taking the time to stop and visit with us today. It's Mary Marsh here bringing you the Saturday edition of the Blog.

The 19 new designs in the Garden release are still being featured in the online store. These new dies are perfect for Father's Day, birthdays, thank you, or even a thinking of you card for the person who loves to garden.

For my card today, I am featuring the new Garden Cat w/Wagon die and created a birthday card. This little cat and hedgehog are just too cute and I thought they would make a great whimsical card. So let's get started with some details on how I created my card. 

Design Steps:

I started off by selecting my cardstock and designer paper. I had a layout in mind with several layers,  but it didn't work for these images. So I flipped the designer paper over and decided to use the striped side. My original plan was to use the side of the paper with balloons but it wasn't working for me. This is also a square card. I hadn't planned on that when I started though (lol)!! I realized this was going to be a work in progress this week.

Blue card Base: 5 3/4" Square
Striped Designer Paper: 5 1/2" square 
Next, I cut the cat in an ivory confetti cardstock and sponged fossilized amber ink for a different look.  The wagon and hedgie are cut in different shades of brown cardstocks and also sponged in the matching inks for more depth. 

I plan on giving this card to a little 5 year old boy so I didn't want to place flowers in the wagon. I thought balloons and then pulled out the Festive Birthday Greeting die. It was released in June 2019. I cut 3 for inside the wagon and then 2 additional for the cat to carry. 
Because of the bold striped background, I needed another layer to place my images on. I picked one of the colors (lemon-lime) in the designer paper and used the largest Wacky Stitched Rectangle die. Looks like it's out of stock but the Stitched Rectangle die would be a good substitute. 

I thought I would use the Happy phrase that's part of the Festive Birthday Greeting die and then stamp birthday wishes in the corner of the rectangle. I stamped with a royal blue ink. 

Now I am ready to start card assembly. I attached the images to the rectangle panel with dimensional adhesive. That always gives a nice look to the card. 
Attached the designer paper to the card base with double sided tape and then the image panel with the same adhesive. For the balloons that the cat is carrying, I used a dab of ranger multi medium matte adhesive. 
To finish off my card I added a few royal blue enamel dots. And, that completes my card for this week. I hope I have given you an idea for a way to use this new die. See you next Saturday!

dies I used to create card:


Friday, June 12, 2020

Thinking of You Garden Ladder

Happy Friday!  It's Jeanne today and I have a thinking of you card today that features the Garden Ladder die from the new release.  This die creates such a sweet scene with it's variety of accessories  that it can be used for many occasions.
To start my card I cut most of the pieces from white cardstock.  I cut the ladder and birdhouse roof and hole from a medium brown.  Then I used blending brushes and sponges to color the pieces.  I chose two shades of green, a soft blue and soft lavender.
I created shading on the ladder by masking off the front legs and supports, then shading with Walnut stain ink.  I used that and Vintage photo to also shade the other pieces.
I cut three panels for my card front - 2 3/4 x 5 1/2 inch panel from a patterned paper, 2 7/8 x 5 1/2 inch panel from dark brown cardstock and a 4 1/4 x 5 1/2 inch panel from vanilla cardstock.

I ran the vanilla through a script embossing folder to mirror the light script design on the patterned paper.  Using Distress Oxide ink I aged the edges of all the panels and assembled them keeping the left edges flush.
I glued the ladder to the far left panel using a clear ruler to keep the top of the ladder straight.
Next I worked on the sentiment strip.  The photo above shows the front and back.  I heat foiled the sentiment in Espresso foil to a half inch wide strip and then inked the edges with the Walnut Stain ink.  Since I had a built up panel on the left side of the card, I added a small scrap to the back right side of my strip.  When I glue this down the strip will sit more evenly on the card.
After gluing down the strip and accessories, I used a little linen thread and a rhinestone to finish it off.  The panel is glued to an A2 card base.

Dies used:
http://www.scrappingcottage.com/cottagecutzgardenladder.aspx

Thanks for stopping by today.  I hope you have a fun and creative weekend!


Thursday, June 11, 2020

Planter Box

Hello Scrapping Cottage Friends

It is Pam sharing with you on the blog today!

I am using several different dies today to create this little garden card.  Plus some fun designer paper and ribbon.  Hope you can play along with me today!


Design Steps:

 1.  Using the Planter Box & Seeds die plus the Garden Tools die cut all pieces out of white card stock
 2.  Color the pieces using Tim Holtz inks and a sponge applicator.  Assemble the pieces using a fine tip glue
 3. Use a white A2 card base, Yellow card stock cut to 4 x 5 1/4 and Green checked DP cute 3 3/4 x 5.   Cut 2 yellow squares and 1 rectangle square using the Pierced Square and Pierced Rectangle dies.  Layer the squares and rectangle onto white card stock
 4.  Glue the checked DP to the yellow card stock layer.  Glue the yellow retangle and squares to their white layer then arrange onto the DP
 5.  Add the ribbon to the checked DP as shown.  Put pop dots onto the back of the squares and retangle then adhere to the check DP

6.  Add the die cut planter box, seeds, and tools to the squares and rectangle as shown.  Glue to the white card base.  To finish add the sentiment and rhinestones

CottageCutz Products

Thanks so much for stopping by!  I hope you are enjoying this release as much as I am there are a ton of different uses for these dies!

Blessings and see you next Thursday!
Pam