Sunday, May 10, 2020

Thinking of You

Hi!

It's Anja here. I got my package of beautiful new Garden release dies this week. And first I made this simple card, using the wheelbarrow die.


For this card I used:
- Cottage Cutz dies (Garden Wheelbarrow),
- Distress Inks,
- white card base (15x15 cm),
- white card stock for die cuts and background (14x14 cm),
- silver pigment ink,
- black pigment ink,
- brush,
- sentiment stamp,
- water spritzer,
- heat gun,
- paper glue.

First I cut and colored the wheelbarrow.


Next I did the background. I used water spritzer to add some interest to the colored sky.


When the background was dried, I added the sentiment.


And at last I put all the pieces together and my card was done.


Have a nice week. See you again on Sunday.

Anja Z.


Cottage Cutz die I used for this card:


Saturday, May 09, 2020

Flower Power Tomte

Hello Scrapping Cottage friends! Thanks for taking the time to stop and visit with us today. It's Mary Marsh here bringing you the Saturday edition of the Blog. 

It's Mother's Day weekend and even though we will be having a different type of celebration because of the stay at home orders; it's still a day to honor Mothers everywhere. So on behalf of the CottageCutz team and our wonderful owner, Joanne, I extend greetings to all Moms. 

There is also a Mother's Day sale going on through this coming Monday night, May 11. It's a chance to pick up some new dies and get a deal on them as well. 

Now onto my card for today. I am featuring the new Flower Power Tomte die to create a summer birthday card. So let's get started with some details on how I created my card.

Design Steps:
I started my card by cutting the images. I used various colors of bright cardstock. The flower pot that I used is from the new Potting Shed die. Since I was cutting circle windows on my card, I wanted the image just a bit larger. 
 I stamped the HB2U sentiment on the little garden post that the tomte is holding. This is actually a new word (tomte) for me. When I saw the new dies I had to look up that word to find out it's another word to describe a gnome. 
Next, I laid out the circle dies on my cardstock. I taped them down so they wouldn't move when I ran them through my Big Shot machine. Before any cutting took place, I laid the images inside the circles to make sure everything would fit nicely. 
The circles are the 4th, 5th and 6th largest dies from the circle die set. 
For the circle backgrounds, I decided to use some blue designer paper that had the look of a sky. I cut 3 more circles just slightly larger so they would fit behind nicely. I used the 3rd, 4th and 5th dies from the circle set
Now I am ready for card assembly. I placed the images inside each circle. 
I thought that at least 2 of the circles need something additional.  For the birdhouse circle I cut a couple of flowers and also a small cloud image. On the flower pot circle, I just added a cloud. The cloud die is from the Lighthouse w/Clouds die. It's an older one from CottageCutz. 
The card still looked a bit empty and too much white space for my liking. So I decided to stamp 3 small birthday sentiments in grape ink. My card is another work in progress this week. 
To finish off my card, I attached the image panel to a highland heather (light purple) card base. I also scattered a few grape enamel dots. I am definitely happy with how the card turned out. I hope I have given you an idea for a way to use this ever so cute Flower Power Tomte new die. 
Well, that's it for me for this week. See you next Saturday. 

dies I used to create card:


Friday, May 08, 2020

Blooming Wagon

Happy Friday! It's Jeanne today with a card featuring a die from the new Gardening release.  This release, along with other dies, are on sale right now for Mother's Day - but this is for a limited time only!

I wanted to make a card with a vintage feel to it and thought the Garden Wheelbarrow die would be perfect.
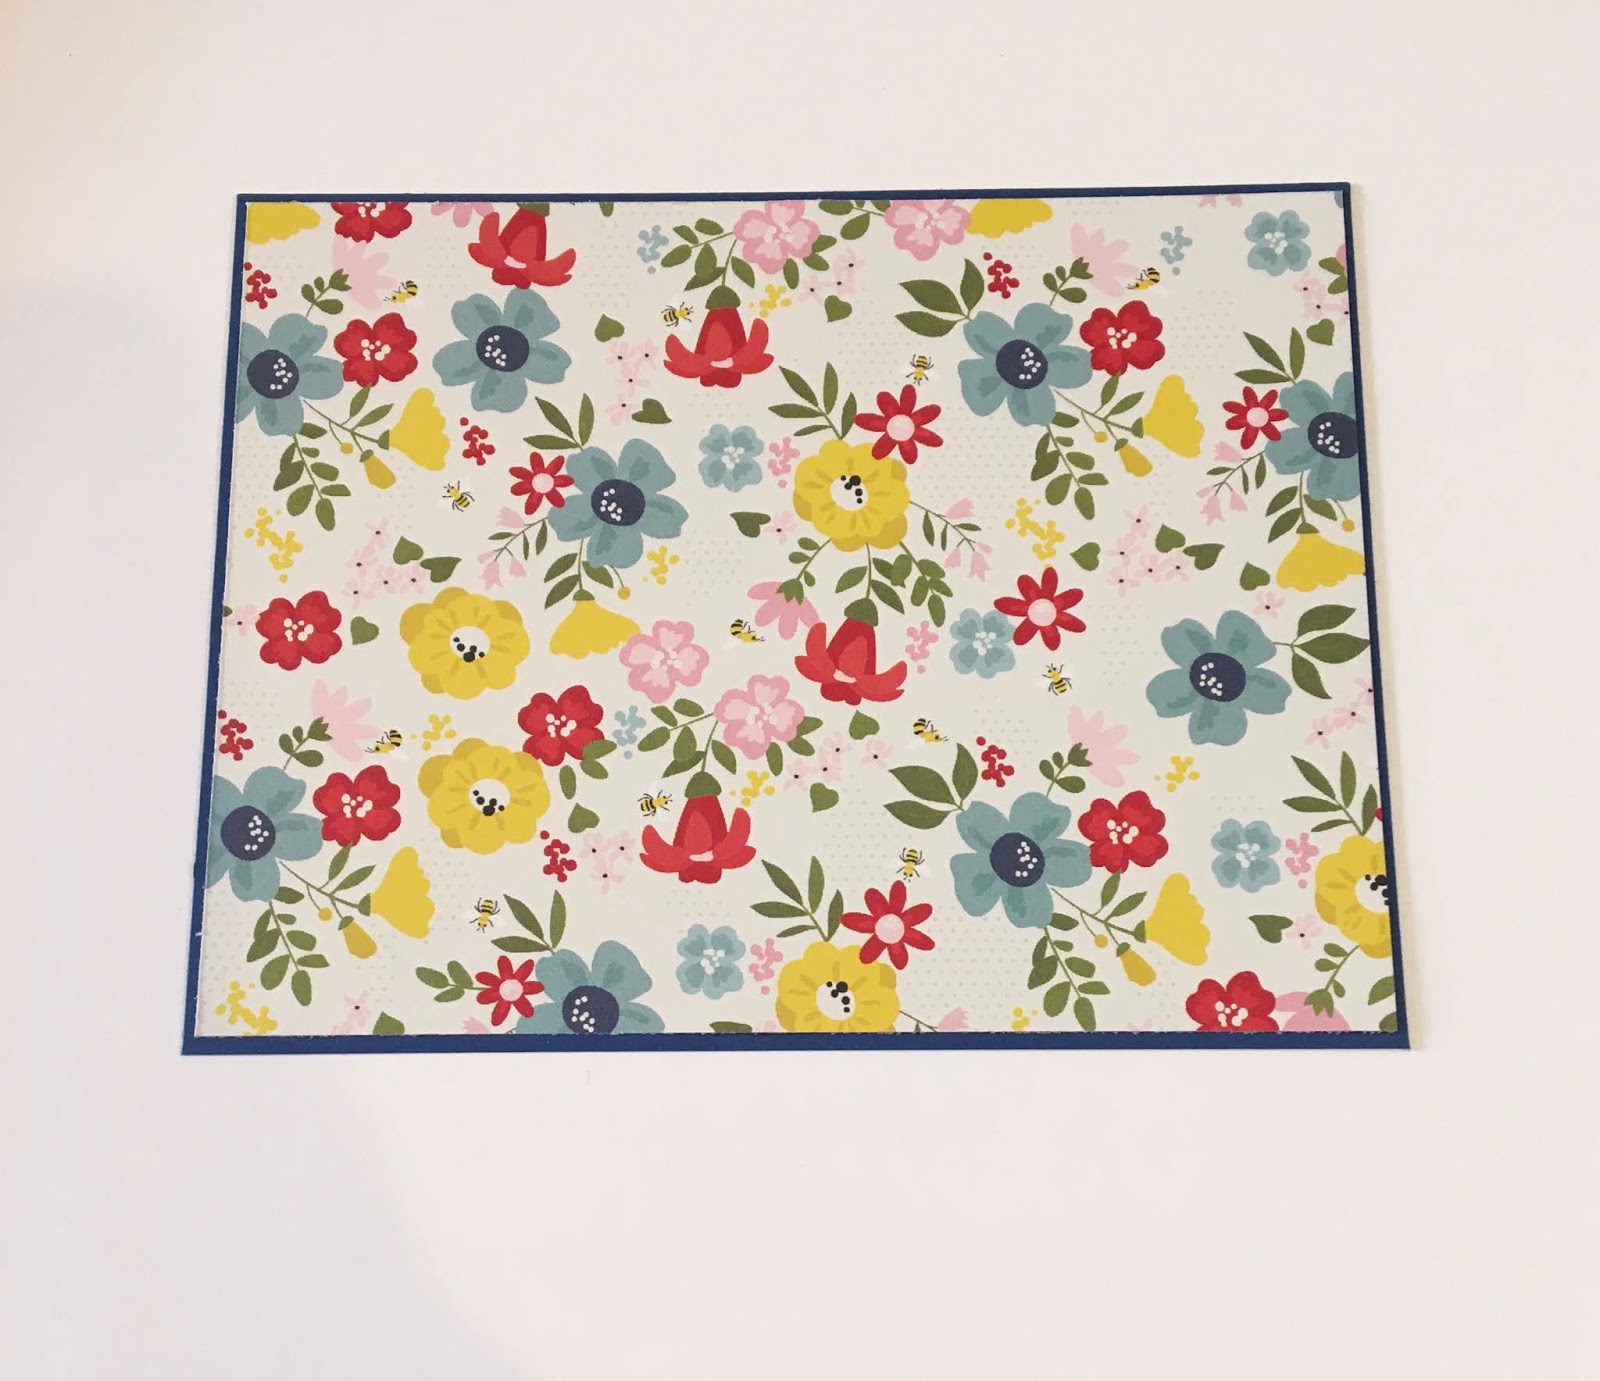
I started the card by choosing the paper for the background and then going through my scraps to choose colors for the flowers.
From the patterned background paper I cut a panel 4 1/8 x 5 3/8 inches.  I used a fine point multiliner pen to draw small flowers in the corners and lines joining them.  The trick to doing this is to draw at a steady, rather quick pace.  The point is to get a line that is not dead straight (if so, use a ruler!) but just a little wavy.  With a little practice it really is quite easy.  For me it's a matter of speed.  Try to draw a straight line at a certain speed and it comes out perfectly waved!  I did this twice to make a double line.
Next, I cut a lot of flowers from my scraps.  More than I knew I'd need, but wanted play with the number and colors of flowers in the wheelbarrow.  I glued them all together.

I then cut the leaves and two colors of wheelbarrows - one rose red and the other green.
 I decided to use the green wheel barrow as it allowed the focus more on the flowers and not the wheelbarrow itself.  I used some Distress Oxide ink to antique the edges of the panel and the wheelbarrow.
 I adhered the wheelbarrow to the panel.  I cut the word "Bloom" by using the Garden Phrases die and cutting away the rest of the phrase.
When I glued down the wheelbarrow I adhered only the bottom of the cart so I could tuck the greenery and flowers into the wagon.
For my finished card I used the flowers in pinks and purples.  I had many flowers leftover and one wheelbarrow, so I made another card that is very different in look and feel from this one.  This is something I love about these dies - you can achieve so many different looks depending on the paper colors and patterns, and how you cut and color the dies.  Visit the blog on Monday, May 11 and see the second card I created!

Dies used:
http://www.scrappingcottage.com/cottagecutzgardenwheelbarrow.aspx

http://www.scrappingcottage.com/cottagecutzgardenphrases.aspx

Thanks for visiting today!  I hope you have a great weekend and a terrific Mother's Day - whether you are being celebrated, you are celebrating your mother or both!


Thursday, May 07, 2020

Garden Display!

Hello Crafty Friends,

It is Pam creating with you on the blog this wonderful Thursday!

Wow!! What a great new release!!  This collection is so fantastic for spring through summer and don't forget Mother's Day and Father's Day!  Especially if your folks love to be in their garden.  Check it out in the online store there are 19 different dies to choose from and everyone of them is so wonderfully detailed!

The die I am using today is called Garden Ladder isn't it adorable!!  I am making a Front Flap Card that I saw a tutorial for on at Splitcoaststampers.

(Background Photo by Teemu Paananen on Unsplash)

Design Steps
1.  Blue card stock 4 1/4 x 5 1/2 (base),  Flower DP 4 x 5 1/4,  Blue card stock 8 1/2 x 3 1/4 folded in half, white card stock (for inside) 3 1/8 x 4 1/8, Red Dotted DP 3 1/8 x 4 1/8, Yellow checked DP (not shown in the above picture) 2 1/4 x 4
2.  Open up the folded blue card and glue down the white card stock and add a 1 inch strip of the red dotted DP
3.  Glue down the red dotted DP onto of the folded blue card and then added the yellow checked DP (I decided to layer the yellow onto blue card stock) 
4.  For the base of this card glue the Floral DP on top of the blue base rectangle 
5.  Using the Garden Ladder die cut out the pieces.  I used rust, silver metallic, blue, brown, yellow, light blue, green and olive card stock 
6.  Shade the pieces using a variety of inks and then assemble with a fine tip glue 

7.  Next add pop dots to the back of the ladder and pop it to the small blue card front.  Then glue the small card to the base rectangle.  Add the sentiment and the rhinestones and your card is complete


CottageCutz Products
I hope you are keeping busy.  I am in Arizona and we are finally beginning to open our state.  I am so ready to enjoy being able to get out and about again!
Blessings
Pam

Wednesday, May 06, 2020

Have a Bee-utiful Day!

Hello!  This is Sukie sharing a new project for my design team post.  I used a couple of really fun dies from the new Cottage Cutz Gardening die release.
I die cut my pieces from the Golden Bear and Potted Plants die sets. All of my die cuts were originally cut out of white card stock and then shaded with Oxide Inks.  I used the same pot for all 3 of the potted plants for a coordinated look to the larger, upside down pot.
My card base was also inked with the Oxide Inks and then layered with a honeycomb stencil.  The stamped sentiment was a nice compliment for the scene on my card.
Two of the potted plants were adhered on each edge of my card.  The third pot was nestled next to the pot on the left side of my card leaving the perfect amount of space for the bear.
The tree branch fit perfectly between the bear and the stamped sentiment.  The hanging bee hive is absolutely adorable.
A pair of adorable buzzing bees were perfect for surrounding the bee hive and completing the sweet scene.
Here are the die sets used on my card, available in the store: