Friday, January 17, 2020

Polar Birthday

Happy Friday!  It's Jeanne today with a birthday card using two dies from the Arctic Animals release.  I always need birthday cards, especially masculine ones.  These dies are great because they can be used for both men and women!
For my basic design I used a sketch from Splitcoaststampers.  Although I changed the proportions of the elements of the sketch the basic layout is there.
https://www.splitcoaststampers.com/forums/card-sketches-f41/sketch-challenge-774-11-6-19-a-t631199.html
I cut all the pieces from white cardstock and then used gray, mint and blue ink to shade the pieces.
I used two shades of purple to blend a panel for the background, then dry embossed the "snowfall".
I took some white craft ink and lightly went over the raised dots to make them more snow-like.
I cut my three panels - the bottom layer 5.5 x 4.25 inches, the snow panel 3.375 x 4.25 inches and the purple panel 4 x 3 inches.  The bottom striped paper is double sided and in the end I decided to use the dotted side as I thought it emphasized the snow theme of the card.
The sentiment is heat embossed in white. Although I intend to use this as a birthday card, the sentiment could be used for a variety of reasons.
I glued all elements to an A2 card base but popped the polar bear up using foam.  I use A LOT of foam when I pop something off a card.  I like it to feel solid underneath and not bend.
Finally I added a few snowflake sequins.  I hope you have enjoyed my card today.  I had fun making it.

Dies:
http://www.scrappingcottage.com/cottagecutzarcticpolarbearandcub.aspx
http://www.scrappingcottage.com/cottagecutzarcticpenguinsandigloo.aspx

Thanks for stopping by.  I hope you have an enjoyable and creative weekend!


Thursday, January 16, 2020

Walrus Hugs

Hello Scrapping Cottage Friends

I have two little great nephews and one new born great niece.  I got to meet my new niece over Christmas and she is just so sweet and such a good baby! They all just love animals.  The last valentine I made had a whale and this one is going to have two baby walruses.  These little arctic creatures are just so much fun!


Design Steps

 1.  Cut the walrus out of white and gray card stock using the Baby Walruses die
 2.  Shade the pieces with gray ink then assemble using a fine tip glue
 3.  Using the Sweetheart Doilies die cut them out of a red metallic, pink and gray card stock.  Next using the same red metallic card stock and the Expressions Hugs & Kisses die cut out 2 of the sentiment.  Then glue the sentiment piece together to make it stand out nicely on your card
 4. Use an A2 gray card base, cut out red metallic card stock 5 1/4 x 4 and then cut a piece of DP 5 x 4 3/4
5.  Glue the red to the gray card base then add the DP
 6.  Glue the sentiment to the bottom of the DP as shown
 7.  Add the Sweetheart Doilies as shown
8.  Pop the little baby walruses to the doilies and your card is complete!

CottageCutz Products


I am so glad you had the opportunity to stop by and visit today!  We love hearing your comments or just seeing you stop by to take a look around!
Blessings
Pam

Wednesday, January 15, 2020

Feel Better Soon

Hello!  This is Sukie and today I'm sharing this "get well" card.  Since we are in the middle of winter and flu season, this card is perfect for cheering up anyone who is under the weather.
I went with an embossed background for my card and then cut out my pieces from the Ouch With Tooth and the Chicken Noodle Soup die sets.  The napkin is triangle cut with my paper trimmer.
Once I matted the embossed card stock on a blue background, I added the triangle napkin at the base of my card.
Next, each of the die cuts were adhered on top of the napkin with the extra spoon resting on top.
The "feel better soon" sentiment was stretched along the top of my card fitting perfectly across the background.
Here are the dies used on my card, available in the store:

Tuesday, January 14, 2020

Friendship

Hi! Janja here with a card for friends. Spending time with friends is never a waste of time.
I used some of the Arctic animals dies.


- CottageCutz dies: Baby Walruses, Baby Seals, Seal & Walrus Pals, Goldfish & Bowl (air bubbles)
- blank card: 4.25 x 5.5" (10,8 x 14 cm), folded
- white cardstosk: 4 x 5.2" (10 x 13,2 cm)
- colored cardstock
- colored ink pads
- clear embossing ink pad
- white embossing powder
- glossy accents
- fun foam (craft foam)
- glue, double-sided adhesive tape

I started making my card by die-cutting all the elements for it. To add shading to the arctic animals, I used colored ink pads.


I trimmed a piece of white cardstock and colored it with Distress Oxide blue ink. I then sprayed everything with some water.


I cut off another white cardstock and wavy cut the top edge with scissors. It is colored the same.
I stamped the sentiment and heat embossed with white powder.


Lastly, I cut out white air bubbles and applied glossy accents.


I glued the bottom part to a fun foam (craft foam) and attached it all to the blue background for more depth.


Have a nice day.
Janja


Sunday, January 12, 2020

Walruses Wishing You A Happy Birthday


Hi!

It's Anja here. I'm back to Arctic Animals. For today's post I made a birthday card.


For this card I used:
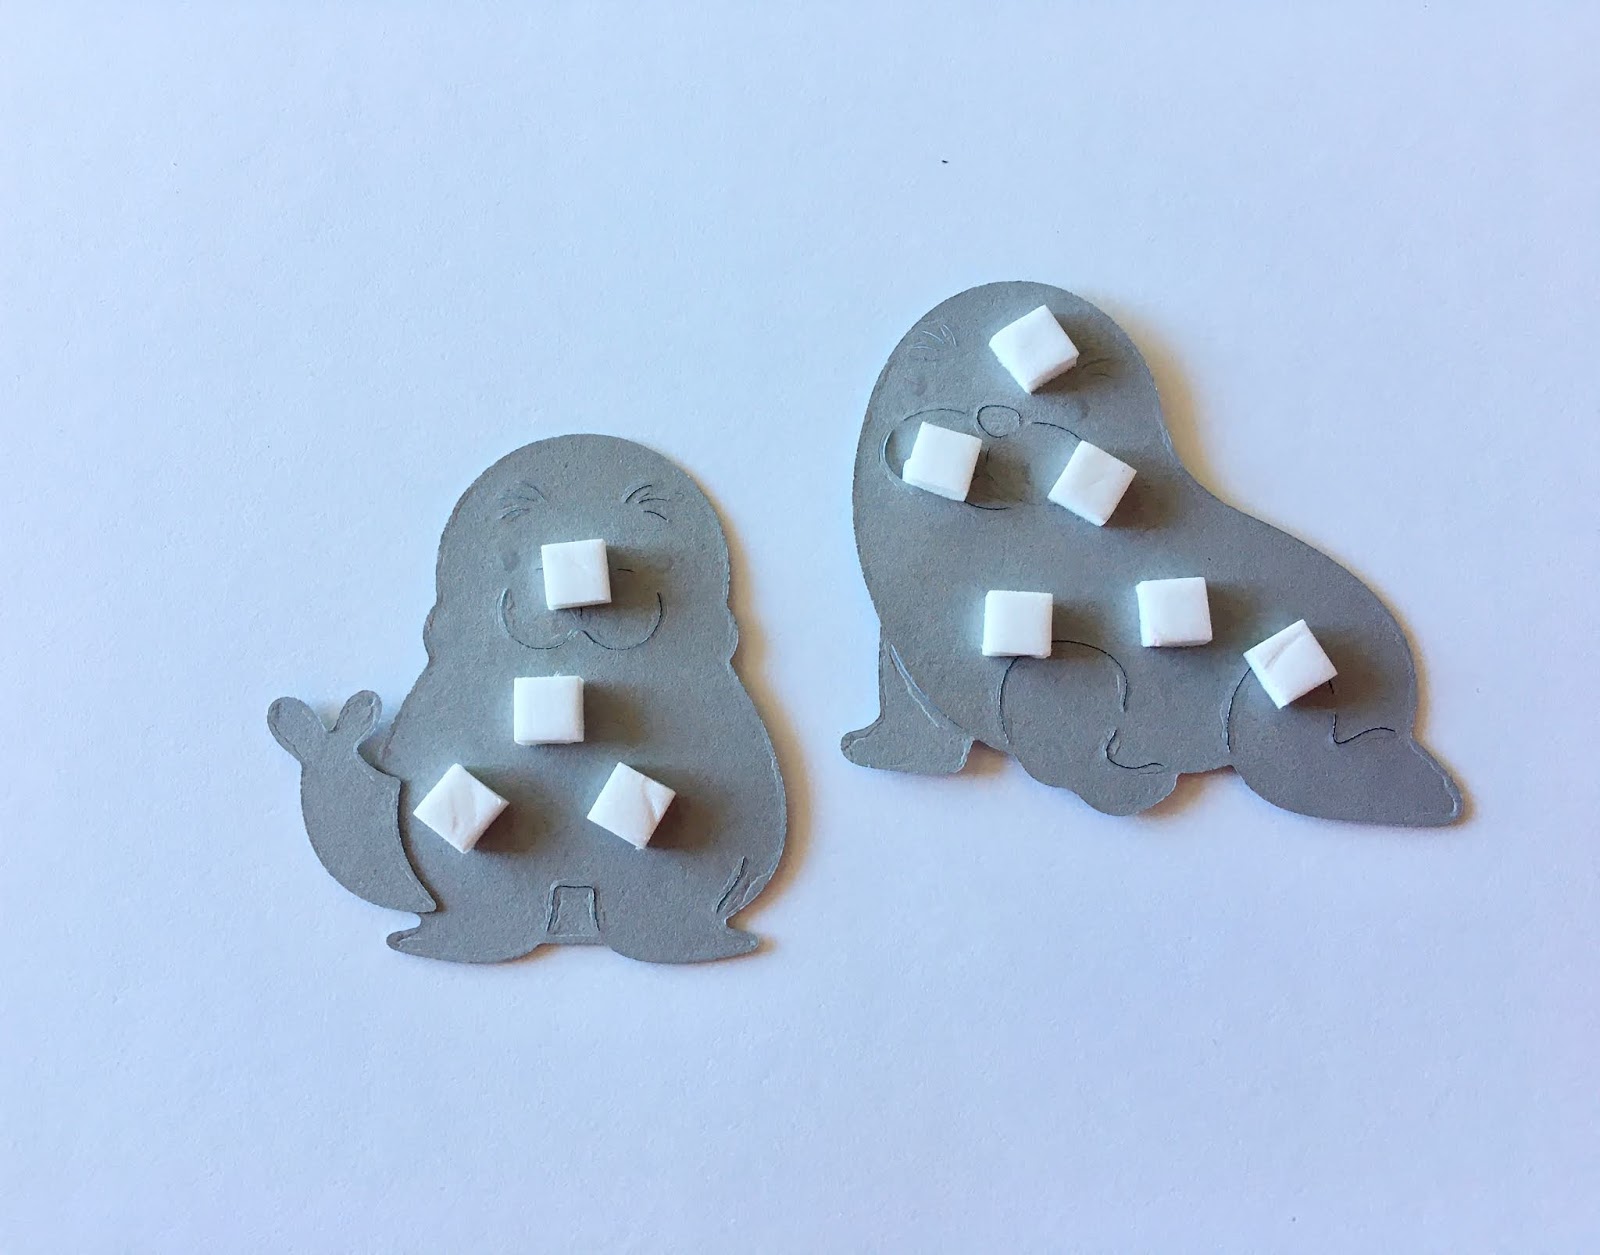
- Cottage Cutz dies (Baby Walruses, Birthday Hedgehog, Expressions Happy, Expressions Birthday),
- Zig Watercolor brushes (Numbers: 050, 064, 072, 091, 043, 034, 010),
- craft card base (15x15 cm),
- yellow cardstock (14x14 cm),
- dark blue cardstock (13,5x13,5 cm),
- white watercolor paper for die cuts and background (12,5x12,5 cm),
- black pen,
- white pen,
- brushes,
- watercolor brush,
- washi tape,
- heat gun,
- paper glue.

First I cut and colored the walruses and birthday props. I used watercolor brushes for coloring.


Then I assembled the walruses together.


Next I cut and colored the sentiment. Again I used washi tapes on the back to adhere the cuts for easier coloring.


Then I cut a piece of background paper and spritzed it with color drops. I used watercolor pens and mixed it with water.


Then I trimmed colored paper for background.. And when I had all the pieces I put the card together.


And this is the result.


I wish you all a nice Sunday and see you again next week.

Anja Z.


Cottage Cutz dies I used for this project: