Tuesday, April 09, 2019

Colorful Spring

Hi, Janja is here with you.
Daffodil is a harbinger of a colorful spring. Her flowers are cheering us with a strong and wonderful fragrance from the beginning of March to the end of May.
For today, I made a simple spring card.


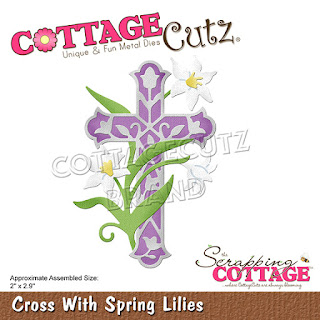
- CottageCutz dies: Buster w/Spring Daffodil, Carrot Patch Bunny (soil)
- white card base: 4.25 x 5.5" (10,8 x 14 cm), folded
- patterned paper: 4 x 5.2" (10,2 x 13,2 cm)
- colored cardstock
- colored ink pads
glue, double-sided adhesive tape, self-adhesive foam pads

When we cut out all the pieces from a colored cardstock, shadow them around the edges with colored pads.
For this purpose I use makeup brushes.


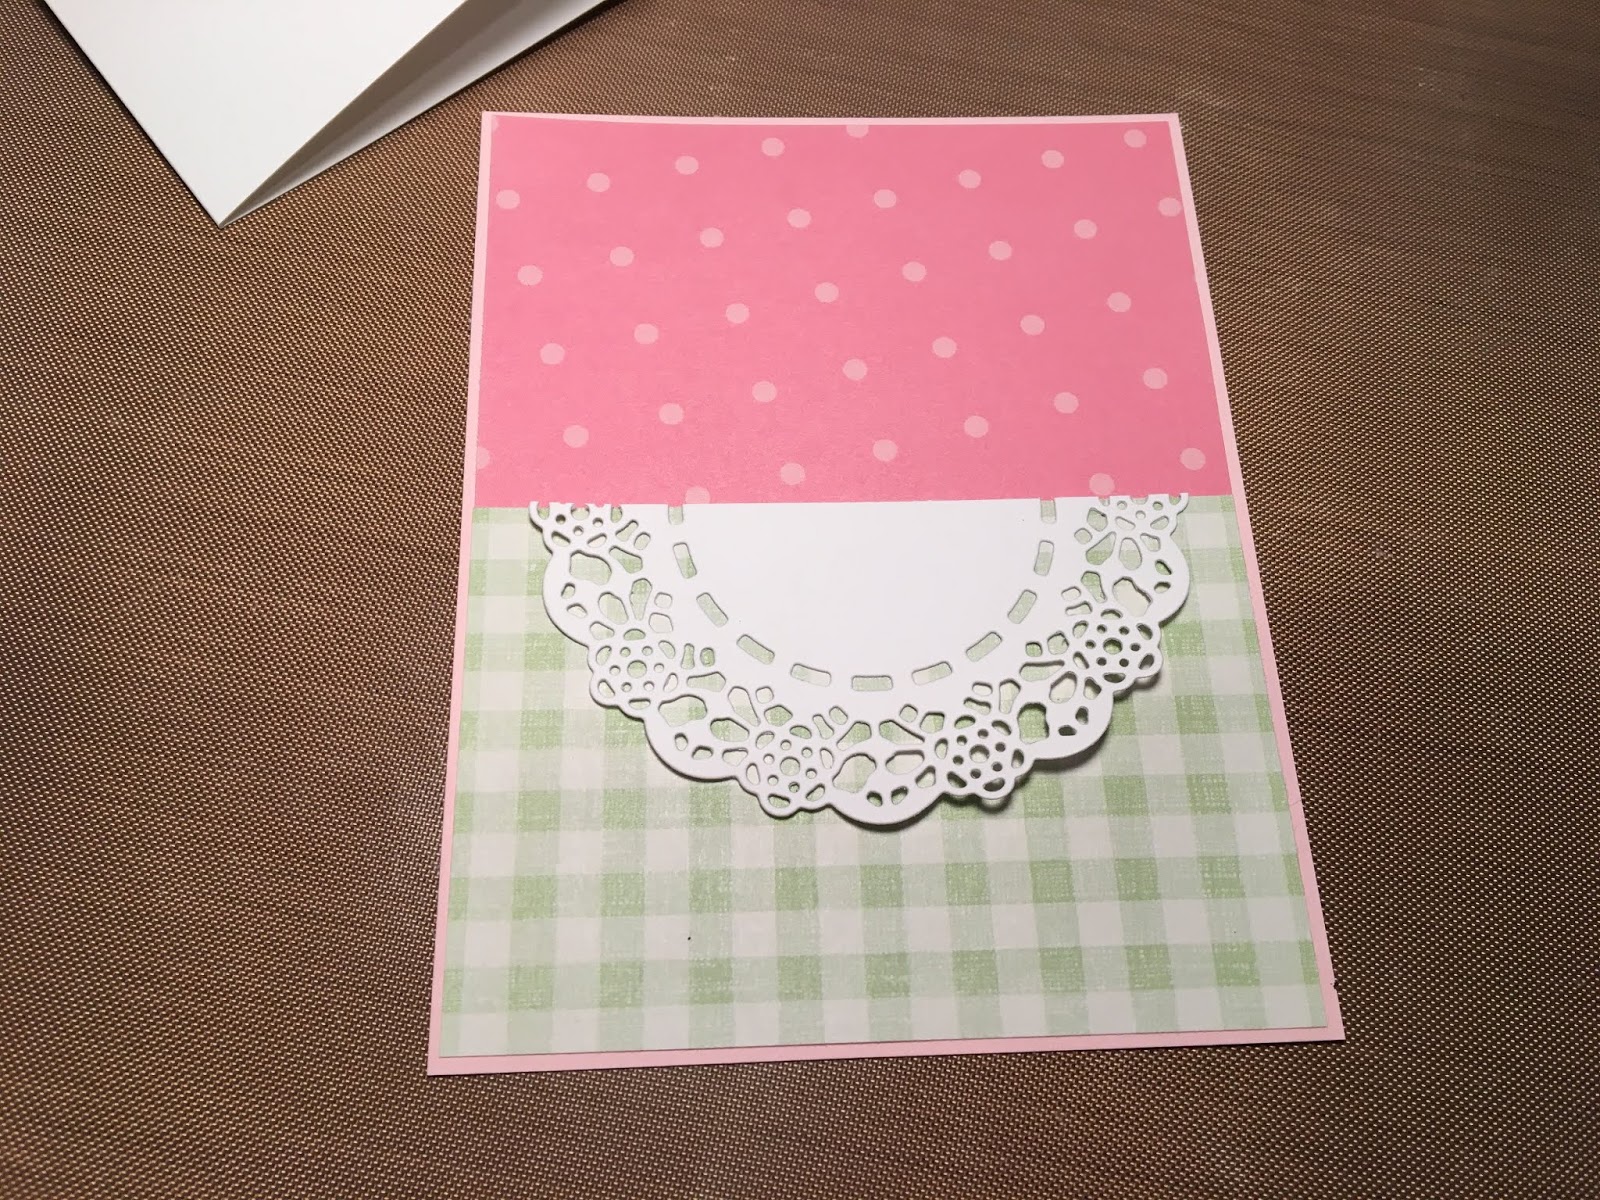
Prepare a card base and trim the selected patterned paper for background. Stamp a sentiment.


Now, it's time to finish the card.


Have a nice day.
Janja


Sunday, April 07, 2019

Duck Hugs

Hi!

It's Anja here. My mother just got 5 cute little ducks for her birthday. And ducks were on my mind when I made this card.


For this card I used:
- Cottage Cutz dies (Rainy Day Duck, Quackers & Quack, Sending Hugs Bear),
- Distress Inks (Mustard Seed, Wild Honey, Spiced Marmalade) and Oxides (Broken China),
- craft card base (18x12,5 cm),
- white card stock for die cuts and background (17x11,5 cm),
- green card stock (17,5x12 cm),
- black pen,
- white pen,
- brush,
- paper glue.

First I cut and colored the ducks. I used black and white pen for the eyes. I used green paper for the sentiment.


Next I colored the sky background. I used brush this time to color the paper.


I used green card stock for the background. I cut a stripe of paper for the grass. 


I arranged and glued all the pieces to the card base and my card was done.


Have a nice Sunday and see you again next week.

Anja Z.


Cottage Cutz dies I used:


Saturday, April 06, 2019

Big Bunny Hug (new die)


Hello Scrapping Cottage friends! Thanks for taking the time to stop and visit with us today. It's Mary Marsh here bringing you the Saturday edition of the Blog.

If you haven't seen the 36 new Spring dies, take a peek at them in the online store. You definitely won't be disappointed.There are a variety of designs so perfect for Easter or Spring card making. 

For my card today I am using the new Spring Potted Bunnies die. This is such a cute die and would be great for an Easter card for your special little one. So let's get started with some details on how I created my card. 

Step 1: As I have said so many times before, having a layout in mind at the card start is always a big boost for me and jump starts my creative thought process. I love working with the sketches that are out there in the online world. That way I can just choose the card colors and designer paper and I am good to go. I liked this unique sketch #743 on Splitcoaststampers. I thought the potted bunnies would look so cute across the rectangle panels. 
I used a watercolor look designer paper for the background and paired that with a grape cardstock base. I cut the rectangle panels (element 2) in the same grape cardstock in graduated sizes. I started off with smaller panels but once I cut the bunnies I realized they needed to be just a bit wider and longer. The sizes below are the ones I ended up using. 

Grape Cardstock Base: 5 1/2" x 4 1/4"
Designer Paper Panel: 5 3/8" x 4 1/8"
Rectangle panels: 5/8" x 2 1/2", 3/4" x 2 3/4", 7/8" x 3"

Next I moved onto cutting the bunnies. I used cardstock that I thought matched the designer paper. The bunny pots are cut in coastal cabana, highland heather and daffodil delight cardstocks. The bunnies are a naturals white. It has a pale gray hue to it so I like using it for bunny images. 

Step 2: Now that the card elements are cut, I am ready to start card assembly. I first attached the rectangle panels with double sided tape. 
I wanted to stamp a sentiment at the top and bottom of this image panel. I settled on this one because it worked nicely as a split sentiment. I used my Stamp-a-Ma-Jig for help in stamping as well as placement. 

I attached the bunny images with dimensional adhesive. I didn't want them flush against the rectangle panels. It also allowed the rectangles to be seen a bit more. 
The image panel was attached to the card base with double sided tape. To finish it off I scattered a few light green enamel glitter dots. And, that completes my sample for this week. 
I hope I have given you an idea for a way to use this new die. There is still time to order it and have it in time for Easter card making. See you next Saturday with a sample of our new Magical Fantasy release. They are currently on sale at 25% off. Also, check out the big anniversary sale. You can get some real deals on CottageCutz dies up to 70% off retail. 

die I used to create card: 


Friday, April 05, 2019

He is Risen

Happy Friday Cottage Cutz fans!  It's Jeanne posting today with an Easter card.   The two new cross dies in the February spring release really appealed to me because of their elegance.  Today I've combined elements of both in my card.
I used the cross and lilies from Cross with Spring Lilies and the sentiment from He is Risen Cross.  To make the card I first cut all the pieces from  two shades of purple, a green, white and metallic gold cardstock.
I colored the inside of the flowers and the flower stamens with yellow Copic markers.
I assembled the flowers on the stem and glued the gold overlay on the cross.  I then assembled this as one piece.
To make the card base I used a white A2 card base and a panel of the dark purple 5 1/2 x4 1/4 inches and a panel of weathered wood paper 5 3/8 x 4 1/8 inches.
I adhered the panels together and then attached the sentiment.  Finally I used foam dots to pop the cross up off the front of the card giving it some dimension and emphasis.
I hope you enjoyed today's card.  These dies make quite elegant Easter cards.

Dies:
http://www.scrappingcottage.com/cottagecutzcrosswithspringlilies.aspx
http://www.scrappingcottage.com/cottagecutzheisrisencross.aspx
Thanks for stopping by today.  Have a fun and creative weekend.


Thursday, April 04, 2019

Tea for Two!

Good Morning Blogging Friends!

It is Pam creating with you today.

I am posting a card for a friend.  I am getting ready to move cross country and it is always hard to leave good friends.  So needless to say I will be making a number of these cards.  We are moving from South Carolina to Nevada!!  It is going to be a stressful couple of weeks I am sure!


Designer Steps:
 1.  Using the Spring Teapot & Cups die cut all of the pieces out of light pink
 2.  Use your favorite markers to color the flowers, trim and leaves.  Shade the pieces and then assemble
 3.  I used tiny rhinestones for the centers of the flowers on the cup and teapot
 4.  Use a white A2 card base and a piece of light pink card stock cut slightly smaller then the base. Then I cut two pieces of DP 3 x 4
5.  Glue the pink to the card base and then add the two pieces of DP.  Use the Tea Time Doily die and cut it out of white card stock then cut it in half
6.  Glue the white doily as shown and add a piece of satin ribbon between the two pieces of DP.  Pop the teapot and cups to the front and then add the sentiment


CottageCutz Products


This little Teapot set is so versatile I can think of a number of ways to use it. Plus it is so sweet and fun to make!  Please take some time for yourself and create! Glad you stopped by!
Blessings
Pam