Friday, June 02, 2017

Pretty Blooms on a card and Expression Plus phrase


Hello to all !!!!

This is Anita here with spring flowers for you. These flowers are so pretty that they can make any project look awesome.
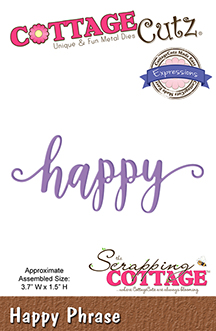
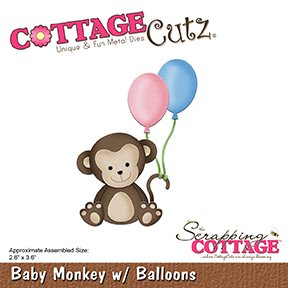
But before that , let me show you some new Expression Plus dies from CottageCutz recently released at the store.
There is a phrase for each occasion. Here is a video showing the different phrase.


Here is my card with 3D flowers.


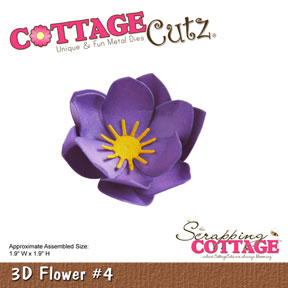
To make this card, cut out the flowers from 3D flower#4 and colour with Archival inks.

Emboss the flowers on an embossing pad with a tool

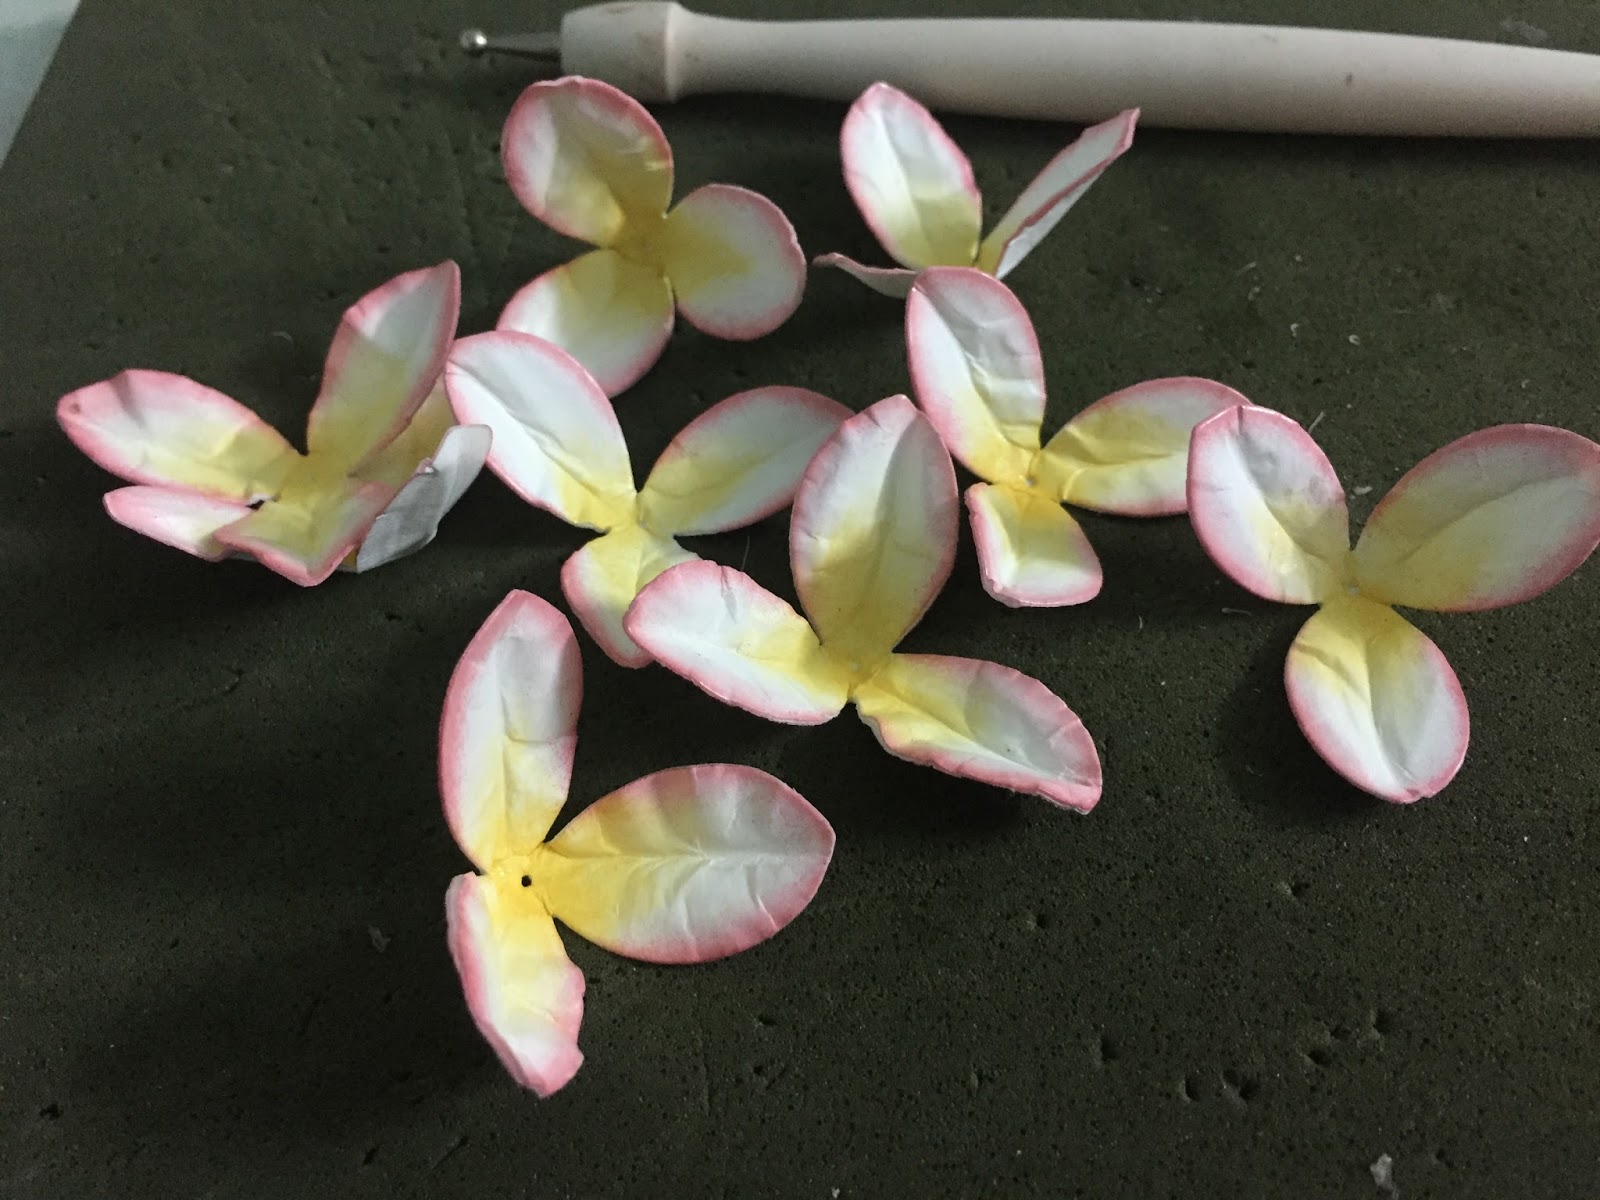
Cut the stamen centre as shown and roll to make the centres


Cut a card base 4.75" x 6.75" and add splatters of Worn Lipstick distress oxide ink.

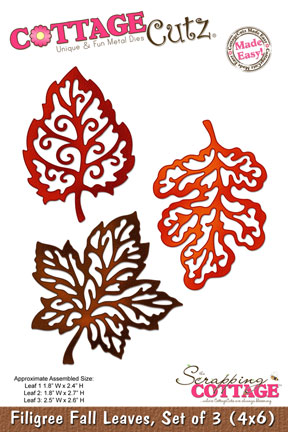
Cut out the leaves and colour 

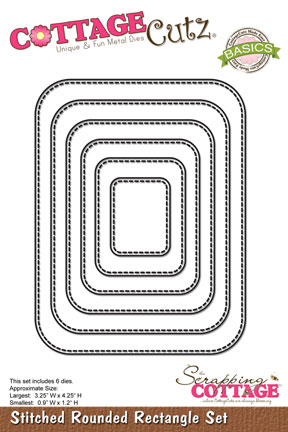
Add a panel with pattern paper and round stitched rectangular frame. 
Add a sentiment and some label tags

Add the flowers and leaves.

 Prills are added to flower centres.

The finished card

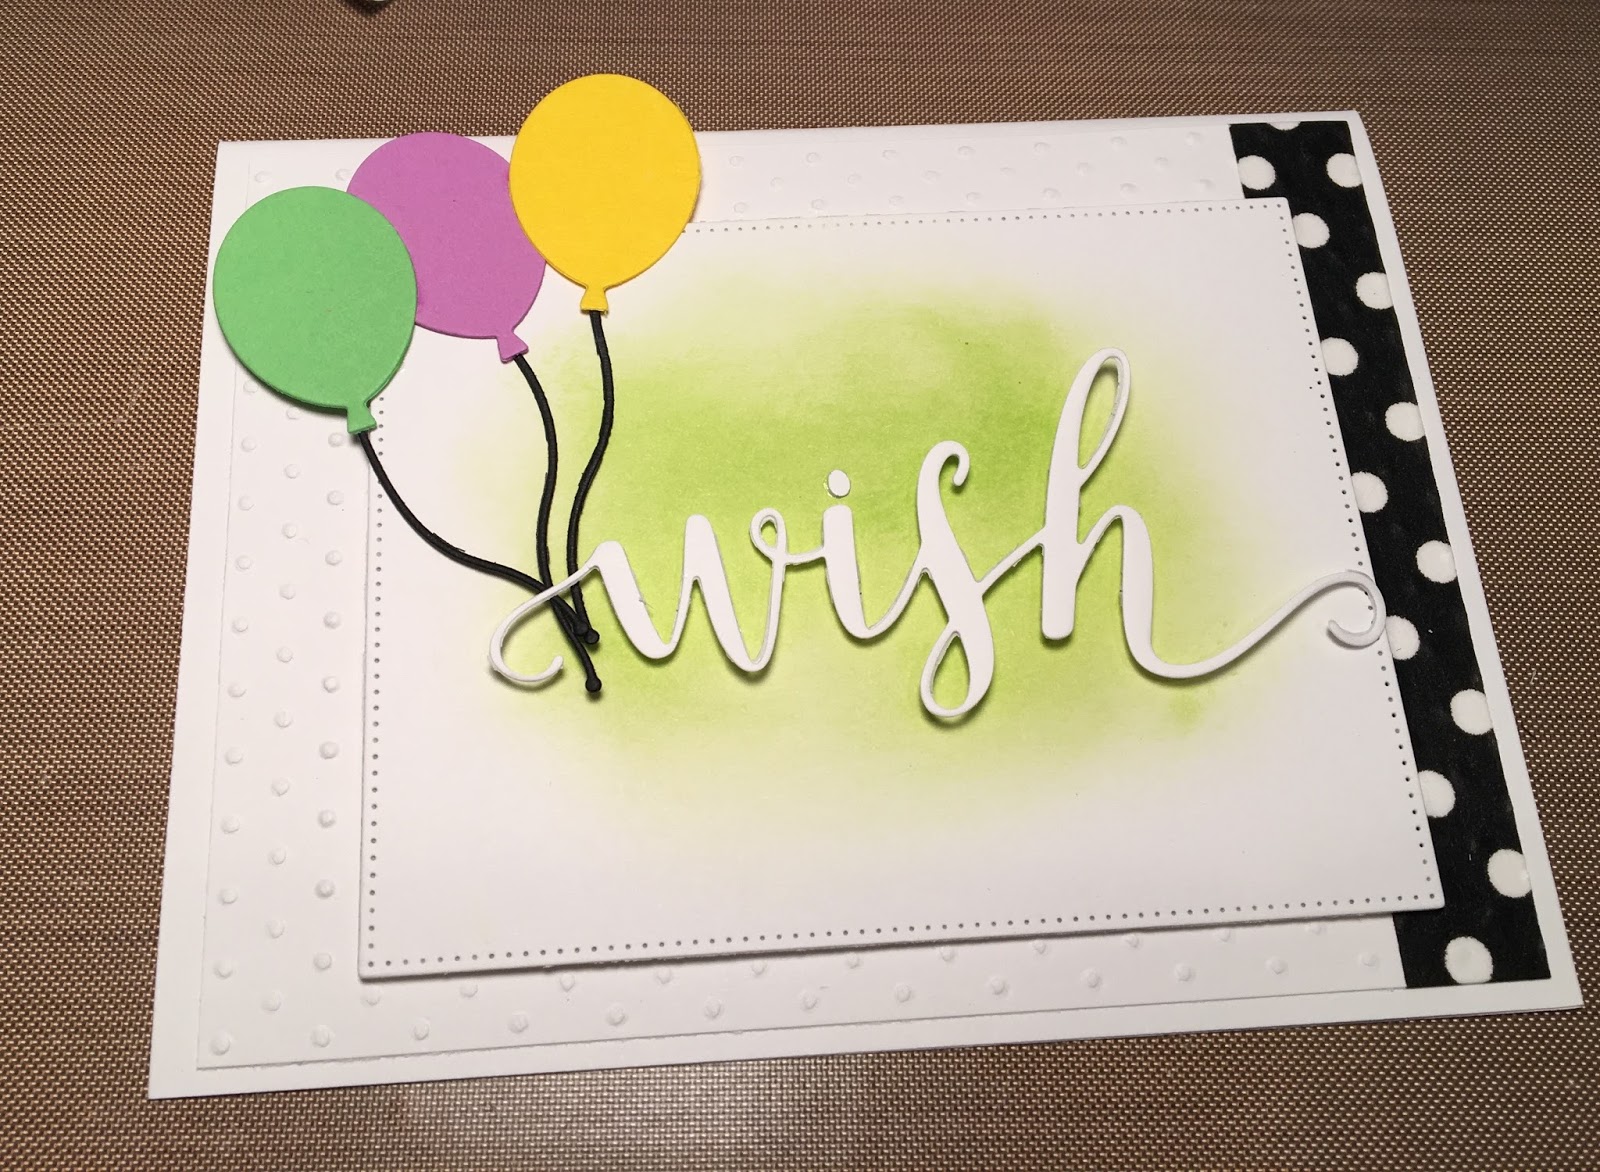
Here is another card using the Expression Plus phrase die.


CottageCutz dies used


Do follow us on Instagram where we have loads of inspiration.

Thursday, June 01, 2017

Wish!

Good Morning Scrapping Cottage Fans!

Pam, here today and I am really excited to show you our new release Expressions Plus Dies!  Here is my Design Teammate to show you how wonderful these dies are!!
We gave you a small sample in the video of the 35 dies that where released so I am including a picture of all the new release dies!

Now on to the card for today! I needed to replenish my supply of birthday cards.  And I wanted them to be great for either guys or gals so I came up with this festive design that I think would fit for both genders and just about any age too!


Design Steps:

1.  Start with an A2 white card stock base and cut a 4 x 5 1/4 inch piece of white card stock and run it through the dotted embossing folder.
2.  Wrap a piece of black and white polka dot washi tape around the right side of the embossed white card stock and set aside


3.  Next cut a piece of white card stock using the largest Cottage Cutz Pierced Rectangle.  Using white card stock again cut out Wish using Cottage Cutz Words Expressions


4.  Sponge green onto the rectangle to create a background for the word wish


5.  Using small dimension dots place them on the back of the word wish then glue to the center of the rectangle.  Use purple, green, yellow and black card stock to cut out the balloons from the die Baby Monkey with Balloons.  Glue the strings to the balloons


5.  Add dimension tape to the back of the sponged rectangle and glue to the embossed white card stock

6.  Glue the balloons as shown

7.  Add sequins to complete the card
Here are the Cottage Cutz Products I used:


We now have an instagram account check it out here. As always thanks so much for stopping by and I hope you get crafty today!

Blessings
Pam

Wednesday, May 31, 2017

Hello from the CottageCutz Lighthouse

Hello, and welcome to the Scrapping Cottage Blog!  This is Beverly Polen from Guneaux Designs, and I am a guest designer today.  Before I share information about my "Hello from the CottageCutz Lighthouse" card, let me remind you that the Scrapping Cottage Memorial Day Sale ends at 9:00 p.m. PDT tonight!  Dies are on sale for up to 40% off, so don't miss out on getting dies you have been wanting!

My card share with you today features the CottageCutz Hello Phrase die, which is a newly released word die from the CottageCutz Expressions Plus collection.  There are 35 of these new word dies and they are on sale for 25% off until tonight!  Here is my card:


My "Hello from the CottageCutz Lighthouse" card also features other CottageCutz dies:  the CotttageCutz Lighthouse die, Stitched Wide Circle Frame Set dies, Cottage Cutz Lighthouse w/ Clouds die, and CottageCutz Seagulls in Flight Die.

These are the steps I followed to make this "Hello from the CottageCutz Lighthouse" card.

  • Using the CottageCutz Lighthouse die, I cut out the lighthouse in white, red, blue, green, gray, and yellow card stock and assembled the pieces.
  • I used the CottageCutz Stitched Wide Circle Frame Set dies to cut several circle frames and a circle from a 4-1/4" x 5-1/2" piece of white card stock.
  • I glued the circle frames together to create dimension.
  • Using the circle that was cut out from the 4-1/4" x 5-1/2" piece of card stock, I colored a sky, rock cliff, and ocean on it.  I added Liquid Applique in selected area and heat set it.

  • I cut out three "hello" sentiments using the CottageCutz Hello Phrase die and blue card stock. I glued them together, covered the sentiment with VersaMark Ink and Clear Embossing Powder, and heat set it.
  • I began assembling my card by cutting a 4-1/2" x 5-3/4" piece of blue card stock to which I glued the 4-1/4" x 5-1/2" piece of white card stock with the circle cut out.
  • To this piece I attached both the circle frames and colored circle piece inside the cut out circle.
  • Lastly, I added the lighthouse, seagulls, and hello sentiment to the above piece.  Then I attached that to a 4-3/4" x 6" white card base.

These are additional photos of the card:


CottageCutz is now on Instagram!  Click here to see our Posts and follow us!

These are the CottageCutz Dies used to create the card:


Tuesday, May 30, 2017

Sunflowers

Hi, Janja here!

Tuesday is already here and my time for post on the Scrapping Cottage blog.
Beautiful sunflower heads are proudly displaying their beauty and invite our eyes to admire. This inflorescence composed of hundreds or thousands of tiny flowers simply deserve our admiration.

Today on a thank you card.


Supplies:
- CottageCutz dies: Thanks Phrase, Sunflowers, Wheat Stalks, Pilow Box Plus (ladybug)
- white card base: 5.3 x 5.3" (13,5 x 13,5 cm), folded
- kraft cardstock: 5 x 5" (12,7 x 12,7 cm)
- watercolor paper
- Distress oxide pads: Fossilized Amber, Peeled Paint, Vintage Photo
- Distress ink pads: Wild Honey, Vintage Photo, Twisted Citron
- ColorBox pigment ink pad Frost White
- stamp with handwriting for background
- glue

From watercolor paper cut out elements for sunflowers. Color them with Distress oxide pads. Sprinkle with water and shape with a flower shaping tool.


Cut out Thanks phrase, some wheat stalks and ladybug.
Trim kraft cardstock. Stamp on it handwriting with a white pigment ink pad. Nothing serious if we cannot evenly cover the entire background as the focus is on sunflowers. 


Use only the sunflower leaves. Cut off the stems with scissors. Glue each flower separately on the background and arrange them with leaves and wheat stalks. 
Finally glue Thanks phrase and attach a ladybug for luck on it.


Memorial Day Sale going on now at the


Also, CottageCutz now has an Instagram account
Follow us on Instagram.

Thank you for coming over and have a lovely day.