Friday, May 05, 2017

Baby Boy Explosion Box card


Hello to all !! It's Anita here with a baby boy explosion box. CottageCutz has recently released a whole new range of baby dies and they are all so adorable. You can check the whole collection here
Here is my explosion box card showing many dies and they give the whole project such a beautiful look.


Score a 6.25 x6.25 inch paper at 1" intervals on all sides and snip off the corners as shown. This makes the lid of the box. 
To make this box, Score a 12x12 inch card stock at 4" and 8" and turn the paper and score again.Cut out the four corners as shown.


 Cut pattern papers 3 x 3 and cut the cross stitched die cut. Distress with blue ink.


Cut the die cuts and assemble them together following the image on the paper pack.


Layer all the die cuts and papers together.


Make 3D flower and arrange in the centre with leaves using 3d foam tape.


the finished card

Cottage Cutz dies used


Thursday, May 04, 2017

Baby Toy!

Good Morning to all of our Scrapping Cottage Friends!

Hi it is Pam today and  I am sharing another Cottage Cutz new release baby die.  Just look at all of those sweet animals isn't it adorable!!


Here are my design steps:
1.  Using colored card stock: yellow, rust, white, black, orange, green and gray cut out all of the pieces using the Baby Animal Mobile Die then assemble
2.  After the pieces are assembled sponge the edges for more depth
 3. Using the Oval Doily & Frame cut out the frame and doily using white card stock.  Glue down the green frame for the Baby Mobile to the doily and then pop up all the hanging elements
4. Use an A2 white card base, cut a slightly smaller piece of green card stock then cut a piece of yellow designer paper 4 x 5 1/4 and glue to the green
5. Glue the frame from the Oval Doily & Frame die to the front center of the yellow designer paper.  Place pop up tape on the back of the oval and glue to the center of the frame add the green checked ribbon and you have a very sweet card!


Cottage Cutz Products


I hope you will give this sweet die a try and make a new mom very happy!!

Thanks for stopping by today!

Blessings
Pam


Wednesday, May 03, 2017

Christening cards

Hi!

It's Anja here. The new Cottage Cutz baby collection has these two beautiful dies with which you can make gorgeous christening gowns. Today I made two cards, one for a baby girl and one for a baby boy. They are very simple to make and can be used as a christening invitations or congratulation cards.


I used:
- Cottage Cutz dies (
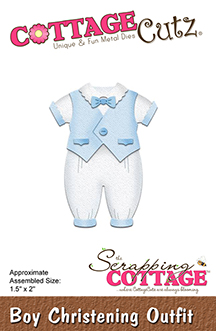
Boy Christening Outfit, Girl Christening Gown, 
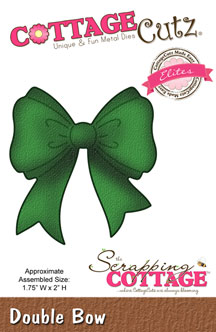
Fancy Mary Jane Shoes, Spring Greenery, Stitched Rounded Square Set),
- Distress Inks (Stormy Sky, Worn Lipstick),
- white card base (15 x 10,5 cm),
- white, pink, blue and green card stock,
- white liquid pearls,
- embossing folder,
- paper glue and foam glue pads.

First I cut all the pieces for the outfits. I used white, blue and pink paper. I put distress ink around the edges of every small piece.


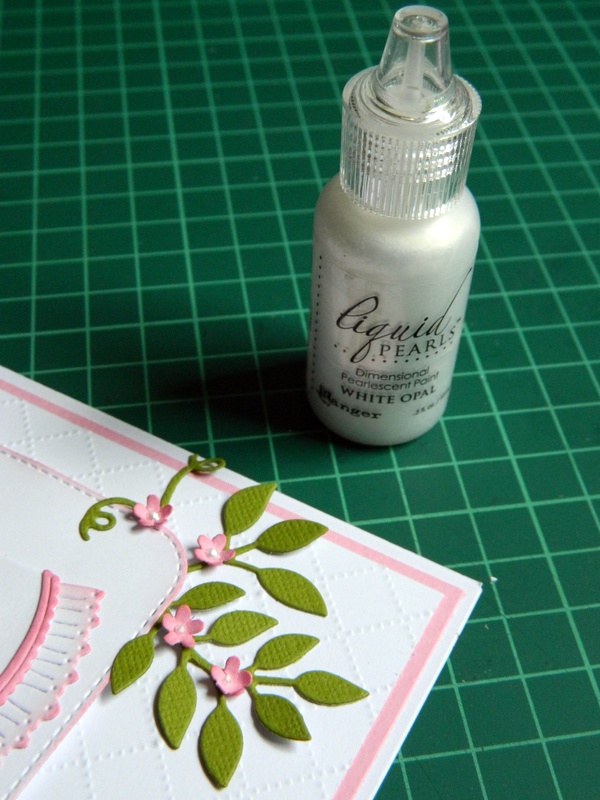
I used the same procedure for the flowers. I used a special tool to make a 3D effect.


Then I cut some greenery from the green card stock.


I made each background from two pieces of paper. First I cut pink and blue (14,5 x 10 cm) and then white (14 x 9,5 cm). I embossed the white one with an embossing folder. I could use any other design. Then I cut the third largest square from the Stitched Rounded Square Set to put my gowns on. 


Then I just had to put all the pieces together. This is how I glued the greenery.


And in the end I glued the little flowers and decorated it with liquid pearls.


And this is it from me today.

Have a nice Wednesday.
Anja Ž.

Cottage Cutz products I used: