Friday, November 11, 2016

PENGUIN IN THE SNOW


Hello to all !!!

This is Anita here !!!! Hope all are set for Black Friday !!!! Its going to be a crazy day in the winter chill. So how about some music to relax you. Candy Cane Penguin is here with some cool music.

Check out my card here. It is a very simple yet fun card. There are many die cuts that have been trimmed to create a scene. I will explain as I move along.
Let us see the pictures here.


The finished card measures 5.5 inches x 5.5 inches
Add the effect of clouds with Tumbled Glass Distress ink.
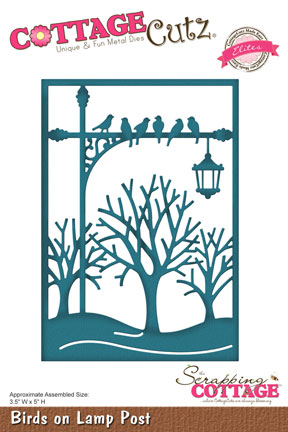
Trim the frame of the CottageCutz Birds on Lamp post die and colour it with Copic markers.
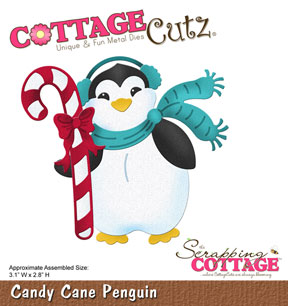
Cut the CottageCutz Candy Cane Penguin die and colour with copic markers.
  

Adhere all the parts of the Penguin die cut

Add the effect of snow using clear adhesive and distress clear rock candy glitter.

 Add a thank you sentiment.


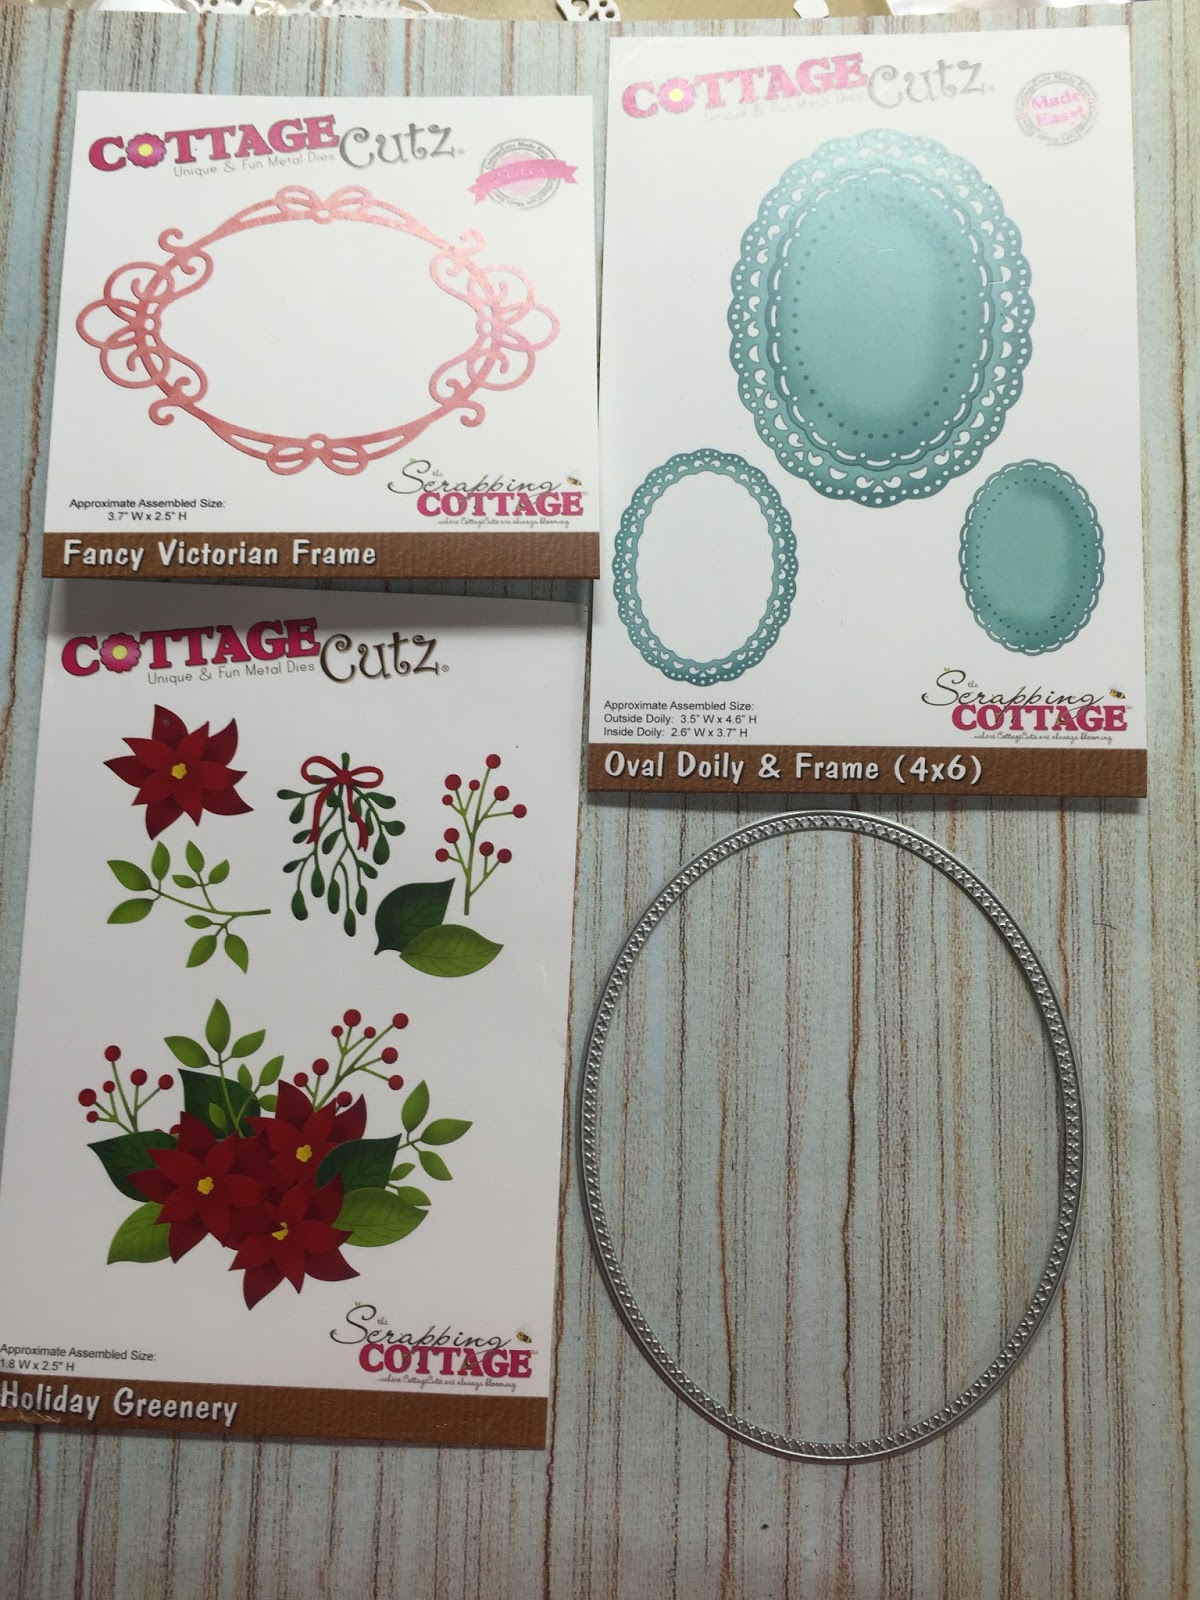
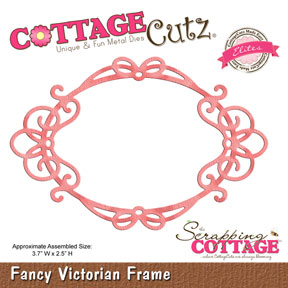
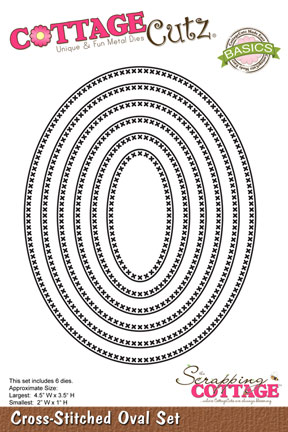
Here are the pictures of the dies used.


I wish you happy days ahead. See you till then.

Tuesday, November 08, 2016

Mushrooms in the forest

Hi, Janja here!

Mushroom hunting is not just an entertainment. When picking mushrooms and observing nature in different seasons we are also faced with a variety of forest animals and plants.
New release of CottageCutz dies - In the forest, is already available.


For the card we need:
- white scalloped card base: 5.3 x 5.3" (13,5 x 13,5 cm), folded
- brown cardstock: 4.9 x 4.9" (12,5 x 12,5 cm)
- patterned paper: 4.7 x 4.7" (12 x 12 cm)
- white and color cardstock
- Distress ink: Festive Berries, Aged Mahogany, Mowed Lawn, Peeled Paint, Tea Dye, Brushed Corduroy, Vintage Photo, Walnut Stain

First prepare the card base and background. With the die mushrooms and greenery cut out all pieces in different colors of cardstock and shadow them with Distress inks. Add dots with white pen on hats of mushrooms.


With the die hollow tree with forest friends cut out hollow tree and mushrooms. Prepare two hollow trees. One from a brown cardstock, and the other from fun foam. Glue both pieces together.


Shadow hollow tree with Distress inks and draw a few darker lines with a brush. Coat it with varnish.
Begin by assembling. Use self-adhesive foam pads and glue.


Thank you for coming over and have a great day.

List of dies used:


Monday, November 07, 2016

In the Forest - Squirrel and Log


Hi, Lois here.  I'm so glad to say that I've been invited to join the CottageCutz design team.  This is my first blog post as part of the team . . . and just in time for their new Fall release, In the Forest.  I have a friend whose daughter is just in love with squirrels, and I was thinking of her during the entire time I was making this card.  Isn't that squirrel just the cutest thing peeking behind that log?


For this card I used:

Chocolate card base 8 1/2" x 5 1/2", folded in half
Cream cardstock 4" x 5 1/4" embossed
Chocolate cardstock 4 1/2" x 3 1/2"
Cream cardstock approx. 4 1/2" x 3 1/2" (to be cut with die)
Gray, green, brown cardstock
Distress ink - Peeled Paint, Walnut Stain, Tumbled Glass
Copic markers - Black, Pink
White gel pen
Sponge applicators
Embossing folder
Narrow washi tape
Double-sided adhesive sheet

Cut all the images with the dies.


You'll notice that I cut the leaves on a small scrap of green cardstock which I had backed with a piece of double-sided adhesive sheet.  Those leaves are quite small, and I thought it would be easier to finally adhere them to the card if they had the adhesive cut at the same time.  Next time I may cut all the smaller pieces from cardstock backed with an adhesive sheet.   When I cut the grass pieces, I wanted the cattails on only one of the pieces, so I trimmed back the second die-cut to remove the cattails.

Sponge some ink onto the die-cut pieces to give them some dimension.


After I sponged the squirrel pieces with the dark gray ink, I used a white gel pen to color the inside of his ears.  After the ink had dried, I went over the white with some pink marker.  The eyes and nose were colored with the black marker.

Three of the base pieces were cut with a paper trimmer.  The fourth, smallest piece was cut using the largest Double-stitched Rectangle die.


Emboss the larger cream panel.  Run a narrow strip of washi tape around the edges of the die-cut panel, covering the stitched lines.  Then sponge the grass and sky around the edges.


Remove the washi tape and assemble the card.  I ran many of the die-cut pieces through a Xyron machine; and, as noted above, next time I may cut all the pieces from a piece of cardstock that has been backed with an adhesive strip.

Completed card.


Dies used on this card:


Sunday, November 06, 2016

Winter Snowmen

Hello everyone,

It's Donna here with another one of the newest Christmas CottageCutz dies that was released in August. If you missed it, you can find the collection here Christmas 1, and Christmas 2 . I am using the adorable Winter Snowman die.  There is only one die, but I wanted a boy and girl so I used pink on one of the snowmen and added some eyelashes to make her a "snowwomen".


How I created my card:

1. A2 size card 4 1/4 x 5 1/2,

2. I cut all my pieces out,

3.  I adhered all the pieces together,

4.  I embossed the card base,

5.  Added my design paper,

6.  Die cut the cross stitiched circle die,

7.  Added the snowman and snowwomen on the circle,

8.  Added my sentiment.

Thanks again for stopping by, please stop over at the Scrappin Cottage blog to see all the beautiful designs from the other design team members. Don't forget about our newest challenge that is running right now. The theme is holiday and here is a link for more information.

CottageCutz Dies used:


Saturday, November 05, 2016

Fancy Nativity Ornament


Hello Scrapping Cottage friends! Thanks for taking the time to stop and visit today. It's Mary Marsh here bringing you the Saturday edition of the Blog. I can't believe that the first week of November is already a wrap. Time is marching on and getting closer and closer to the Christmas rush.

If you haven't started your cards yet, I have one to show you today that would be easy to mass produce. You could use any stamped background or even leave the background plain for a more simpler card.

So let's get started with some details on how I created my card.
White Card Base: 4 1/4" x 5 1/2"
Navy Blue Image Layer: 3 1/2"" x 5 1/2"
Silver side layers: 3/4" x 5 1/2"

My card this week is using the Fancy Nativity Ornament and the Believe with Holly flourish dies. As soon as I saw both these dies I knew I had to have them. It demonstrates in such a beautiful way the real reason we celebrate Christmas.

I started by cutting the ornament and believe word in a silver glimmer paper. I use the Sizzix Precision Base plate to cut the ornament because my Big Shot is older and sometimes needs a little help. You could also use some freezer paper or the universal shim plate that is carried in the online store. Both these dies cut so nicely and release from the die easily.
Next, I stamped my starry background. I like this background stamp and the explosion of stars that surround the ornament. That's how I imagine the heavens reacted on the night Jesus was born. I stamped with Versamark ink and then used a white embossing powder.
 
Once the background was finished, I added my ornament and the believe word. I like the contrast with the dark blue background and the silver glimmer paper.
 
Here are some close up shots of the Nativity Ornament and the Believe word. I cut 2 silver pieces of cardstock 3/4" x 5 1/2" to add to each side of the image panel. I wanted some definition here and also added card interest. By cutting the strips the way I did, it saves on your cardstock.
 
 
My final step was to add this image panel to the white card base. I also used foam mounting tape to lift the image panel away from the card base. Just another way to add character to your creation.
Well, that's it for me for this post. So until next week.......inky hugs.
 
 
http://www.scrappingcottage.com/cottagecutzbelievewhollyflourish.aspx

http://www.scrappingcottage.com/search.aspx?find=fancy+nativity+ornament


Friday, November 04, 2016

LAYERED MINIATURE CARD

Hello Everyone

It's Anita here with new Christmas inspirations.
Today I have something which you all will love as these are quick to make but gives you really beautiful layered ornate cards.
CottageCutz has some really awesome dies that compliment with each other to give you a multi layered card. All one has to do is place them well on the card.
The card shown here is a miniature card not bigger than 5 inches by 3 inches.
I have used many dies here and the step by step pictures below will give you an insight as to how I have worked on it.
 Let us have a look at the card first.


These are the dies used for making the card- CottageCutz Fancy Victorian Frame, CottageCutz Oval Doily and frame, CottageCutz Holiday Greenery, CottageCutz Cross stitched Oval and CottageCutz Leaves and stem


 Cut all the die cuts as shown.


Make an aperture card from Cross  stitched oval die. Cut out the coordinating die from oval die and apply foam tape.


Layer the die cuts as shown.

Make cuts in the Victorian frame as shown

Adhere the die cuts in layers as shown here.

The finished card.

 CottageCutz Dies Used.