Sunday, November 06, 2016

Winter Snowmen

Hello everyone,

It's Donna here with another one of the newest Christmas CottageCutz dies that was released in August. If you missed it, you can find the collection here Christmas 1, and Christmas 2 . I am using the adorable Winter Snowman die.  There is only one die, but I wanted a boy and girl so I used pink on one of the snowmen and added some eyelashes to make her a "snowwomen".


How I created my card:

1. A2 size card 4 1/4 x 5 1/2,

2. I cut all my pieces out,

3.  I adhered all the pieces together,

4.  I embossed the card base,

5.  Added my design paper,

6.  Die cut the cross stitiched circle die,

7.  Added the snowman and snowwomen on the circle,

8.  Added my sentiment.

Thanks again for stopping by, please stop over at the Scrappin Cottage blog to see all the beautiful designs from the other design team members. Don't forget about our newest challenge that is running right now. The theme is holiday and here is a link for more information.

CottageCutz Dies used:


Saturday, November 05, 2016

Fancy Nativity Ornament


Hello Scrapping Cottage friends! Thanks for taking the time to stop and visit today. It's Mary Marsh here bringing you the Saturday edition of the Blog. I can't believe that the first week of November is already a wrap. Time is marching on and getting closer and closer to the Christmas rush.

If you haven't started your cards yet, I have one to show you today that would be easy to mass produce. You could use any stamped background or even leave the background plain for a more simpler card.

So let's get started with some details on how I created my card.
White Card Base: 4 1/4" x 5 1/2"
Navy Blue Image Layer: 3 1/2"" x 5 1/2"
Silver side layers: 3/4" x 5 1/2"

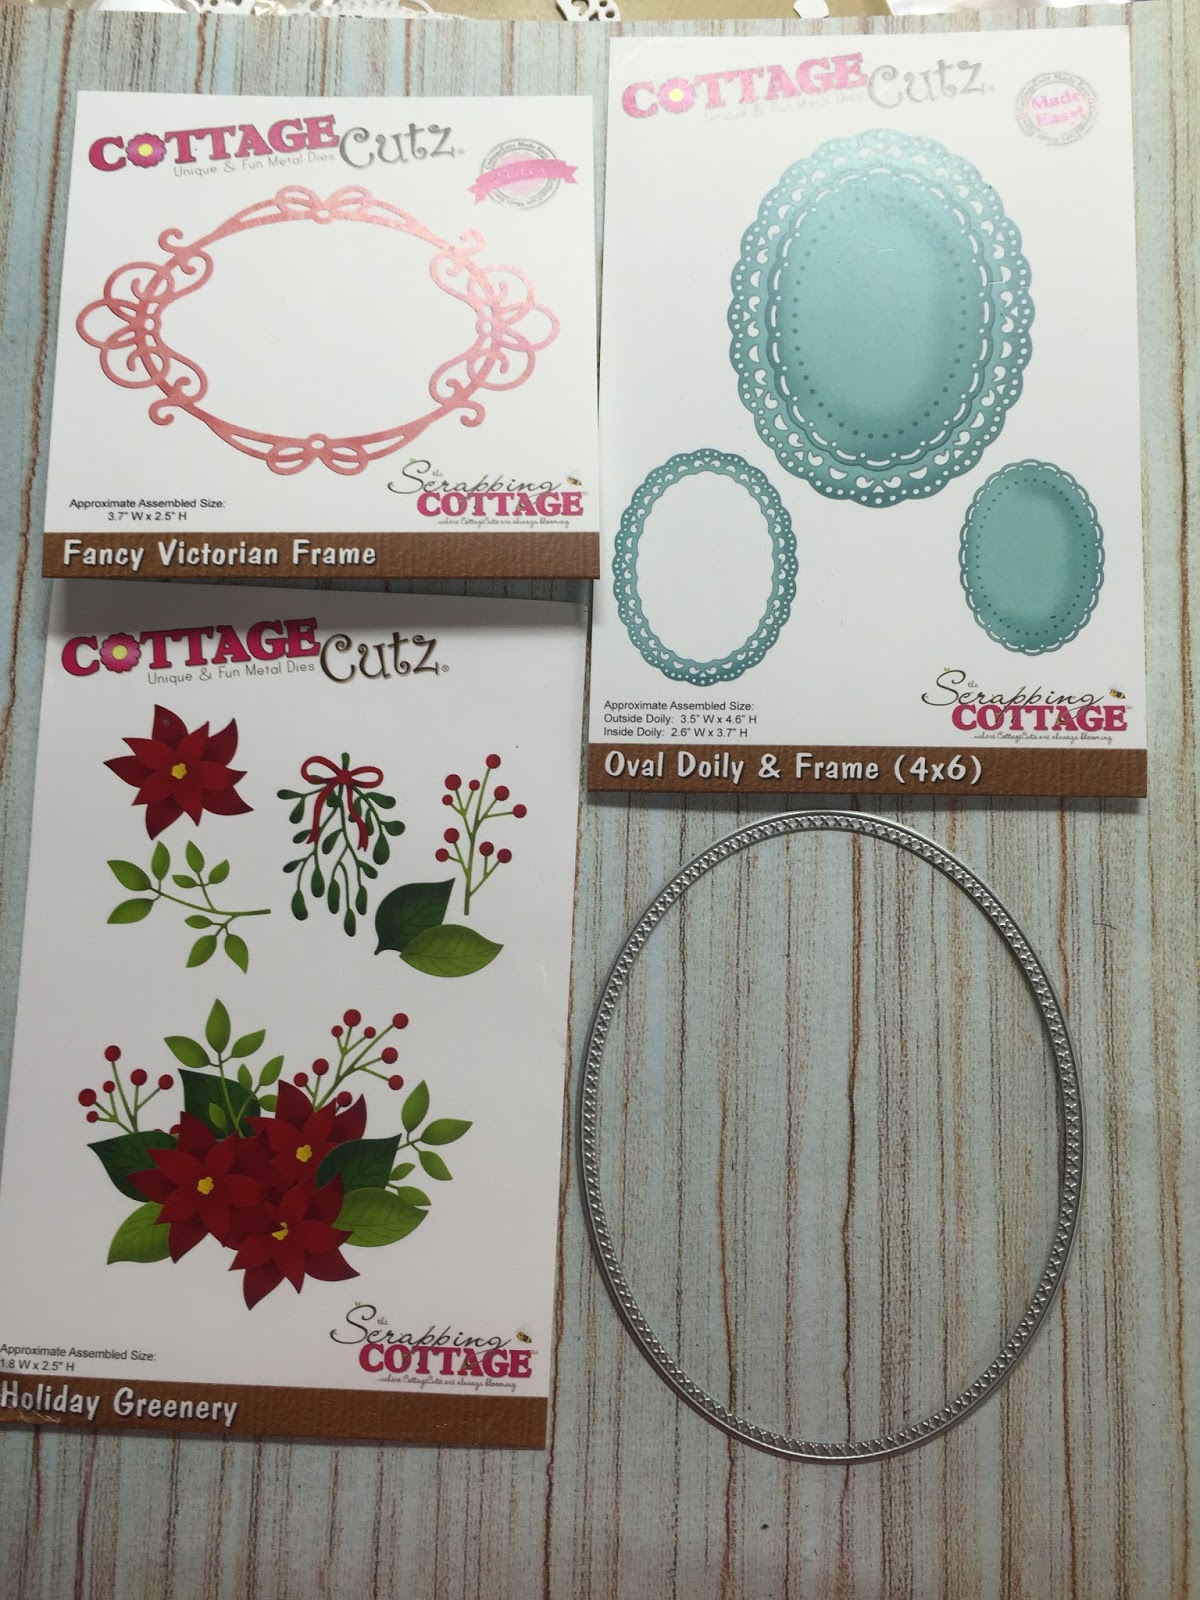
My card this week is using the Fancy Nativity Ornament and the Believe with Holly flourish dies. As soon as I saw both these dies I knew I had to have them. It demonstrates in such a beautiful way the real reason we celebrate Christmas.

I started by cutting the ornament and believe word in a silver glimmer paper. I use the Sizzix Precision Base plate to cut the ornament because my Big Shot is older and sometimes needs a little help. You could also use some freezer paper or the universal shim plate that is carried in the online store. Both these dies cut so nicely and release from the die easily.
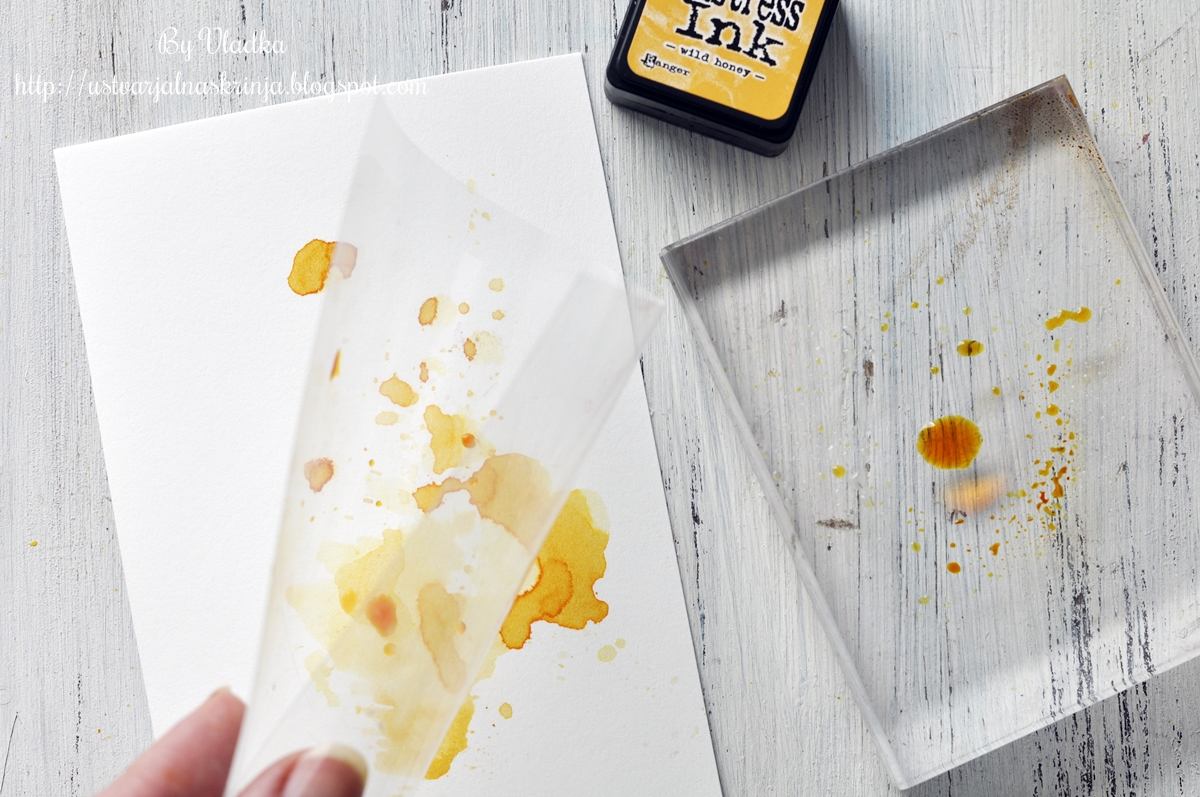
Next, I stamped my starry background. I like this background stamp and the explosion of stars that surround the ornament. That's how I imagine the heavens reacted on the night Jesus was born. I stamped with Versamark ink and then used a white embossing powder.
 
Once the background was finished, I added my ornament and the believe word. I like the contrast with the dark blue background and the silver glimmer paper.
 
Here are some close up shots of the Nativity Ornament and the Believe word. I cut 2 silver pieces of cardstock 3/4" x 5 1/2" to add to each side of the image panel. I wanted some definition here and also added card interest. By cutting the strips the way I did, it saves on your cardstock.
 
 
My final step was to add this image panel to the white card base. I also used foam mounting tape to lift the image panel away from the card base. Just another way to add character to your creation.
Well, that's it for me for this post. So until next week.......inky hugs.
 
 
http://www.scrappingcottage.com/cottagecutzbelievewhollyflourish.aspx

http://www.scrappingcottage.com/search.aspx?find=fancy+nativity+ornament


Friday, November 04, 2016

LAYERED MINIATURE CARD

Hello Everyone

It's Anita here with new Christmas inspirations.
Today I have something which you all will love as these are quick to make but gives you really beautiful layered ornate cards.
CottageCutz has some really awesome dies that compliment with each other to give you a multi layered card. All one has to do is place them well on the card.
The card shown here is a miniature card not bigger than 5 inches by 3 inches.
I have used many dies here and the step by step pictures below will give you an insight as to how I have worked on it.
 Let us have a look at the card first.


These are the dies used for making the card- CottageCutz Fancy Victorian Frame, CottageCutz Oval Doily and frame, CottageCutz Holiday Greenery, CottageCutz Cross stitched Oval and CottageCutz Leaves and stem


 Cut all the die cuts as shown.


Make an aperture card from Cross  stitched oval die. Cut out the coordinating die from oval die and apply foam tape.


Layer the die cuts as shown.

Make cuts in the Victorian frame as shown

Adhere the die cuts in layers as shown here.

The finished card.

 CottageCutz Dies Used.


Wednesday, November 02, 2016

Let it snow

Hi, Janja here!

Thank you very much for all 34 beautiful cards and projects you've made for Challenge #7. Two lucky winners will be announced at the end of this post. 
So, stay tuned.

We have entered into the penultimate month of the year. Snow has not yet surprised us, and therefore I took care today for thick snow cover.


For the card we need:
- white card base: 5.3 x 5.3" (13,5 x 13,5 cm), folded
- patterned paper: 5 x 5" (12,7 x 12,7 cm)
- white and color cardstock
- Distress ink: Iced Spruce, Mowed Lawn, Tumbled Glass

Trim patterned paper and white cardstock for the card base. Also prepare a strip of patterned paper. Tear it with hands.
From white cardstock cut out jingle bells and oval with the 2nd die from oval set. Stamp "Let it snow".


Even today will not go without snowy trees. Shadow some of them with Distress ink and paste a snow. The other are left white.


Cut out adorable snowman with a winter snowman die.


On the background first attach white spruces. Put snow-covered spruces on them with self-adhesive foam pads. Attach the tape from patterned paper and put a snowman with jingle bells on it.
Apply glitter on the jingle bells and snow-cowered spruces.


---------------------------------------------------------------------------
And now is time to see who the two lucky winners are.
 
1st Gift certificate value of 50$ goes to Kaleidoscope Creations. Her card was linked under number 16:

2nd Gift Certificate value of 25$ goes to Just Jill. Her card was linked under number 10:

Congratulations!

Please, contact Joanne at scrappingcottage@cox.net 
to claim your Gift Certificate. 
---------------------------------------------------------------------------------

Thank you for coming over and have a great day.


Monday, October 31, 2016

Feathers


Hi, Vladka is here!

Today, I have "just a note" card, where I used this cute little Feathers. And I also have a note for all of you. This is actually my last post here on CottageCutz blog. I loved to work with all these great dies and it was real honor for me to work for such a great company. But I need time for other things in my life now. It was not easy decision to make. I want to thank you all for all your comments and support through all these years. And of course I will continue to use CottageCutz dies and you are more than welcome to visit my blog and see what I will create with them in the future.

And now is time, to check my card.


Basics:

White card base: 4 1/4 x 6 inches (cut 4 1/4 x 12 inches, fold in half)
Additional piece of white cardstock and some white cardstock to cut out the die cuts. 

Other Supplies:

CottageCutz Dies: Listed Below
Distress Ink:  Brushed Corduroy and Wild Honey
Other: Scissors, Paper trimmer, Sizzix machine, acetate, acrylic block, gold spray

1. First, cut all three feathers out of white cardstock:


2. Apply Brushed Corduroy and Wild Honey distress ink on acrylic block or any other smooth surface, mixed it with little water and color the feathers. Use paint brush for coloring. Let it dry.


3. In this step use just Wild Honey distress ink and pressed feathers against the block  to pick some of the ink...


... so, you will get such splodges:


4. Now it is time for smooshing. Take a piece of plastic acetate and gentle pressed it against the block to pick up some of the ink. Now, press the plastic on the paper to transfer the ink. Put paper aside to dry or use heat gun to dry it:


5. Stamp "Just a little note" or any other sentiment on additional piece of paper and use third biggest rectangle from Cross-Stitched Rectangle Set. Put rectangle on the paper as seen on the photo and cut it out.


6. Now use second biggest rectangle die and put it on the rectangle which you cut out in previous step. Cut it out again to get little paper frame.


7. Now glue additional piece of paper on the card base diagonally as shown on the photo. Cut off the upper and left corner of paper to fit the card base.


8. Glue also little paper frame and all three feathers and flick some droplets of gold shimmer spray and let it dry. Card is now finished.


And here is the finished card again:


Have fun creating!