Happy Monday friends!
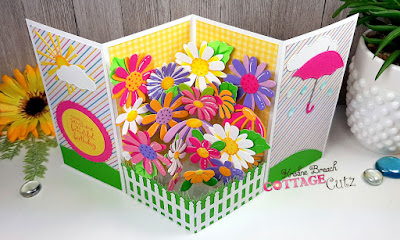
Kris here with a fun and easy card fold that was a first for me, but certainly won't be my last as I had too much fun with this one! I thought this was perfect for the new
Flowers in the
Strawberries & Bees Release! I hope you will craft along with me in today's tutorial!
Here are a couple of photos to get us started. It's easier than it looks and you can make it as simple or detailed as you wish. ☺ This is a 6" square card when folded - and yes it does fold flat to put in an envelope!
CUTTING AND SCORING:
White Cardstock:
(1) Cut 6" x 12" - score along the 12" side at 3", 6", & 9"
(1) 5" x 1/2" - score at 1/2" and 4-1/2"
(1) 4" x 1/2" - score at 1/2" and 3-1/2"
(1) 2" x 1/2" - score at 1/2" and 1-1/2"
Acetate (or you can opt for green cardstock):
(5 or 6) 11" x 1/2"
Patterned Paper:
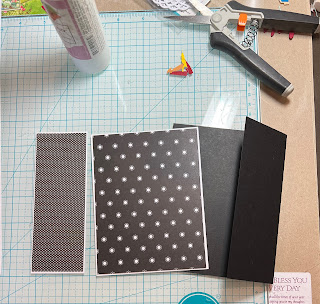
6 pieces (2 of each pattern - 4 on front and 2 on back): 2-3/4" x 5-3/4"
Green Cardstock:
Cut (1) 6-7/8" x 2-1/2" and score 1/2" , 3-7/16", and 6-3/8"
(if you want, you can cut the top of that piece with the grass die)
Dark Pink Cardstock:
Yellow Cardstock:
Purple, Lavendar, Light Pink, Light Orange Cardstock (or colors of your choice!):
HOW TO:
1. Fold and burnish your score lines on card base so that the middle score is a valley fold and the 2 ends are mountain folds.
2. Adhere your patterned papers to the 4 front panels
3. Adhere 2 more to the back panels. Leave the middle panels white for your written (or stamped) message. (If stamping on it, do it now as it will harder to stamp evenly after your get your flowers on the front side.)
4. With your green middle piece, miter the top edges of your 1/2" flaps as shown below. You can choose to cut the top with the grass die, leave it straight, or cut it down so it's not sticking up above the fence. I trimmed my fence down to fit the width between the flaps of the green layer.
5. With your 3 pieces of 1/2" white strips, using the edge of a bone folder (or other object) run it between the scored lines (like you would with curling ribbon and scissors) to make the strips curve.
6. Flattening out the strip just a enough to attach it, glue the flaps across the middle of the backside of your grass piece so that the middle lines up with the scored line of your grass.
7. Glue flaps of the next largest strip and place it directly on top of your first strip, flattening it down and repeat for the 3rd strip. It should look like this when standing up.
8. Add glue to side flaps of grassy layer and adhere to bottom center of card while it's laying flat. The sides of your grassy layer should be just short of the score lines on card base.
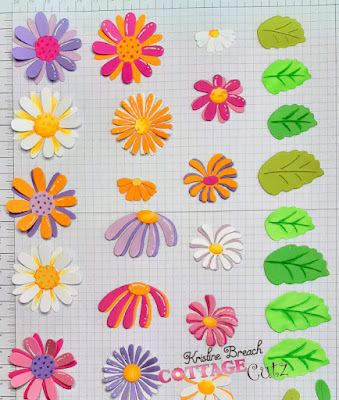
9. Color your flowers, adding highlights, etc. You'll want to color some of those white pieces like the flower centers yellow, and the leaves green etc.
10. Glue your pieces together.
11. Attach acetate strips to the back of your flowers. For the back (tallest) flowers, I cut my strips to 4-3/4" and added Score Tape to the bottom fronts of the strips. Then I attached them BEHIND the largest curved strip in my card.
12. For the rest of my flowers, I held the flower in the placement I wanted, marked it with my thumb and pulled it back out and cut the strip where my thumb was. Then added Score Tape to the bottom and attached the flowers.
*** You'll want to alternate which side your put your Score Tape on as some flowers will be attached to the BACK of the curves and some will be attached to the FRONT of the curves. Continue until the whole section is filled in with flowers.
13. Adhere your green hills, sun, clouds, umbrella and sentiment pieces as shown below.
OPTIONAL - create a belly band to help hold the card together!
1. Cut a white strip 12" x 2-1/2" and wrap it around the middle of your card loosely. Should not be scored first, or wrapped too tightly as you want to be able to slip it off. The ends will not quite meet in the middle and that's ok.
2. Cut (2) pieces of patterned paper 2-3/4" x 2-1/4" and attach to the front side ends of your strip
5. Attach blue scalloped circle to the wrap, making sure not to add glue to the very center of the circle or you'll glue your belly band to your card!
6. Attach white circle to the blue and embellish with another flower.
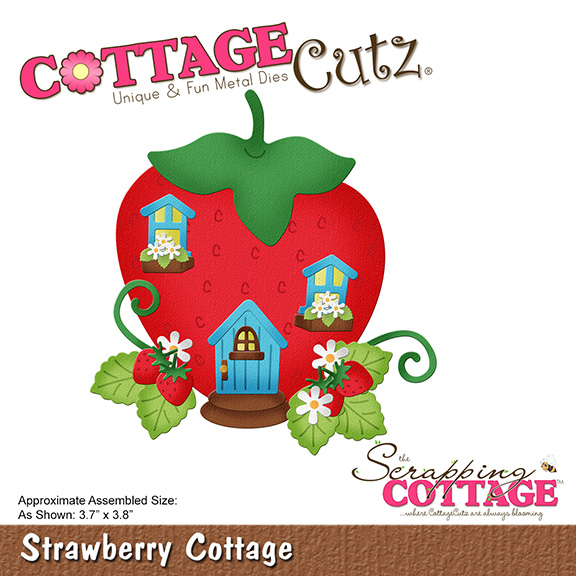
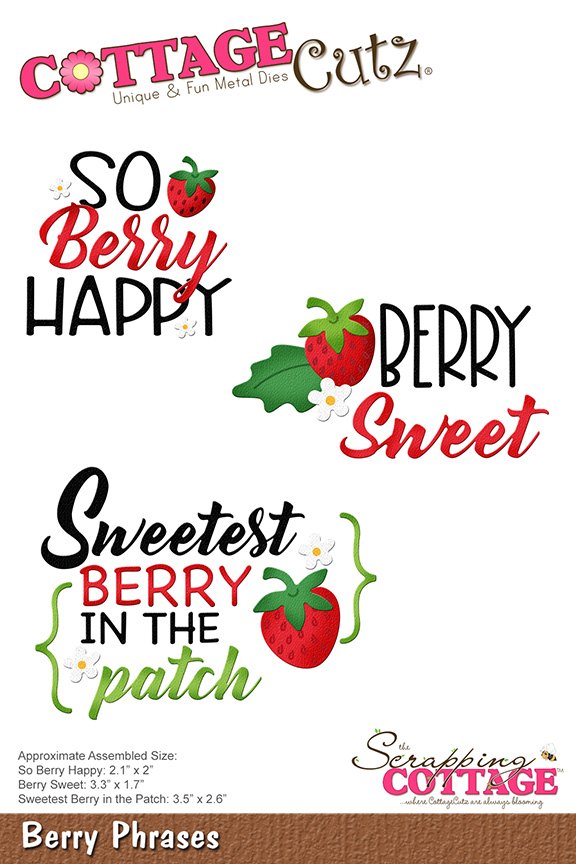
PRODUCTS I USED:
And here's the whole release!
Thank you so much for being here today! I hope I've inspired you to try this or something else with this fabby release! Have a wonderful week :)
~Kristine


