Good morming Cottagecutz fans I hope your week is going well so far. It's Wendy bringing you the blog today.
So the card I'm posting today includes a light tutorial as my Friday posts are full tutotrials
So to begin with I took a white slimline card and used the 'Clouds Slimline' as a stencil. So you cut the die in white card and you can use this to ink onto your card. I start part way down the card and then move up the card. As the die is so long you really change the way the clouds sit on your card.
I then cut the 'Grass Slimline' twice. I mae sure that there were 2 different layers to make it look more realistic. I stuck the first piece down with glue and the second layer with 1mm 3D foam pads.
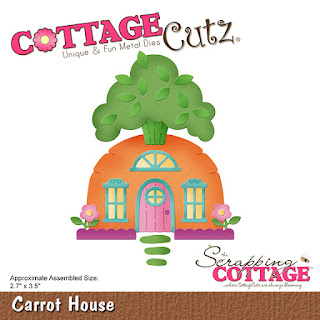
Next I cut out the three houses. the 'Carrot House' the 'Hello Spring Bunny Cottage' and finally the 'Spring Gnome Cottage. I assembled all elements from the dies. The dies as I have mentioned before are so intuitive it makes it easy to put together your houses. I made sure that I gave the houses some 3D elements by using 1mm foam pads on the windows, doors, and of course that cute little grey bunny in the 'Hello Spring bunny' house. Once assembled I added them to the card with 3D foam pads.
I took some elements to finish off the card as follows:
- Tulips from 'Spring sheep die'
- Chick from 'Miss Spring Bunny die'
- Sign from 'Spring Chicken die' - I stamped a sentiment on this
- Sun from 'Campin Out Sun and Moon'
I do hope you like the card. This took me less than an hour to pull together so I hope you will give it a try. Remeber to add some 3D elements such as small flat back pearls for eyes, noses and flowers. It just makes the card extra special. i wish you a wonderful week and I will see you Friday with another Easter inspired card.
Dies I have used:
Please don't foget to check out our YouTube Channel for more great designs


