Friday, January 28, 2022

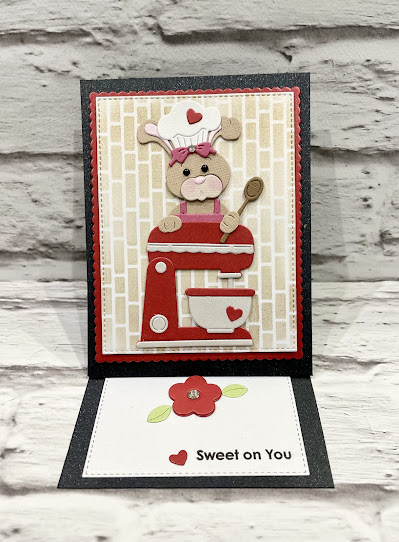
Sweet on you easel card


Happy Friday, It’s Wendy bringing you the blog today. I hope you’ve all had a wonderful week and have plenty of time planned for crafting this weekend.

Today, yes I’m bringing you another easel but I really think they have a super impact for the recipient.

This is a Valentines card and I was really inspired by Pam’s colour on her card yesterday. What an impact red, black and white can have

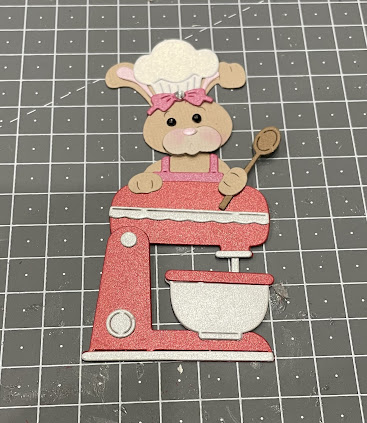
Anyway, right to the card. I’m not going to show you every item I’ve die cut as I think that technique is more important. I die cut all the elements from the ‘Sprint Bunny Baker’ die and assembled. Here she is in her crowning glory. I thought the mixer looked very much like my cake mixer so used the colours from mine. Don’t you just love the little bow. I couldn’t help but pop a gem on the top. I also gave her pink cheeks with some chalk


Next I took the largest ‘Stitched Rectangle’ in white card. Once cut I wanted to add some brickwork to the background, to I took a stencil and added some ink with a brush. I have a tool that allows me to pop the stencil on the card with magnets so the card doesn’t move. I wasn’t fussed whether the ink was darker in some places so just take your time and find your happy design


Once inked, here is the finished piece of card 


Next I took the largest of the ‘Stitched Scalloped Rectangles’ in red card and attached my piece of inked card to it with 1mm foam pads. I also attached my assembled bunny to the card with 1mm foam pads


Next I took a piece of black card measuring 10” x 4” and scored in hall. I also cut another piece of black card measuring 5” x 4” for the front of the card. You’ll notice that I scored the front of the main card in half and then attached my other piece if card to the bottom part only to get my easel


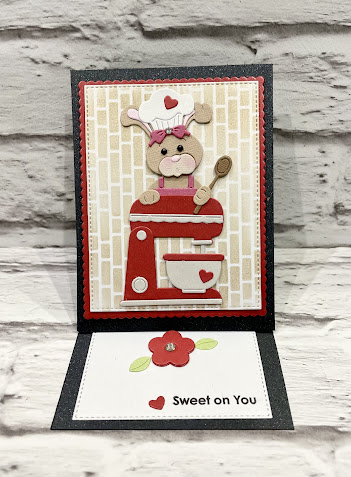
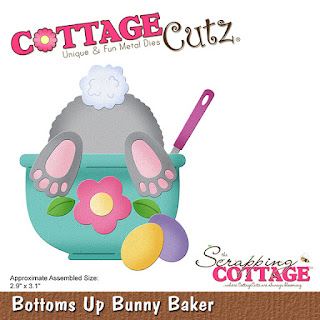
To finish I attached my other piece of completed card with the bunny to the front. To keep my easel standing up I used the flower from the ‘Bottoms up Bunny Baker’. I cut it 3 times and layered it up to keep the card standing up.

I added some extra embellishments like a pice of white card on the bottom card with a stamped sentiment. I also went through my stash of Cottagecutz dies and found a suitable heart and popped this on the bunny’s hat, the mixer and then next to the sentiment and we are all done!


I really enjoyed making this card and I hope that you like it and it’s given you some inspiration to make your Valentine’s cards.

So I wish you  a wonderful weekend of crafting happiness and I will see you on Tuesday for another project.
Hugs, Wendy


Dies I used:


Please don’t forget to check out our YouTube page as there are designs being added frequently 


Thursday, January 27, 2022

Valentine Bunny

 Hi Friends,

We have a new Spring release with 20 sweet designs.  The bundle for the entire release is at 60% off right now.  And individual dies are at 25% off.  Just check it out HERE.  

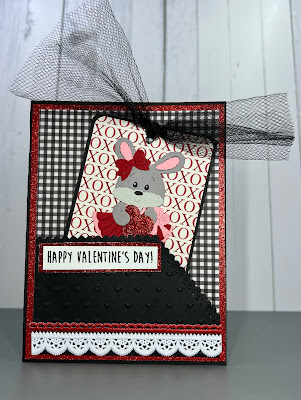
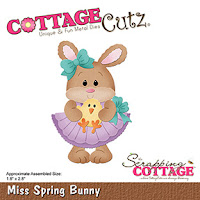
I am using the Miss Spring Bunny today.  And to show you how versatile these dies are I am using it as a Valentine.  

Design Steps:
1.  The supplies for the base: A2 black card base,  red glitter card stock 4 1/8 x 5 3/8, Checked DP 3 5/8 x 4 7/8,  pocket 2 1/2 x 3 5/8 embossed with little hearts
2.  Glue the red glitter paper to the black card base, glue the checked DP to the red glitter card stock, and finally add the pocket only putting glue on the sides and bottom so it will open on the top
3.  Add the white and red trim to the bottom of the pocket as shown above
4.  Using the Miss Spring Bunny cut out the pieces in red, light grey, dark grey, pink and black
5.  Assemble the bunny with a fine tip, fast drying glue.  Add the little white dots on the eyes with a gel pen
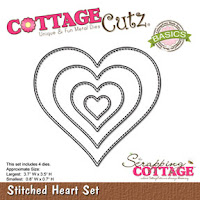
6.  Cut out the pieces for the tag black is 2 3/4 x 4 and the DP is 2 1/2 x 3 3/4.  Glue the pieces together and punch a hole in the top.  Add the black tule and tie a knot.  Using the Stitched Heart die set the smallest one cut a little heart out of glitter card stock.  Place the heart into the bunny's hands as shown below.  Stamp your sentiment and layer onto some red glitter card stock and your card is complete
CottageCutz Products


Don't forget to check out the new Spring Release.  It is perfect for Valentines, Spring Birthdays and of course Easter!
We have more inspiration on our YouTube Channel check it out HERE
Thanks so much for stopping by!  And I will see you next Thursday.

Blessings and Take Care
Pam

Wednesday, January 26, 2022

Bottoms Up Bunny Baker


It's about that time of year when we are longing for all things spring.  The new Cottagecutz "Spring Release" is packed full of adorable dies you need to create your spring and Easter cards.  Head over to "The Scrapping Cottage" to see all of the dies in this fun release.

Bunnies are my favorite animal, and this "Bottoms Up Bunny Baker" die is no exception.  If you need to send sweet birthday wishes this mini slimline is for you.  If you're looking for some inspiration, I'm sharing this card over on the CottageCutz YouTube Channel.  I'll be giving this die away, so I hope you join me for a chance to win.


Tuesday, January 25, 2022

All aboard the Easter Express


Good morning Cottagecutz fans. It’s Wendy brining you the blog today. I hope your week is going well so far. We still have the new spring dies on offer at 60% off the entire bundle and you can find them here

The card I’ve made for today was such fun to make. The dies are absolutely stunning and I just had to use them. 

To begin with I took a slimline card and used the ‘clouds slimline’ die as a template to create the sky on the card. You cut out a small line of clouds and then use a distress ink over the stencil with a soft brush or whatever you feel comfortable with. Start part way down the card and then layer up from there. I think I used 3 layers of clouds in total.

Next I took the ‘Grass slimline dies and cut 2 pieces. The first piece I glued down but the second piece I attached to the card with 1mm 3D foam pads for some dimension,

I then cut a very fine sliver of brown card so that the trains look like they are on a track. I just glued this straight to the card.

So to create the train I cut out the ‘Bunny Express Engine’ and the Bunny Express Carrot Cars’ I tried to stick to the colours on the die packet ad the are beautifully coloured. Once assembled, I stuck them to the card with 1mm foam pads. The dies are really intuitive so its really easy to pick out the parts you need to cut

I used the little chick die from ‘Miss Spring Bunny’ as he is super cute and he sits at the back of the train. I also used the trees from the Campin out release and dotted these around the card after the train was assembled.

I loved the sign I used on a card last week that said ‘Easter Blessing’ so I used it again on this card.

I really hope that you like the card and take the plunge to make a super sweet card this Easter

Hugs
Wendy


Dies I used:


The CottageCutz YouTube channel is in full swing with new designs added periodically!


Monday, January 24, 2022

Easel Card

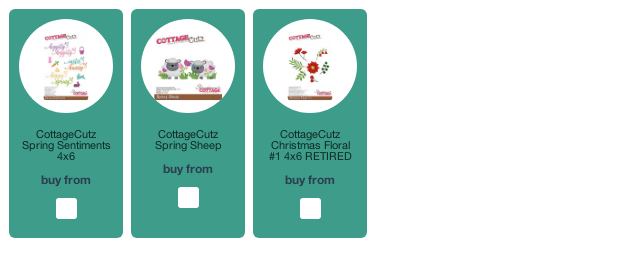
Hi everyone and welcome to another Monday with Monica!  Today I am sharing a fun and bright card using Spring Sheep along with other fun die sets. 

I went with a fun easel styled shaped card so I could different dies to the layers or are they called steps... anyhoo I thought this would make the card fun
I diecut my sheep and actually could not not ONE piece of gray paper for my sheep's face so I am literally looking around everywhere for something gray and found the manual to a new tv I just bought and used the cover hahahha as they say you can almost use anything for crafting right!

and omg I knew this die was cute but does anyone see that the ends of the sentiments are BUNNY EARS! omg I noticed them and man how cute is this you truly must buy this set in order to see how really cute these sentiments are!  The gold foil paper really brought out the cuteness..
I used flowers from the Christmas Floral 2 set to make some bright flowers that added on the side to give my card a fun spring look and I hope everyone enjoyed my post and...


In case you didn't hear, The CottageCutz YouTube channel is up and running.  Head over and check out the latest video! There is a giveaway for subscribing too!


Sunday, January 23, 2022

Happy Spring Kitty with Envelope Card- New Spring Release

Happy Sunday Scrapping Cottage friends!
Melinda here with you today. I am super happy to be sharing a little spring inspiration featuring dies from the new SPRING RELEASE! Today's project is a fun and cheerful card. Take Look!
The finished card is a top folding US-A4 card base. I used some regular white cardstock. 
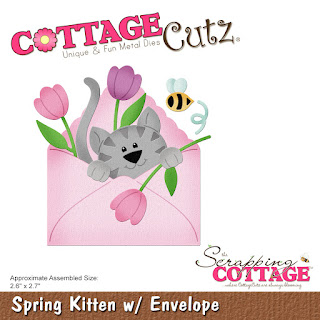
The main focus of my card is the adorable new Spring Kitten w/Envelope Die. It is part of the fantastic new Spring Release! I started by cutting out my die pieces in white cardstock. I then colored my various pieces in with my markers. I did also cut out the pieces in a light yellow cardstock as well as a patterned paper from Doodlebug. 

Here's a quick look at the envelope pieces in the yellow and patterned paper.

I decided to make a "liner" for the inside flap of my envelope with the patterned paper. I simply cut off the flap and then slid it under the yellow envelope piece. I then started building the scene by adding that adorable little kitty.

I assembled the kitty holding the flowers and added that onto the scallop stitched rectangle with a patterned paper mat. I then used the largest scallop stitched rectangle in the same die set and added a floral patterned paper mat to that. I layered them onto the background mat. To finish off my card I added the Happy and Spring Sentiment from the Spring Sentiments die.


Here is one last look at my finished card.  I think it turned out adorable. Full of springtime happiness! I am looking forward to spreading some cheer to a friend who could really use some!


The Dies I used to create this project:


I used the Stitched version but those are not available. These are a great alternative.

In case you didn't hear, The CottageCutz YouTube channel is up and running.  Head over and check out the latest video! There is a giveaway for subscribing too!


Well that about covers it for today! Until the next time, have a wonderfully crafty day!
Melinda Beltran