Saturday, January 01, 2022

2021 Faves (Part 2)

Hello CottageCutz friends! Thanks for taking the time to stop and visit with us today. It's Mary Marsh here bringing you the Saturday edition of the Blog. 

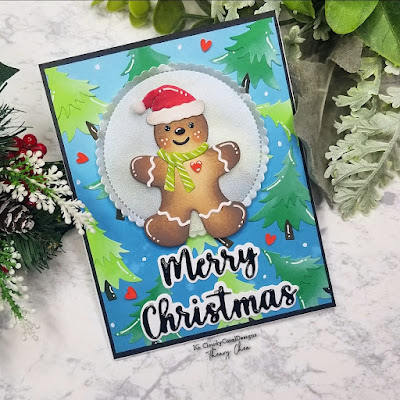
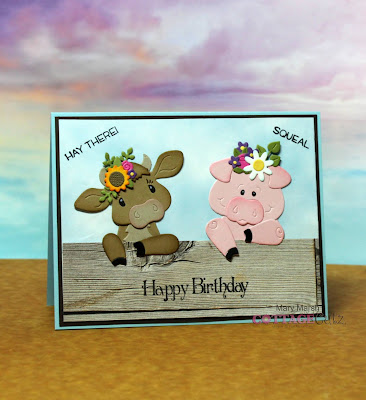
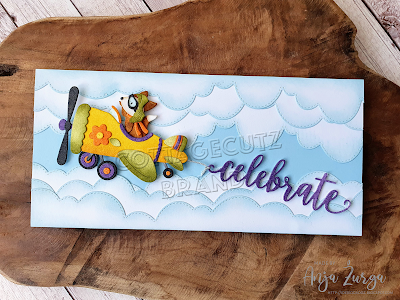
It's the first day of 2022, and I thought I would feature some of our favorite cards from this past year. The dies used to create the cards are all on sale at great prices through January 5, and I have provided a link to the die used.

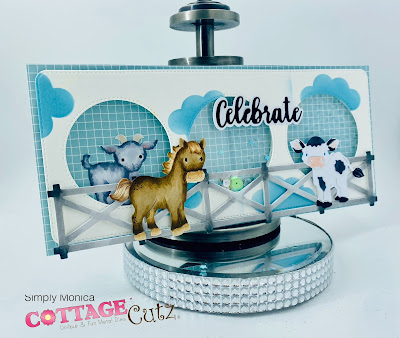
September (Baby Farm Animals)

That's some of the cards from this past design year. Hope you enjoyed our little look back at 2021. Happy New Year everyone!


Friday, December 31, 2021

2021 Faves (Part 1)


Hello CottageCutz friends! Thanks for taking the time to stop and visit with us today. It's Mary Marsh here bringing you the Friday edition of the Blog. 

It's the last day of 2021, and I thought I would feature some of our favorite cards from this past year. The dies used to create the cards are all on sale at great prices through January 5, and I have provided a link to the die used. 
January (Juggling Monkey)
February (Safari Giraffe)

That's some of the cards from this past design year. Stop by tomorrow for another round of year end faves. 


Reminder:  Our YouTube channel is up and running again with videos on Wednesdays. We are having a giveaway to celebrate the reopening. Check it out here.


Thursday, December 30, 2021

Banjo Playing Birthday Bear!

 Hello Scrapping Cottage Friends

 I want to wish you all a very Happy New Year filled with good health and many blessings!  

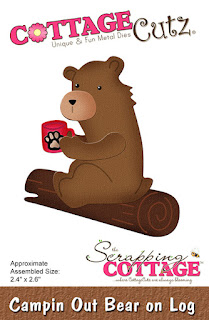
I have a birthday in January.  And he is a very special great nephew!  He will be turning 5 so I am making him this fun and festive card using the Campin Out Bear w/Banjo.  The Camping release can be used for a variety of different cards especially with all of those adorable critters.


Design Steps:

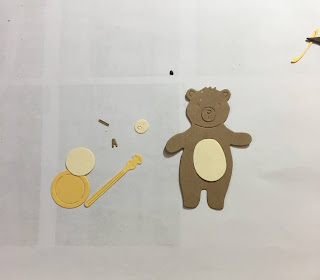
1.  Use the Campin Bear w/Banjo and cut out the pieces using dark brown, brown, tan, yellow, mint green,  and black
2.  Shade and assemble the pieces with a fine tip clear drying glue.  For the cup cake I used Pastry Goodies cut out of mint green and red
3.  Use a yellow A2 card base, 4 x 5 1/4 piece of Party Hat Dp and a Piece of Music Happy Birthday DP cut 2 3/4 x 4.  I also used a piece of yellow grosgrain ribbon
4.  Glue the Music DP to the bottom of the Party Hat DP.  Add the ribbon to the top of the music paper by taping it to the back.  Then glue the Party Hat panel to the yellow card base
5.  Using the Expressions Happy and Birthday cut them out of red
6.  Place pop dots on the back of the bear and the tree stomp and add them to the front of the card.  Glue the Happy Birthday to the bottom half of the card.  I added a little sparkle to the Happy Birthday and the icing on the cup cake with my Wink of Stella.  Your card is complete

CottageCutz Products


Thanks so much for stopping by!  I hope you have a great New Years Celebrations!

And just to remind you we have a wonderful YouTube Channel for more inspiration.  Check it out HERE

Blessings

Pam


Tuesday, December 28, 2021

Z Fold Campin Out


Good morning CottageCutz fans, I hope you are enjoying the festive break. If I see another turkey I think I’m going to explode. It’s Wendy bringing you the blog today and it’s a pyjamas and movie kind of day so I’m making most of taking it easy.

Today I’m bringing you a Z-Fold card. I’ve never made one f these before but there area. However, there are ton of tutorials on You Tube so check them out.

To begin with I assembled the Z-Fold card base and used the ‘Grass Slimline’ to cover the base. I then used the Farm Fence Slimline above which i thought look really cool.

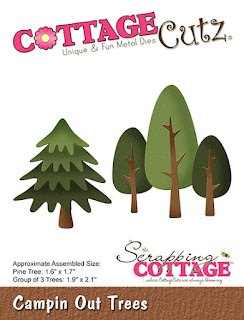
Next I cut out some of the trees from the ‘Campin Out Tress’ die and dotted them around the card. I used some chalk to make them look more realistic.

I then used the ‘Clouds Slimline die for the top of the card 

To finish I added the Moose and Reindeer by the fire with their mugs of hot chocolate. Also the mushrooms. I’ll list all the dies below

I really hope you like today card. I had fun making it. 

Enjoy the rest of the week and i will be back with a full tutorial on Friday
Hugs
Wendy


Dies used:


Monday, December 27, 2021

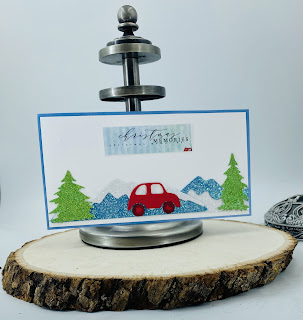
Winter Ski


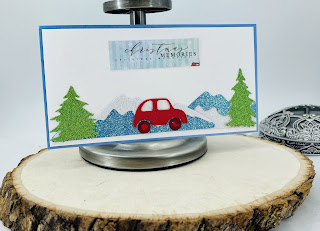
Hi everyone. I hope the Holidays was filled with love and lots of food. I am back sharing a card to close out the season today using Winter Ski trip. 
I used a variety of glitter paper to create layers for this card. I wanted to show how simple and clean you can make a simply buy using card the Cottage Cutz dies due to all the layers you get one one piece. 
I layered the mountains over each other to make it look like several mountains but alternated the colors. 

I hope you all enjoyed my post and I hope the New Year is amazing for everyone. I can’t wait to see what lies ahead. 


In case you didn't hear, The CottageCutz YouTube channel is up and running. We are featuring videos every Wednesday. Drop by and subscribe so you don't miss one and give us a thumbs up on our videos.


Sunday, December 26, 2021

Winter Ice Skate Decor Shadow Box

Happy Sunday funday Scrapping Cottage friends! 
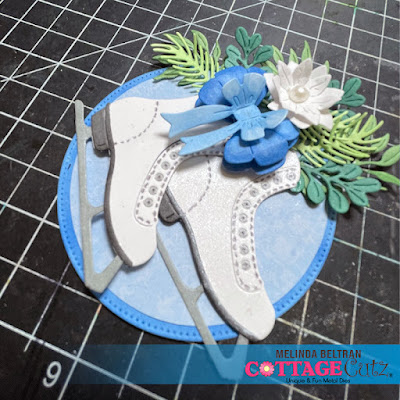
Melinda here with another fun project. I created this pretty winter mini shadow box décor piece using the Holiday Ice Skate Floral die set and the pierced circle die set.

I started by using this cute shadow box I picked up at the dollar store. I pulled off the helmet and then used some cardstock and a piece of patterned paper for the background.  I just cut them to size and adhered them right over the orange papered background.

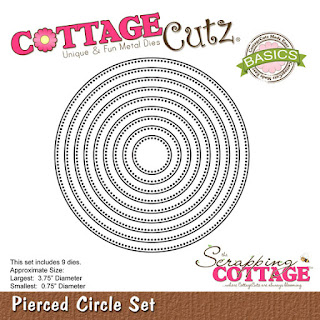
I die cut out the two largest circles from the Circle Pierced set. I didn't have the right color blue cardstock, so I used my marker to color just the edges of the smaller one. I then cut out a 3" circle using some patterned paper for an additional layer. 

Here is a closer look at the assembled foliage. I started by cutting them all out in plain white cardstock. I then used my various markers to color them in. I layered the bow with an extra base piece and some foam tape in between the layers. For the flower I just curled the petals and put a flat back pearl in the center. 

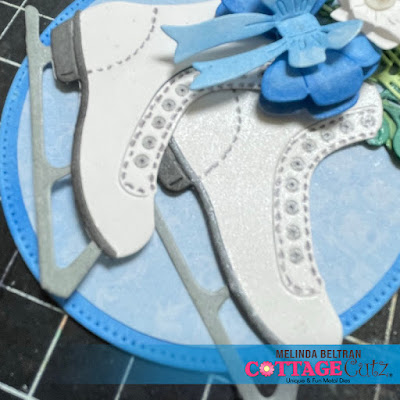
Here is a close up of the skates. I am trying to show you that I added some shimmery pearl chalk to them. The are super pretty in person. Here if you look closely you will see the shimmer on the right skate. The left skate doesn't have the shimmer yet for comparison.

Here is my assembled piece. Ready to go into the shadow box.


Here is another view of the finished piece. It will sit on my entrance table with the rest of my wintery décor for this wintery season.

The Dies I used to create these projects:


STOP THE PRESSES!!!!
DID YOU SEE COTTAGE CUTZ ARE ON SALE FOR A LIMITED TIME!
HEAD OVER AND SPEND SOME OF THAT CASH FROM SANTA AND PICK UP SOME GREAT DIES AT UNBEATABLE PRICES!!!!


In case you didn't hear, The CottageCutz YouTube channel is up and running. We are featuring videos every Wednesday. Drop by and subscribe so you don't miss one and give us a thumbs up on our videos.

Until the next time, have a wonderfully crafty day!
Melinda Beltran