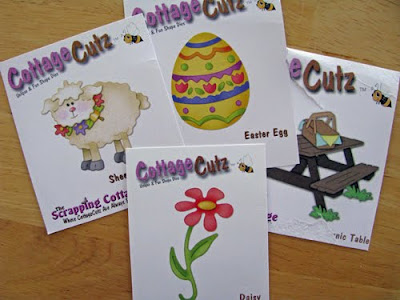
This is the CottageCutz die I am showcasing today.

I added a blue bow to my CottageCutz Mini Chocolate Bunny to go with my "boy" layout. A perfect accent for my Easter photo.
Thanks for taking a look!
Karen

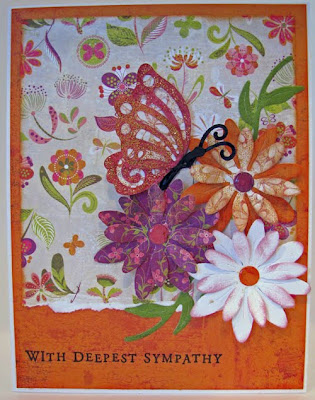 As I used this Daisy I was so impressed with how well it was created. It is the closest thing to buying your flowers already made. They can be layered as I've done here or used single with several possibilities for the center. I chose to use the middle sized center and apply a little Glossy Accents. This is one of my top die recommendations because of the versatility and look of these awesome flowers. I made some of these flowers for a layout as well and punched a hole in the center and used velvet brads for the middle.
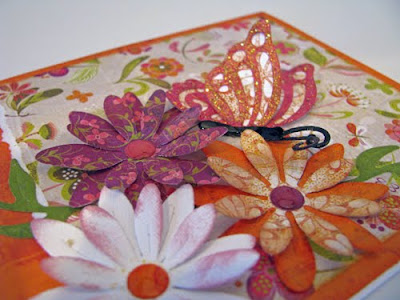 There is so little effort to make them pop and give this 3D look.
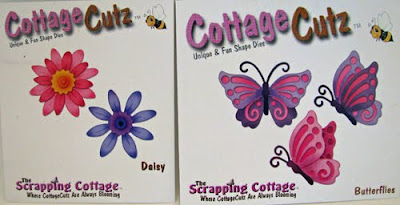 So whether you're making a spring card or layout, birthday, thank you or sympathy card these dies are perfect for so many occasions.
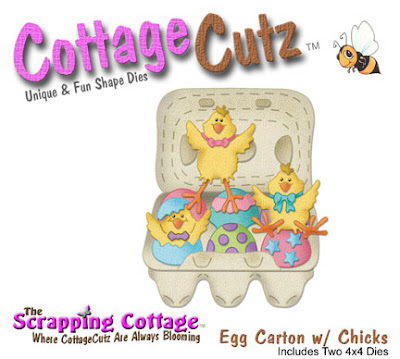
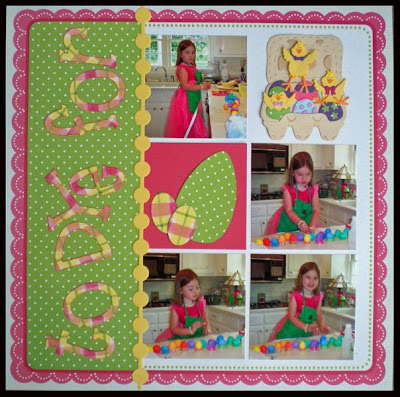 Here is a close up shot of this adorable Egg Carton Shape. So many fabulous details on this shape! I used my Copic markers to add some details and shading on the chicks and egg carton. I also used some pop dots behind a couple of the chicks to give a 3-D effect.
The March Spring Cottage Cutz release has now started shipping so join us next week as we begin showcasing dies from this release. I don't know about you, but I can't wait to see new projects using these Spring dies! Until then, have a Happy Easter!!

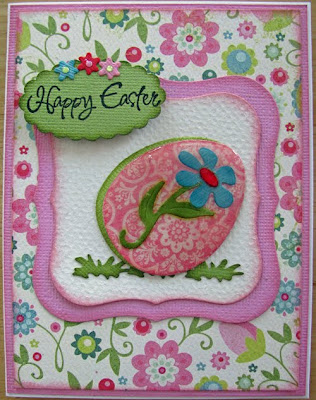
 I took the Easter egg die and cut it from patterned paper and then cut another one from limeade Bazzill cardstock. I inked the edges of both and then cut out the mini Daisy and inked that and glued it to the egg. I then took Glossy accents and covered the whole egg with it.
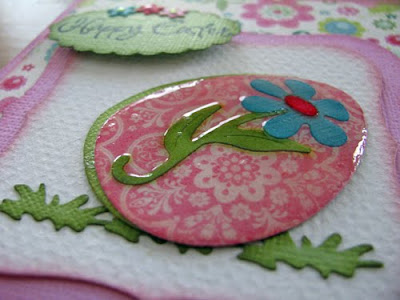 I used the grass from the Picnic table die and the little flowers from the Sheep w/flowers die.
 I hope this helps you to think outside each individual die and think of the BIG picture when you create your next project.
 To give the eggs a little sparkle, I covered the eggs with Cotton Candy Distress Stickles. I think I will add a few pages to the end of my book for pictures from Easter 2010.
 I put the flower and the ribbon from the Watch For It Wednesday on the front of my book. In addition, I added several other pieces of ribbons to the rings.
 This will be my last post! It has been a pleasure to work with the wonderful ladies on the Design Team. Thank you to all the awesome Blog Followers who read this Blog. Happy Easter.
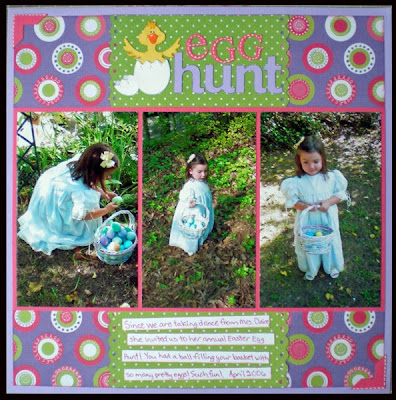
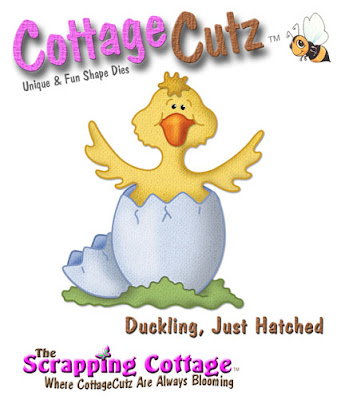 I am so glad I ordered this little duck! At first I wasn't sure how I was going to use it, but then I realized it is just so perfect for any Easter page I might be working on. I can see this little guy showing up a lot in my albums in the future.


 After the flower is completely covered with the ink put the Blending solution in the middle of the flower. This will give your flower a tie-dyed look. My picture really doesn't do this technique justice. You should give it a try.
  You can also use this technique on ribbon, glass, bottle caps and the pieces of your die cuts.
 Happy Scrapping!!! Have fun.
 I used the Cottage Cutz Duckling, just hatched and the flowers from the Cottage Cutz Spring Embellishments. The Duckling just hatched is a great addition to my layout and the die was s easy to use. Check back next week to see the completed book.
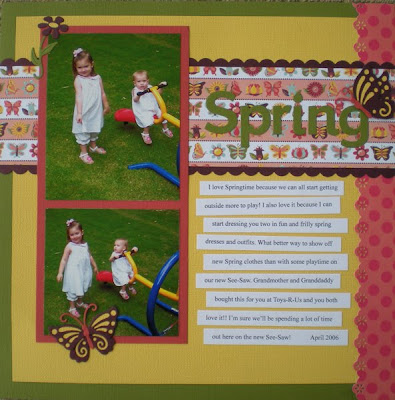 Be sure to check out the newest March Spring Cottage Cutz release!

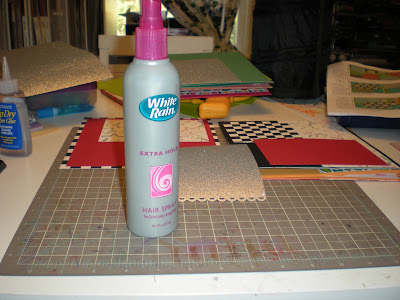 Position your paper so that you have protected the area around it from over spray. Hold the can about 8 to 10 inches away from the paper and lightly spray over the piece of glitter paper in a sweeping motion being careful not to stop over any one area. You don't want to get too much spray on the paper or it will become too sticky and "gunked up".
 This is the second page in my Easter mini Album. I used the truck die from the Cottage Cutz Autumn Release and put the eggs from the Spring embellishments in the bed of the truck. To enhance the flowers I added pearls to the center of my flowers.
 These Cottage Cutz dies are so versatile. I love how you can use parts from different dies to create your own die.
  The Daffodils die was the first one on my list from the Cottage Cutz Spring Release. Fortunately, the family from whom we bought our current house loved blooming plants. In our backyard, there is a ring of daffodils planted around an old bird bath. My girls love these daffodils! I try to make a point to take pictures of the girls with the flowers each year. Luckily, we have a fantastic "crop" each year because there is nothing my girls love more than picking flowers!
I hope you have a fun and scrappy weekend!!
ETA - We finally had a little sun today, so I was able to get a better picture!