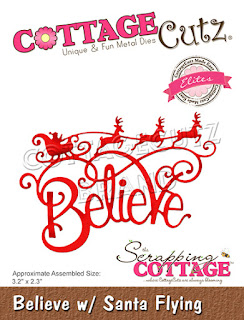
To start the card I cut all the pieces from the Christmas Pup w/Doghouse die using white cardstock. I also cut the star, dog bone bow and ornaments from gold foil cardstock. I used the same gold, backed it with an adhesive sheet and cut the Believe w/ Flying Santa. (I somehow forgot to take a picture of that!)
Using sponge daubers and ink I colored the pieces. I used two shades of green on the tree and two shades of brown on the doghouse.
I assembled the pieces on a silicone mat. I do this so that if I have a little glue on the back of my pieces it won't stick to the surface underneath.
For the card design I used this sketch from Splitcoaststampers. I keep a book of sketches in my craft room so that I have some go to layouts if I need them.
I used a card base of Mossy Meadow and cut a 5.25 x 4 inch panel from the dark red grid paper and a 4 x 1.75 inch strip from the plaid. The dark red panel is 3.25 x 4.25 inches.
I wanted to create a backdrop for my dog house and tree. I cut a piece of 3 x 4 inch white cardstock and used a Post-It note to create a stencil. I free cut a curve at the top sticky part.
Using a sponge dauber and navy ink I was able to create a sky.
Assembling the card was super fast at this point. It always helps to use plaid and/or grid paper. You know easily when things are straight and placement is quick!
Since I knew that the sentiment would overlap some of my patterned paper I moved my plaid panel up from where it is in the sketch. I didn't think the gold would stand out much on that pattern.
I carefully cut the flying Santa and reindeer apart from the word and adhered them to the card. The tree is glued directly to the card and I used foam dots to pop up the dog house and bowl.
Dies:
The Christmas Release Part 2 is now available at the online store and the design team will be showcasing those dies in the near future. Check out all the great Christmas dies from both releases!
Thanks for stopping by - have a creative weekend!


