Hello everyone! It's Janet here for my first post of the new year. January has certainly started with a cold slap in the face for many. It's been rough but I don't mind having an extra excuse for hibernating in my craft nook! How about you?
I'm detouring from my normal video tutorial to show you a loaded envelope I created using a winter theme. I have long admired the beautiful and complex looking loaded envelopes that many in the crafting world have shown off. I finally took the plunge and made one myself and I really had fun with it. I honestly was skeptical when people said they found making loaded envelopes relaxing but I have to admit that I found it therapeutic. I created as I went with little more than the basics planned before I started. First I picked a theme (winter) and then chose dies I thought fit the theme. I picked a color scheme and made the empty envelope with paper stock that worked. Then I set about cutting pieces for the project, coloring and putting them together. Finally, I looked at all the die cuts I had completed and started creating the elements that would ultimately load the envelope. Many of the items I made are featured in the photos below.
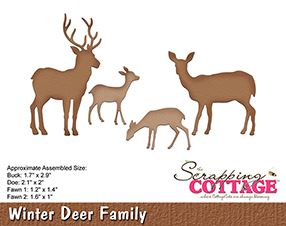
In the end I created cards, flowers, snowflakes, various clips with snowflakes and deer, rosette wands, gift card holders and several pockets and tags for my loaded envelope. I have a few extra pieces left over but I will be able to use them in future projects. I'm not sure how others approach making the items that will go into their envelopes but this method worked great for me. I had a lot of fun letting the pieces tell me what to do with them. I certainly encourage you to give it a try!
To see all the parts and pieces and learn what dies I used, please click on the video thumbnail below.
Thanks for visiting today. Stay warm and safe!
- Janet
Dies used in this project:


