1. Cutting pieces of paper to create your album!
You are going to need:
6 "back" pieces
6 "middle" pieces
6 "front" pieces
Cut papers as listed
in dimentions in
diagram below
(if you click on the
picture below it
will get larger!)

2. Fold each piece of paper in half.
3. Place double sided tape (any
type of taper runner will also
work) on the side edges of the
"middle" panel. Adhere "middle"
panel to the "front" panel. (see
step 4 in the diagram above).
4. Place double sided tape on the
side edges of the "back" panel
and adhere the "middle" panel.
(see step 5 in the diagram above).
5. Repeat steps 3 and 4 to
make 6 complete triangles!
6. Adhere sets together to form an
album! (see step 7 in the diagram)
7. Attach some ribbon between
the panels of the front and
back cover of the album or
a cute paper clip can also be
used to hold the book open!


 Here are the rest of my leaves. I know it is hard to see the bronze flecks on the leaves but hopefully you get the idea.


 I thought he would be the perfect addition to an otherwise traditional looking Christmas card. You know - kind of catch people of guard and have a little fun while you're at it!


 CottageCutz Country Turkey


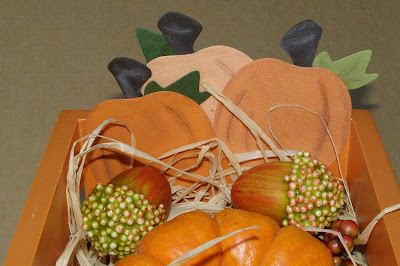
 WE MUST BE AT THE PUMPKIN PATCH!!!!
  I AM A FAN OF FALL COLORS AND THE


