Friday, June 16, 2017

A Set Of Note Cards

Hello
This is Anita here . Special occasions are an important part of our life and I like to give card or any handmade things to the person .
So I make many small note cards before hand and use them as and when the occasion arises .
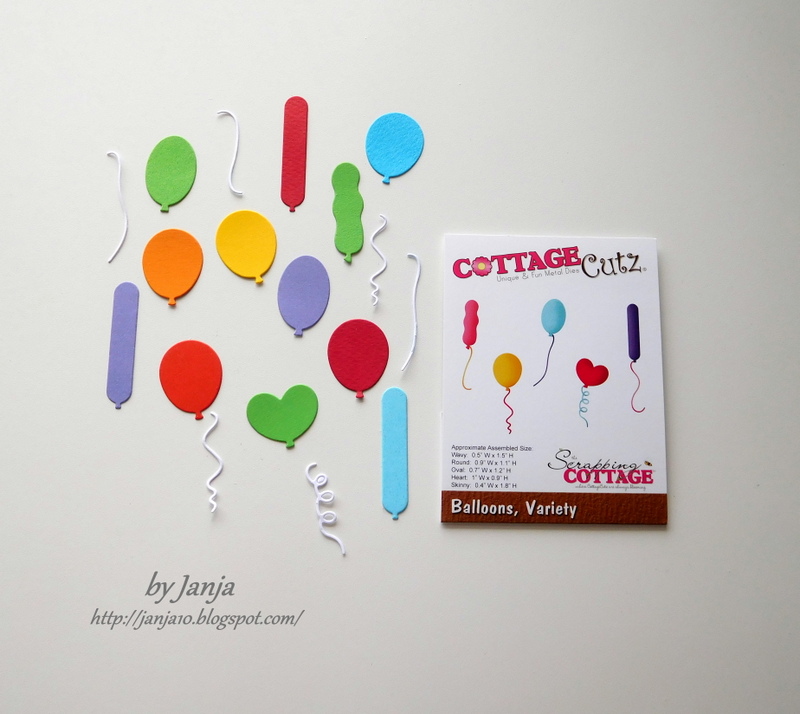
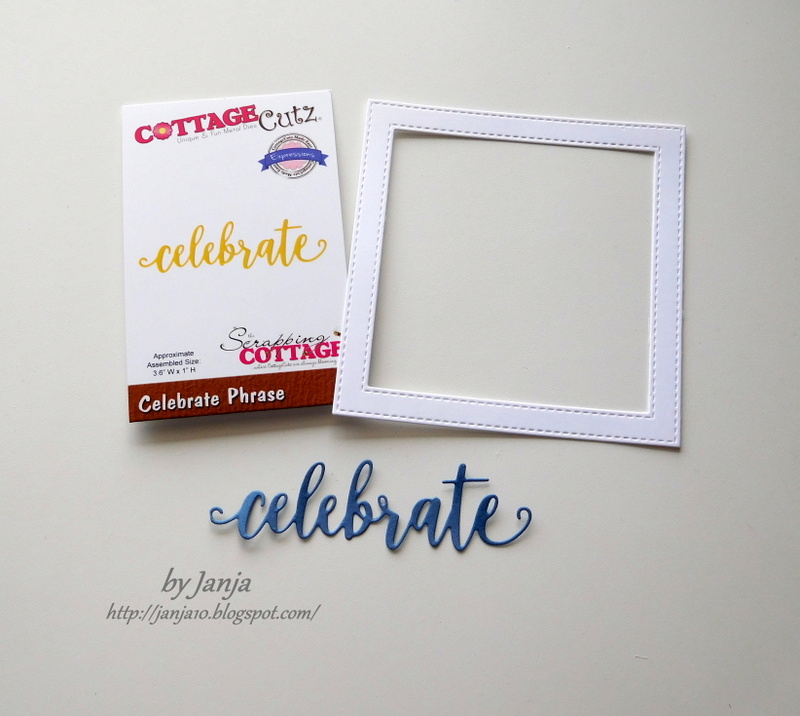
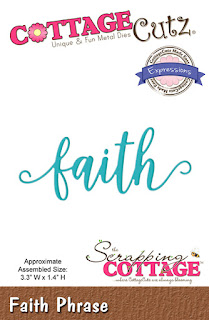
CottageCutz has recently released some beautiful phrase dies that are so versatile, that one can use them for many purpose .
You can check them here

Here are my set of note cards .


CottageCutz dies used


Have a great day and thanks for stopping by .


Thursday, June 15, 2017

Great Outdoors

Good Morning My Scrapping Cottage Friends!

It is Pam sharing with you on this beautiful Thursday! I am showing you a Dad's Day card that has 4 folds.  It should really appeal to all those dad's that love to go camping and appreciate the beauty that our great outdoors has to offer!


1.  Start with a  5 1/2 x 12 inch piece of brown card stock.  Score at 1 1/2, 2 3/4, 5 1/4 and 7 3/4
next cut your designer paper slightly smaller than the score lines for each panel.
2.  Glue the designer paper to the card as shown below
3.  Using Cottage Cutz dies Rustic Sign and TreesWoodland Fawns and Spring Grass cut out the sign, grass, fawn and bunny. Assemble the pieces and ink for dimension

4.  On the back panel cut a free hand rolling hill for the backdrop glue it down first add the trees, fawn and grass
5.  On the third panel from the front cut a free hand rolling hill and glue down first add the tree, the bunny and the grass
6.  On the very front panel add a free hand cut hill and the sign and finally the grass
7.  Type up your sentiment and print on cream colored paper add Dad to the sign and your sentiment to the forth panel

Cottage Cutz Products


I hope you give your dad a big hug and make him a very cute Father's Day card!

Blessings
Pam


Tuesday, June 13, 2017

Let's celebrate

Hi, Janja here!

Today, I share with you an invitation to celebrate a child's birthday.


Supplies:
- CottageCutz dies: Celebrate Phrase, Balloons variety, Birthday Party BearSpring Grass, Stitched Wide Square Frame Set
- white card base: 5.3 x 5.3" (13,5 x 13,5 cm), folded
- patterned paper: 5 x 5" (12,6 x 12,6 cm)
- white and colored cardstock
- Distress inks: Antuque Linen, Mustard Seed, Wild Honey, Tumbled Glass, Broken China, Festive Berries, Mowed Lawn, Vintage Photo

As usual, first cut out all the pieces to compose a motive. In our case, this is a bear. Also prepare a few balloons, celebrate phrase, grass and a white frame. For the frame, use the largest die of the set.


On a light blue cardstock print "Let's", which will be supplemented with cutout "celebrate".
Trim patterned paper, and white card base for an invitation.


Create clouds on a light blue cardstock with cloud stencil and Distress ink pad - Tumbled Glass.


Begin by assembling the invitation.
With a large number of invitations, pay attention that the layout is not too demanding.
First paste background with clouds and white frame in the middle of patterned paper. Use double-sided adhesive tape.


To catch the middle of card base, paste double-sided adhesive tape on the back side of our background. Fix a tape on the edges along the entire length.


Remove only a part of the protective strip. Place all together on a white card base. Since the protective strip is not removed completely, we can easy move the cardstock on the base. When we are sure it is in the middle, place a finger on the base, and pull the protective strips.


Thank you for coming over and have a nice day. 


Monday, June 12, 2017

Nativity Silhouette


Hi, Lois here today with a Christmas card.  I realize this is June, but I saw a tutorial for a very cool technique a couple of weeks ago and wanted to give it a try on a Christmas card.  I used a very nice CottageCutz Nativity Silhouette die and Faith Phrase, one of the new Expressions Plus dies on my card.


To begin my card, I cut a piece of navy cardstock 8 1/2" x 5 1/2" and scored it at 4 1/4".  In addition I cut a piece of silver cardstock 4" x 5 1/4" and a piece of watercolor paper 4 1/2" x 5 3/4".


The dies I used were CottageCutz Nativity Silhouette and Faith Phrase, both of which were cut from silver cardstock.  I cut a second Faith Phrase from gray cardstock.


I ran the silver Faith Phrase through my Xyron X sticker maker and glued it to the gray die-cut.  This gave a little more dimension to the phrase.


At this point, I watched the tutorial again for a very cool technique -- Galaxy Background.  There are several U-Tube videos explaining this technique.  The one I used was by Christine Riley.  Here is a link to her video.  This is the result of my attempt. 


Then I constructed my card.  After I had it completed, I decided that I wanted a bit more contrast between the ground and the sky; so I die cut a portion of the Nativity Silhouette from a piece of white cardstock and inset the pieces at the bottom of the card.  I liked that so much better.


Here again  is my completed card.


Dies used on this card are:


http://www.scrappingcottage.com/cottagecutznativitysilhouette4x4.aspx


http://www.scrappingcottage.com/cottagecutzexpressionsplusfaithphrase.aspx