Showing posts with label fifties Phrases #1. Show all posts

Tuesday, January 03, 2023

Slimline Birthday Puppies Card

Happy Tuesday Cottage Cutz Friends!
Melinda here with you, and today I am sharing a fun and cheerful slimline birthday card. Here's a look at my finished project. I used the sweet little Christmas Puppies Dies from this year's Christmas release.
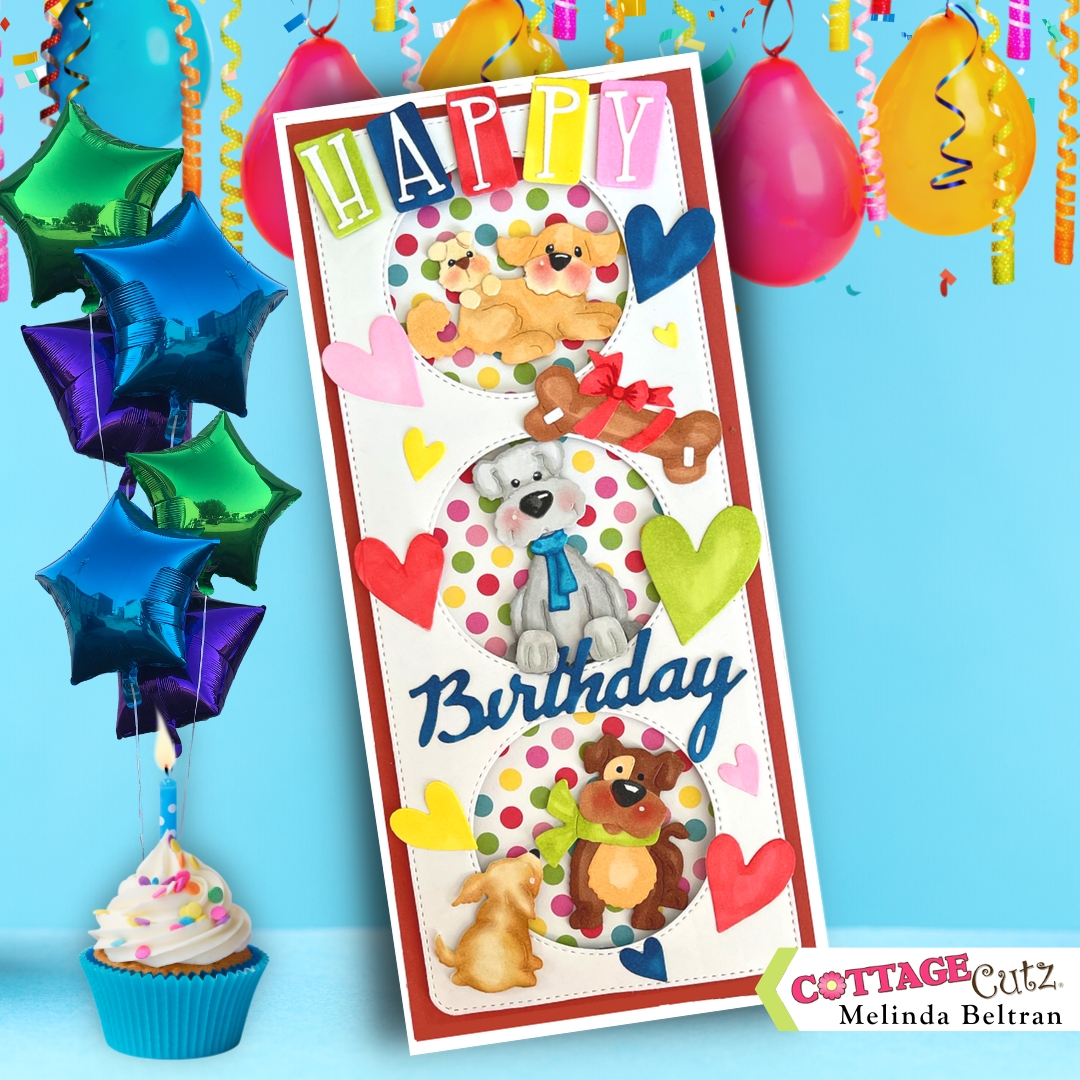
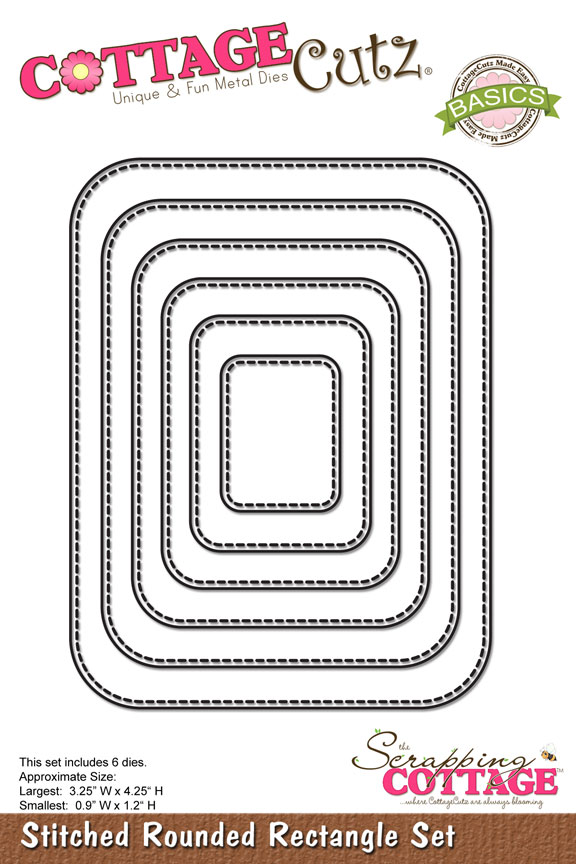
My card is pretty straightforward. It is a side folding slimline card. I started with a white card base. I cut a piece of paper to 8 x 9. I folded it in half at the 4" mark along the 8" length. I then cut a piece of red cardstock paper at 3.75 x 7.75. After I added that to my card base, I cut out the slimline circle windows base out. I then cut out a piece of the cute dotted patterned paper from doodlebug. I used some foam tape to give the slimline circle window base some lift. I then went to work cutting out the cute little puppies from some plain white cardstock. I then colored them with my markers.

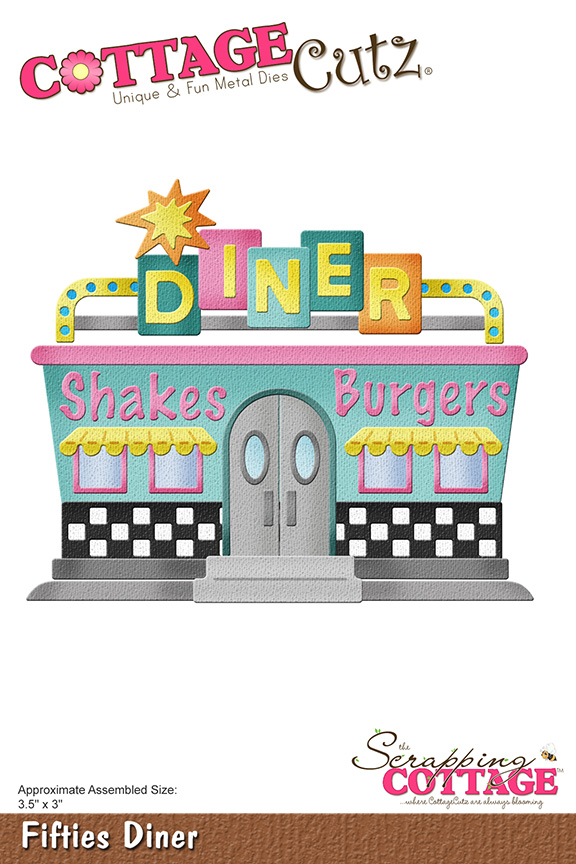
Here's a closeup of the Happy title and the cute puppies in the first - top circle. The Happy title comes from the Fifties Phrase 1 die. I cut those pieces out in plain white and then used my markers to color the backgrounds.


Here is another closeup showing the cute puppy on the second window. I colored him with my markers and then put the paws along the rim.

In this final closeup, I have two more of the cute puppies. I colored them with my markers along with the Birthday sentiment. As for the hearts, I cut out the Whimsical Hearts Slimline die. You get a TON of hearts as part of the negative spaces. I love using them. I colored them with my same markers.

Dies I Used


Today's the last day for the fabulous New Year Sale! So head over and do some shopping and grab some terrific dies at a super price!


Well that about covers it for today! Until the next time, have a wonderfully craft-die day!
Melinda Beltran

Monday, December 19, 2022

New Year's Slimline Shaker

Hello crafty friends!  Wishing you a Merry Christmas this week!

Kristine here with you today and shaking it up with a slimline shaker card for New Year's using the cute Polar Bear Trio with Igloo die from the Christmas #2 Release, and the Fifties Phrases #1 die from the Classic 50's Black Friday Release and more!

Let's Party 2023

The SCS color challenge the next 2 weeks is
Basic Black
Metallic Silver
Metallic Gold
And the dessert option is:  NEW Year's

I chose a slimline paper pack called Shine Bright.that has silver and gold with subtle Snowflakes.

CUTTING & SCORING

Black Cardstock:
 • cut 8" x 9", score along the 8" side at 4"-  score & burnish
• die cut Fifties Phrases #1

Silver Metallic (or foiled) Cardstock: 
• cut 8-3/4" x 3-3/4" 
• die cut Stitched Numbers

Gold Metallic (or foiled) Cardstock:
• die cut balloon from Star Windows Slimline set

Patterned Paper (Silver Snowflake): 
• cut 8-1/4" x 3-1/4" 

Patterned Paper (Gold with Snowflakes):

Acetate or Window Sheet: 
• cut 8-1/4" x 3-1/4"

White Cardstock:

DESIGN STEPS

#1  Cut all your layers and die cut pieces.

#2  Adhere your silver layer to card front.

#3  Rub a used dryer sheet or anti-static pouch to both sides of your acetate sheet and attach to back of star cut-out layer with double-sided tape.

#4 Using foam strips, outline the edges of acetate and around the star shapes.  Peel backing off the strips and add shaker elements inside your 3 sections.


#5  With your silver snowflake paper, pattern side down, carefully center it over your star layer, matching up the edges best you can and adhere.

#6  Turn shaker layer right side up and attach to card front.


#7  Color your polar bears and attach all die cut elements to card front as shown.


Wishing you all the crafty goodness in 2023!
Kristine

PRODUCTS:


Wednesday, November 30, 2022

More Classic 50's - Card & Scrapbook Layout

Hello CottageCutz friends! Thanks for taking the time to stop and visit with us today. It's still Black Friday release week here on the Blog.

We have a new Classic 50's release that makes its debut here on the Blog and also in the online store. You can pick up the bundle for a huge 65% off. That's under $97 or 30% off individual dies. The release is filled with some amazing retro images from the 50's era.

We have been featuring group posts for the past week to give you lots of inspiration on different ways to use the dies. If you missed any of the posts, just check back on the Blog for lots of eye candy. Today, we have 2 samples for  you from Design Team member, Jen Hartsgrove

Card 1:  Turning 50 and images from the 50's are so perfect for the card Jen created to celebrate this milestone birthday. She used the Fifties Soda Bar and the Fifties Phrases #1 dies to create a fabulous scene from the era where soda fountains were the rage. 

Her background designer paper is a great choice for "wallpaper". So much detail with this new die- check out the juke box on the counter! Don't you just love it!!!
This is the card inside view. 
Project 2:  Jen has been showing us quite a few layouts over the past couple of months. Check out our YouTube channel if you are a scrapbooker. All of our dies are so easy to add to any scrapbook layout. 

On this 8 x 8 layout Jen used the Fifties Diner and the Fifties Phrases #2 die. So perfect for the car hop they host each summer at her restaurant in Maine. How fun would that be for a 50's throwback! Her daughters and nieces are the car hop waitresses. 

The Diner die has lots of detail as well. Here is a close up photo. 

That's it for today's samples. We hope you have been enjoying the samples we have been creating using these new dies. The team has had so much fun using them in our card designs, 3D projects and scrapbook layouts.

dies used to create card:


Tuesday, November 29, 2022

Pop-Up Record Player

Hello CottageCutz friends! Thanks for taking the time to stop and visit with us today. It's still Black Friday release week here on the Blog.

We have a new Classic 50's release that makes its debut here on the Blog and also in the online store. You can pick up the bundle for a huge 65% off. That's under $97 or 30% off individual dies. The release is filled with some amazing retro images from the 50's era.

We have been featuring group posts for the past week to give you lots of inspiration on different ways to use the dies. If you missed any of the posts, just check back on the Blog for lots of eye candy. I have another project idea for you today using the Fifties Phrases #1Fifties Phrases #2, Guitar Music Notes & Records dies to create a pop-up record player. 

Vinyl records & record players have been trending for the past few years. So, I thought I would try to create a paper one as a birthday card. It's going to my brother in January, and I am pretty sure he will think it's something fun & unique.

Design Steps:

I started by creating the "record player base" It's really easy to make with one sheet of cardstock.  I used a piece of red cardstock measuring 4" x 12". Then I scored the paper at 4″, 7 1/2″, 8″ and 11 1/2″. 
You only need one piece of Scor-tape added to 11 1/2" score line or other strong tape to secure the pop-up base together.
This the base taped together. 
Then I started my decorating. For the card front, I used some musical score designer paper layered onto black card stock and then onto the card front.  The phrases are part of the Fifties Phrases #1 die. 
Next, onto the card inside. For the turntable, I used the largest Stitched Rounded Square die and cut in white cardstock.  I cut the largest record from the Guitar Music Notes & Records die. 
I had to get a bit creative for the needle arm. When I looked online some of the needles looked like hockey sticks. We have a die from last winter the Winter Hockey Bunny that had a perfect sized hockey stick. I cut it in silver cardstock. I made a needle base in black. It's cut from the smallest Square Set die. The on - off buttons are cut from the Circle Set die in black and silver.
I made a pocket on the inside of the lid to hold another record. You could also add a gift card here. I don't exchange gifts with my brother, so I used a record. I took the largest Square Set die- cut in white cardstock and then used the 5th largest Circle Set die to cut the pocket opening. 
To finish off the card, I added some music notes. That's it for me for this post. I hope you have been enjoying the samples we have been creating using these new dies. The team has had so much fun using them in our card designs and 3D projects.

Dies I used to create project:


Monday, November 28, 2022

50's Girly Birthday

Happy Monday CottageCutz Friends!

It's Kris sharing with you today ☺


My card features the Poodle Skirt, Rollerskate, and the Fifties Phrases #1 from the Black Friday Release, along with a couple of circle sets: Pierced Wide Circle Frame set  and the Nested Wacky Stitched Circles Set

This BLACK FRIDAY RELEASE BUNDLE as well as their BLACK FRIDAY BLOWOUT SALE ends this Friday, Dec. 2nd ~ SAVE up to 85% on CottageCutz dies!  Now is a great time to snag some basic dies -- some slimlines -- or something else on your wishlist (there's so many CUTE dies to choose from!!)  

CUTTING & SCORING:

BLACK CARDSTOCK
Card Base = cut a 5-1/4" x 10-1/2", scored at 5-1/4" 
Black Circle = Die cut the largest from the Pierced Wide Circle Frame set
Happy Birthday = Die cut the Fifties Phrases #1

WHITE CARDSTOCK
White Circle = Die cut largest from the Nested Wacky Stitched Circles Set
50's Elements = Die cut the Poodle Skirt, Rollerskate, and Fifties Phrases #1 

PATTERNED PAPER
Polka-Dot Layer = cut a 5" square

ASSEMBLY STEPS:
1.  I rounded the corners of my card base and patterned paper.
2.  I wrapped gingham ribbon around the patterned paper, about 2/3 way down, then attached to card front.
3.  I colored my diecuts (Poodle Skirt and Rollerskate) with Copics and assembled. 
4.  I glued my skirt to the white circle, then onto the black circle and onto card front.
5.  I added foam dots to the back of the skate and attached to card front.
6.  I glued the black "birthday" saying to the white of the same, offsetting it a bit, then glued onto card front.
7.  I glued the black "Happy" letters to the white rectangles from that die, then offset them onto the black rectangles and attached to card front so that the tops are hanging off the card a bit.  
Done! ☺

Again, here are the products I used:


We'd LOVE to see what you are creating with this FUN 50's RELEASE!! 
Be sure the add #cottagecutz when you post on social media ☺

Want more inspiration?!
Subscribe to our YouTube channel HERE!