Showing posts with label easter card. Show all posts

Wednesday, March 08, 2023

Dress Up Your Die Cuts


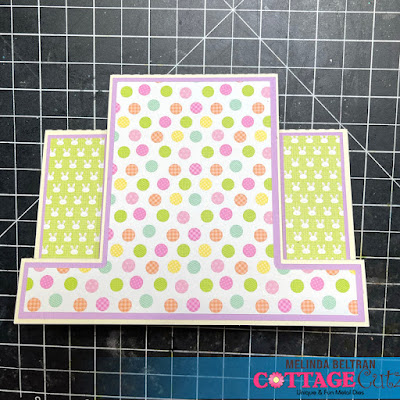
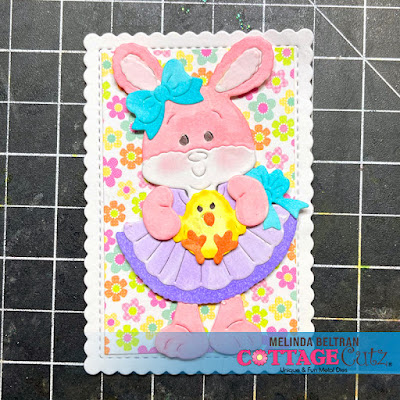
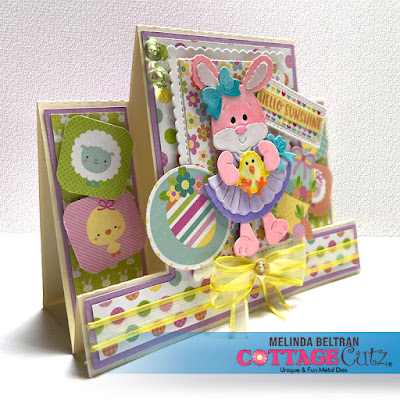
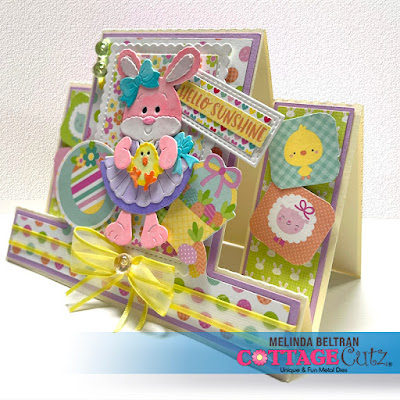
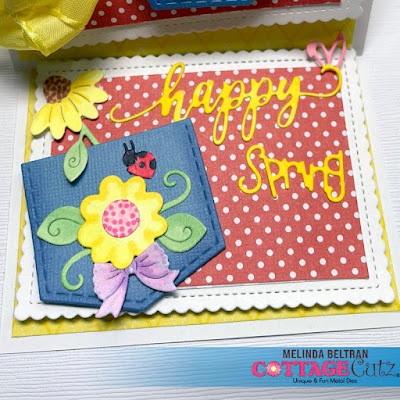
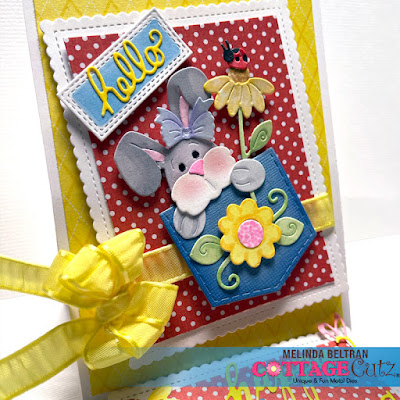
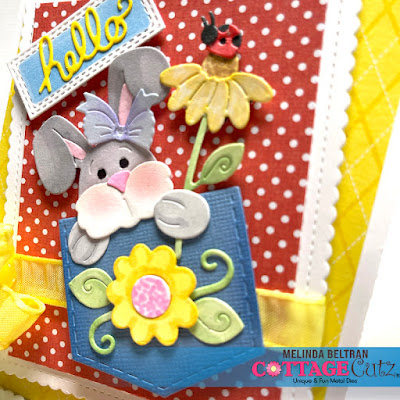
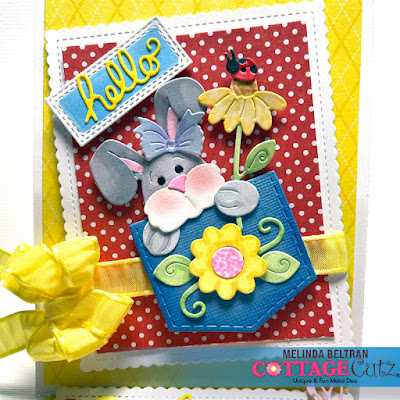
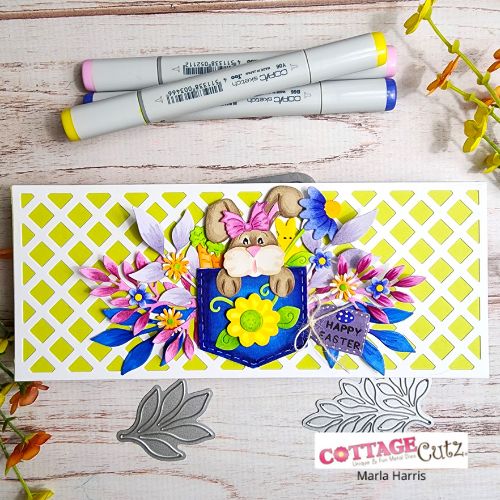
Hi my crafty friends, it's Marla back with another card share.  Easter is right around the corner and it's my favorite holiday for so many reasons.  One being, it's when all of the beautiful colors begin to show themselves again. For today's card I mixed several dies from The Scrapping Cottage to create a beautiful, yet playful Easter card.  


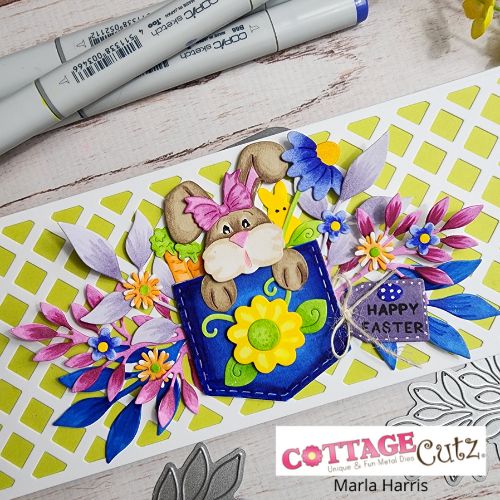
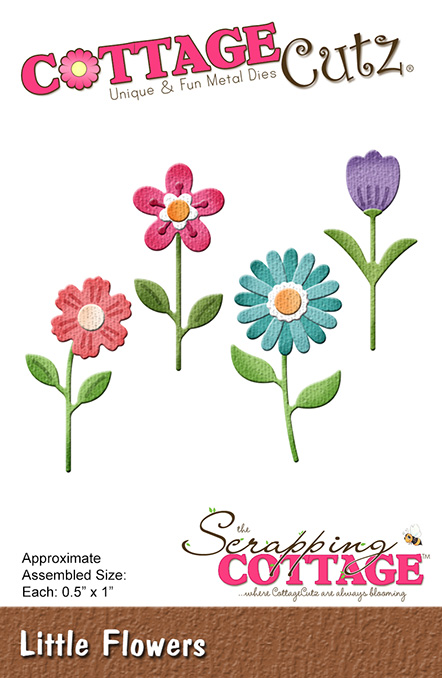
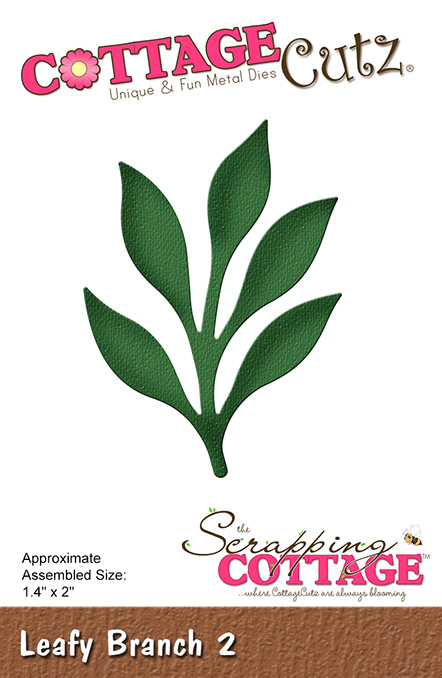
The "Flowers and More" release had so many floral and foliage dies that work well together to create amazing floral swags and clusters.  I wanted a colorful card, so instead of coloring the leaf die cuts in traditional greens, I used non-traditional color combinations.  If you look carefully, you'll see I included all of the colors of the rainbow on this card for a bright and vibrant touch.

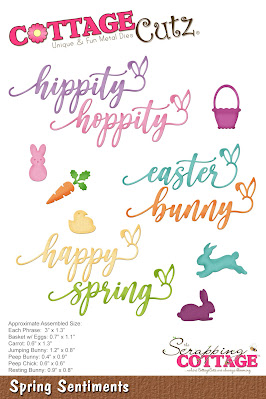
I hope you will head over to the CottageCutz YouTube Channel to see how this card came together.  I will also be giving away the "Little Flowers" die.  I provide all of the information on how you can win in the video. I have also added all of the products I used below for quick and easy shopping.

Until next time..... Marla


Tuesday, March 01, 2022

Miss Spring Bunny Center Step Card

Happy Terrific TuesDIE Scrapping Cottage friends!
Melinda here with you for another fun Tuesday. My project features another super adorable die from the new SPRING RELEASE! Here's what I created.


I made this super cute center step card. It features the sweet little Miss Spring Bunny die.


I started by creating the center step card base. I cut it out with my cutter once I created it.


I then cut out the corresponding mats.

Here is the base body of the card with just the mats. 

Next I cut out and pieced this sweet little Miss Spring Bunny holding chickee die. 
She is just too cute!!! I mounted her onto one of the scalloped rectangle dies from the nesting set. I used some more Doodlebug patterned paper for a mat.

Here are a couple of photos of the completed card. I mounted the scalloped mat with the bunny onto the center of the card. I added some decorative images from the paper pad set. 


I also mounted the sentiment Hello Sunshine from the same patterned paper pad onto the smallest rectangle die from the stitched nested rectangle die set.

To finish off the card I added a border of ribbon and a bow. I also added a couple of the Robin's Nest Dew drops. One to the center of the bow and the other two off to the top left corner of the center area. 


The Dies I used to create this project:


I used the Stitched Scallop version. That one is currently unavailable, but this is an excellent alternative.


In case you didn't hear, The CottageCutz YouTube channel is up and running.  Head over and check out the latest video! There is a giveaway for subscribing too!

Well that about covers it for today! Until the next time, have a wonderfully crafty day!
Melinda Beltran

Tuesday, February 15, 2022

Hello Spring Peeker Bunny Easel Card

Happy Terrific TuesDIE Scrapping Cottage friends!
Melinda here with you today. I am super excited to be sharing with you today. Tuesdays will be my new day to post! So today I am sharing a cute little card I created with dies from the new SPRING RELEASE! Here's my project.

I created this cute Easel card featuring the Bunny in Pocket Die.


To create the Easel Fold

I started with a piece of cardstock measuring 4.25 x 11. That is exactly half of a letter size piece of cardstock. I folded it at the 5.5 mark. That is in half. I then folded the "top" or the right side in half again. I simply folded it to the center fold line.

Here's a picture of the two folds. It is hard to se the center fold on the left, but it is there.

Next I took a piece of white cardstock and cut it to 4.25 x 5.5. I added a pretty patterned paper mat to the top. That mat measures 4 x 5.25. I put adhesive on the bottom half only of the top folding. Next I put the mat onto the top part and lined up the bottom and sides. So only half of the mat is adhered to the base.

Here's a view of the side of the card with the base. This shows you that the mat is only attached to that bottom half. Once that is done, I went ahead and assembled my layers and the main die onto the card.

Here is the panel I added to the "bottom inside" of the card. This piece acts as a stopper of sorts for the top piece. It allows for that piece to be on top.


Here you can see all the fun dimension the layers have. I put some foam tape behind the mats to get them a little extra dimension. I added a sweet little bow in a matching yellow ribbon.

All of these pieces with the exception of the pocket started out as plain white cardstock. I have used this sweet little die in a couple other projects, but this one has a gray bunny. The others I colored that sweet little bunny in more of a brown. If you would like to see those projects head over to that blog post. CLICK HERE.


Here's another look at my finished project.


The Dies I used to create this project:


I used the Stitched Scallop version. That one is currently unavailable, but this is an excellent alternative.


In case you didn't hear, The CottageCutz YouTube channel is up and running.  Head over and check out the latest video! There is a giveaway for subscribing too!

Well that about covers it for today! Until the next time, have a wonderfully crafty day!
Melinda Beltran