Showing posts with label Wendy Mind. Show all posts

Tuesday, January 18, 2022

Round Easel Racoon Skiing


Good morning Cottagecutz fans. I hope your week is going well so far. It’s Wendy bringing you the blog today. Can you believe we are over half way through January, Before you know it, we’ll be making those Christmas cards again :-)

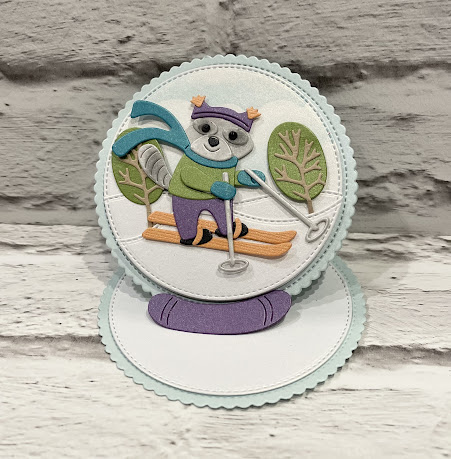
I have been a massive fan of easel cards today and this time I thought, why not mix it up and make a circle easel card.

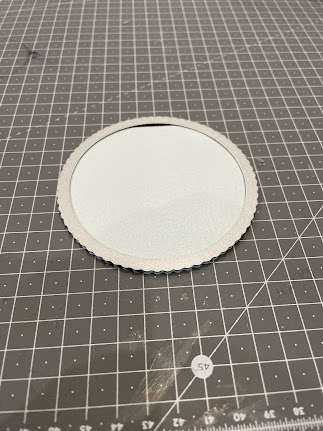
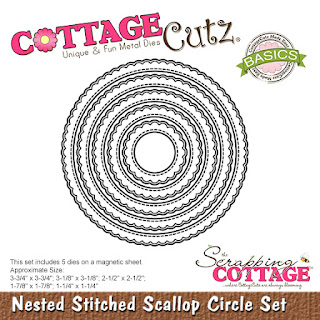
To begin with take a piece of light blue card, fold in half and make sure that is large enough to to be able to use the largest of the ‘Nested Scalloped Stitched circles’. What you need to do is make sure that when you out it though the die cutting machine that you lave a small amount at the top so you don’t cut 2 circles, but one 


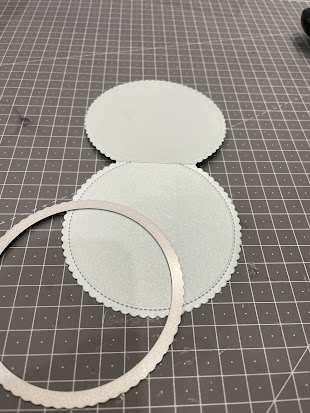
Next fold one of the circles in half. You can measure but I’m not a fan so I folded it in half as best I could. It doesn’t really matter as no one will see it as we go through making the card


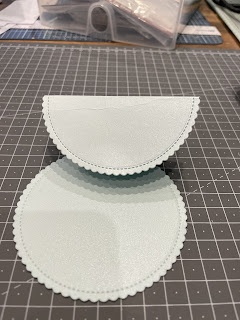
Nect cut out another circle of the same size and attached this to the bottom of the folded card


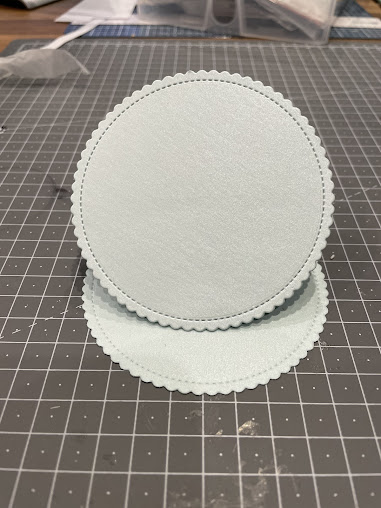
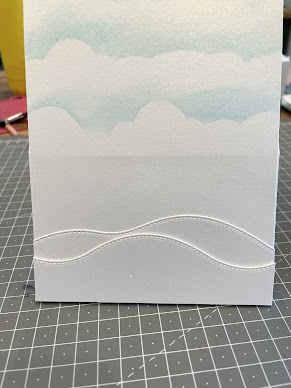
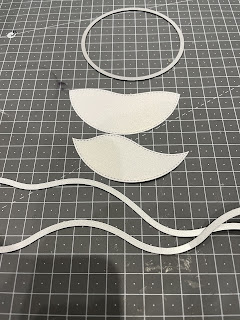
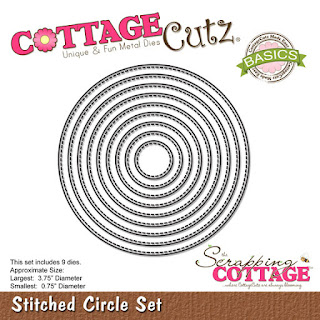
I then cut a white ‘ Nested Stitched Circle’ to fit inside the card above. 


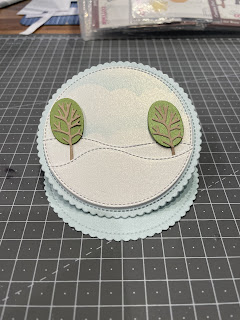
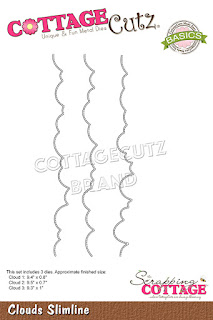
I then decided to have some sky on the top of the circle so that it will be effective on the finished card. I did this by using the ‘Clouds’ Slimline die and used it as a template. As always, start part way down the card an build up to the top


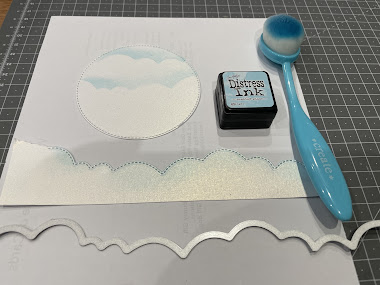
Next I cut the same size white circle as those above and used the ‘Hills Slimline’ to cut some now hills into the card. I attached the base layer with glue and then the next layer with 1mm foam pads


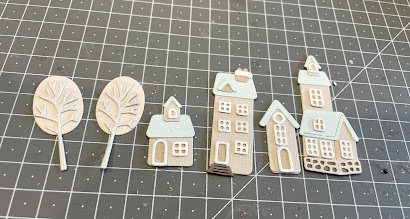
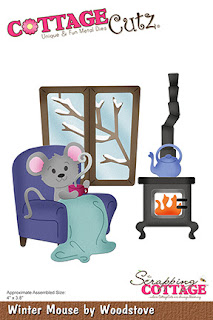
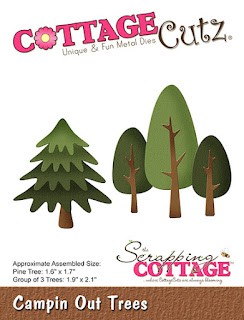
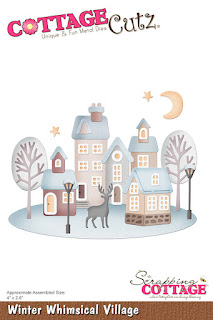
I cut some of the tress from the ‘Winter Whimsical Village and attach to the card with 1mm foam pads


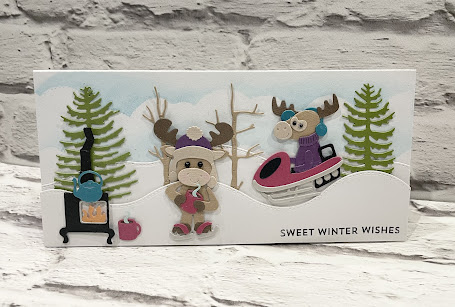
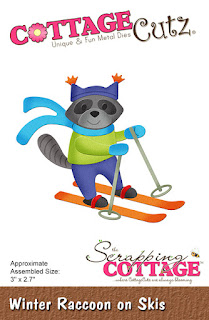
To finish off my card I assembled the ‘Winter Racoon on Ski’s’. I added some chalk for effect


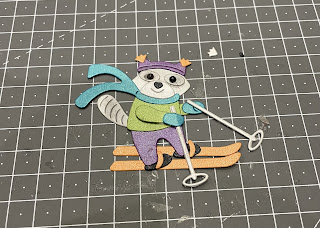
I attached the Racoon to the cars with 1mm foam

To Keep the card upright I used the snowboard from the ‘Snowboarding Penguin’. I attached it with 2mm foam pads 


Dies I used:


I hope you have a lovely rest of the week and I will see you on Friday with hopefully a ner project using the Spring Release

Oh and don’t forget to check out our YouTube channel with the latest project


Friday, January 14, 2022

You Melt my Heart


    Good afternoon Cottagecutz fans, It’s Wendy bringing you the blog today.I hope that you’ve had a good week and are looking forward to a weekend of crafting. My task will to be to tidy my craft room before I can actually find things :-)

Anyway, today’s  card is another easel card. I really enjoyed the one I made last week so I wanted to make another. 

So Cut a Piece of 12’ x 5’ and score in half so 6”. Score again on the card at 3”. Cut another piece of card 6” x 5” and attach the bottom of the card to the folded design again at the bottom

To create the main part of the card I took the ‘Clouds Slimline’ die to create a background. I find it easier to start part way up the card with my clouds and build it up to the top


The next part of the card was to cut some snow using the ‘Hills Slimline’. I cut the snow out twice and layered it on top of each other with 1mm foam pads.

Next I cut out all of the elements that I anted to add to the card using the ‘Winter Whimsical Village’ die


I then assembled these onto the card using 1mm foam pads. I ended up cutting another tree but it was from the same die.


I used the ice from the ‘Winter Fox Skating’. You’ll need to layer 3 times because you need a thickness to keep the card standing up. I also used the sun from the ‘Campin Out Sun & Moon’ die and also stamped a sentiment

So we are finished. This is such an easy card to make and I think it is just delightful with the muted colours. I really hope you like the card and have given you some inspiration to make your own cards

Dies I used:


Tuesday, January 11, 2022

Moose waiting for Sledging Friend


Happy Tuesday Cottagecutz fans, I hope you are having a good week so far. It’s Wendy bringing you the blog today with a light touch tutorial, I will bring you a full tutorial at the end of the week

So o begin with, I cut out the 'Clouds Slimline' as  template to make the background clouds. I used 'Tumbled Glass' Distress Ink for this. it's always good to start halg way down the card and then move up

Next I cut out 2 pieces of the 'Hills Slimline' to simulate snow. The first layer was attached with glue and then the next layer with 1mm foam pads at the bottom so that I could slot trees behind it.

Next I cut the remaining elements that I needed for my card, ‘Winter Moose with Hot Cocoa, Winter Pine and Birch Trees, Winter Moose on Snow Mobile and Winter Mouse by Woodstove

I assembled the trees first putting them in the background. The other elements I cut and assembled and adhered to my card with 3D foam pads. The dies are so intuitive and easy to assemble and you can change up the colours, they are your own interpretation.

I thought the card looked like the moose hd had a long day in his snowmobile and was due back for a nice hot cup of cocoa

I reall hope you have enjoyed this card today and it had given you some inspiration either for now or I can see these died working well for Christmas too

Have a wonderful week and I will see you on Friday with a full tutorial and another cute card
Hugs
Wendy

Dies I used:


Tuesday, January 04, 2022

Birthday Badges


Happy Tuesday Cottagecutz fans. I hope you had a wonderful new year. I can’t believe how quickly Christmas went. What I do know is that come June I’ll be working on Christmas for next year.

Anyway it’s Wendy bringing you the blog today and I thought I’d use the Black Friday release to make some birthday badges. I think it’s really cute for youngsters to have a name badge at a birthday party. So this is how I made them

Firstly I cut out 3 of the ‘Nested Stiyched Scalloped Circles’ in a bronze brown colour. I have also cut out 3 of the ‘Stitched Rounded Rectangles’ as we’ll need these shortly


I use 38m broach bars to make my badges and secure wit a hot gun. I then use the small rectangle as cut above to extra secure the broach bar in place


Next I printed some names on this beautiful cream pearlescent card and cut out with the ‘Stitched Circle Set’


I wanted to add a little background to the badges so I cut out some green circles in the same size


Next I used the ‘Grass Slimelime’ to cut some hills from the circles


I then attached the grass to the bottom of the badges and they are a perfect fit


Next I added the names to the brown badges 


To finish off, I used some of the designs from the ‘Black Friday’ release, which I will list below and you have your badges


I really hope you like the badges as much as I did making them. 
Have a wonderful week and I will see you on Friday with another project

Dies I used:


Don’t forget to check out our YouTube channel for new fancy designs