Showing posts with label Spring Window w/Vine. Show all posts

Sunday, February 28, 2021

Spring Window


Hi!

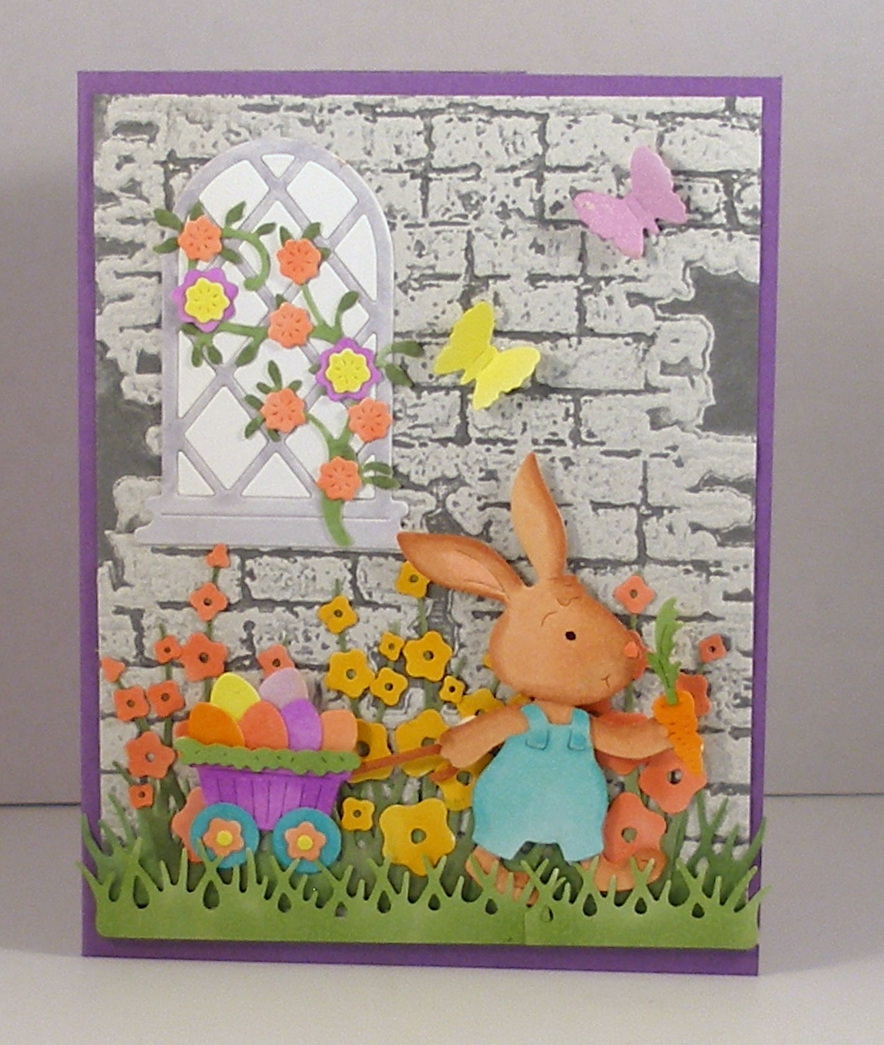
It's Anja here. I have a spring inspired card for you today.

For this card I used: 

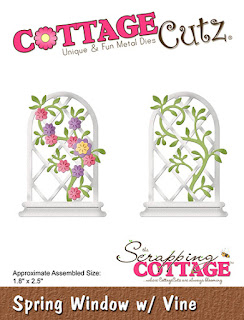
- Cottage Cutz dies (Spring Window w/Vine, Spring Watering Can, Daffodil Duck, Spring Grass),

- Distress Inks,

- white card base (11x14,5 cm),

- white card stock for die cuts and background (10,5x14 cm),

- embossing folder (bricks),

- silver pigment ink,

- scissors,

- pencil,

- yellow liquid drops,

- paper glue. 


First I made a stencil for the window. I cut all the inner parts and used the frame to draw the window on the background paper. I used scissors to cut it out.

Next I embossed the background. I used grey ink to color the folder before embossing and again to emphasize the edges.

Then I colored the window. I also used the cut frame. I glued the whole window on the back of the background and the frame on top.

Next I cut and colored the can, flowers and all the other greenery. I cut two cans to gain some dimension.

Then I arranged all the parts on the card base and adhered it. Last I added liquid drops to the middle of the small flowers and let it dry.

And my card was done.


Before I go I want to invite you to The Scrapping Cottage online store. All the dies I used for today's post are part of the Spring Sale.

Have a nice Sunday and see you again next week.

Anja Z. 


Cottage Cutz dies I used for today's card:


Saturday, March 17, 2018

Spring Window Scene

Hello Scrapping Cottage friends! Thanks for taking the time to stop and visit with us on this St Patrick's Day 2018. It's Mary Marsh here bringing you the Saturday edition of the Blog. Hope you all have recovered from the switch to Daylight Savings time. It usually affects me for a couple of days, but I think I am adjusted now. Love the longer daylight that's for sure.

Before I start with today's card, I wanted to let you know we have a new release of dies. It's our Rise & Shine collection and they are currently on a 25% sale. To see some card samples from the team - click here and here

Today, I am showing a card from our Spring die collection. I am using the Spring Window w/Vine  and also the Chickies w/Egg Plant dies. So let's get started with some details on how I created my card.

Step 1: I decided to create an outdoor scene. Started by using a brick wall stencil and white 3-D molding the wall. I stenciled on a light gray cardstock.
Carefully removed the tape and set it aside to dry. I like how some of the brick have the appearance of slight imperfections. Just like real brick. This panel is 3 7/8" x 5 1/8".
Step 2: On this step I cut my window, vine and flowers. I love the detail of the flowers in this die. Used sweet sugarplum, rich razzleberry and daffodil yellow cardstocks.
I cut my 2 chickies from daffodil yellow cardstock and sponged the edges slightly with wild honey distress ink. Just to add a little depth.
Step 3: Ready to start some card assembly. I used dimensional adhesive on the window and chicks. I like the dimension it gives to your card. Since you are looking into the window, I added some sweet sugarplum cardstock so it would look like a painted wall. The Spring grass is an older CottageCutz die.
Step 4: I wanted to get a sentiment on this card and I just wasn't quite sure how to do that. Thought about stamping on the egg shell or on the grass but neither of those ideas really resonated with me. Then the lightbulb went off and I decided to add the Joy phrase to the window.
It is the perfect size. And, this die is currently 80% off. You can pick it up for just a $1.00 in the online store.
I also cut 3 butterflies in the same colors as the window flowers. They are from the Spring Meadow die.
 
Step 5:  To complete my card I used the sweet sugarplum cardstock. The card base is 4 1/4" x 5 1/2".  Well, that's it for me for this week. I hope I have given you an idea for an Easter card. You still have time to get these dies if you want to re-create this card. See you next Saturday!
 
Dies I used to create card:
http://www.scrappingcottage.com/cottagecutzspringwindowwvine.aspx
 
 
http://www.scrappingcottage.com/cottagecutzspringmeadow.aspx

http://www.scrappingcottage.com/cottagecutzchickiesweggplant.aspx
http://www.scrappingcottage.com/cottagecutzexpressionsjoy.aspx

http://www.scrappingcottage.com/search.aspx?find=spring+grass


Monday, February 19, 2018

Eggs in a Basket/Wagon

Hi, Lois here with my Monday card.  Spring is making its way into Florida at last.  After a few cool/cold snaps, it's finally getting more like Florida weather around here.  CottageCutz has a new Spring release with some really cute flowery and Easter dies, which are on sale for a short while longer.   I've used several of them on my card for today.


I started my card by running a strip of white cardstock through my Xyron sticker maker and then cutting out the Spring Window w/ Vine.


By putting the adhesive on the back of the cardstock prior to cutting, I'll be able to construct my window more easily on the card. 

I cut my card base as follows:

Purple - 8 1/2" x 5 1/2"
Gray - 4" x 5 1/4"


I wanted a brick background for my bunny, so I used a favorite technique of inking up my embossing folder with gray ink prior to running the cardstock through my Cuttlebug.  The ink is pressed onto the paper, creating the "mortar" between the bricks.


I then cut two sets of shapes from the Spring Meadow die.  I did this because I knew I would need more than just the single set of die-cuts for my little scene.


After coloring both the Spring Window and Spring Meadow die-cut pieces with Copic markers, I constructed my scene on the brick background.


As you can see, I saved the inner white pieces of the window to place into the window frame.  When I attached the front layer of grass, I put narrow strips of foam tape behind the die-cut pieces.  This would allow me to insert the bunny behind the grass.  I wanted to wait until after the bunny was on the card before placing the butterflies.

I then cut the bunny out . . .


. . . and colored him and his wagon and eggs with markers.


After constructing Mr. Peter Rabbit and his wagon full of eggs, I placed some small foam pop dots behind his head as well as the wagon and some glue behind his feet.  That way his feet would slip in behind the grass, but his head, body, and wagon would be popped up.


I then added the butterflies in the open space next to the window, and my card was completed.


CottageCutz dies used on my card are:

http://www.scrappingcottage.com/cottagecutzspringwindowwvine.aspx


http://www.scrappingcottage.com/cottagecutzspringmeadow.aspx

http://www.scrappingcottage.com/cottagecutzmrpeterrabbit.aspx